Summer Sampler Sweetness!

Monday Montage Blog Hop – Week 118!!!!

Hello friends! Welcome back to the Monday Montage Blog Hop!  You won’t want to miss the amazing prettiness that I know you will find at all the stops along the way!

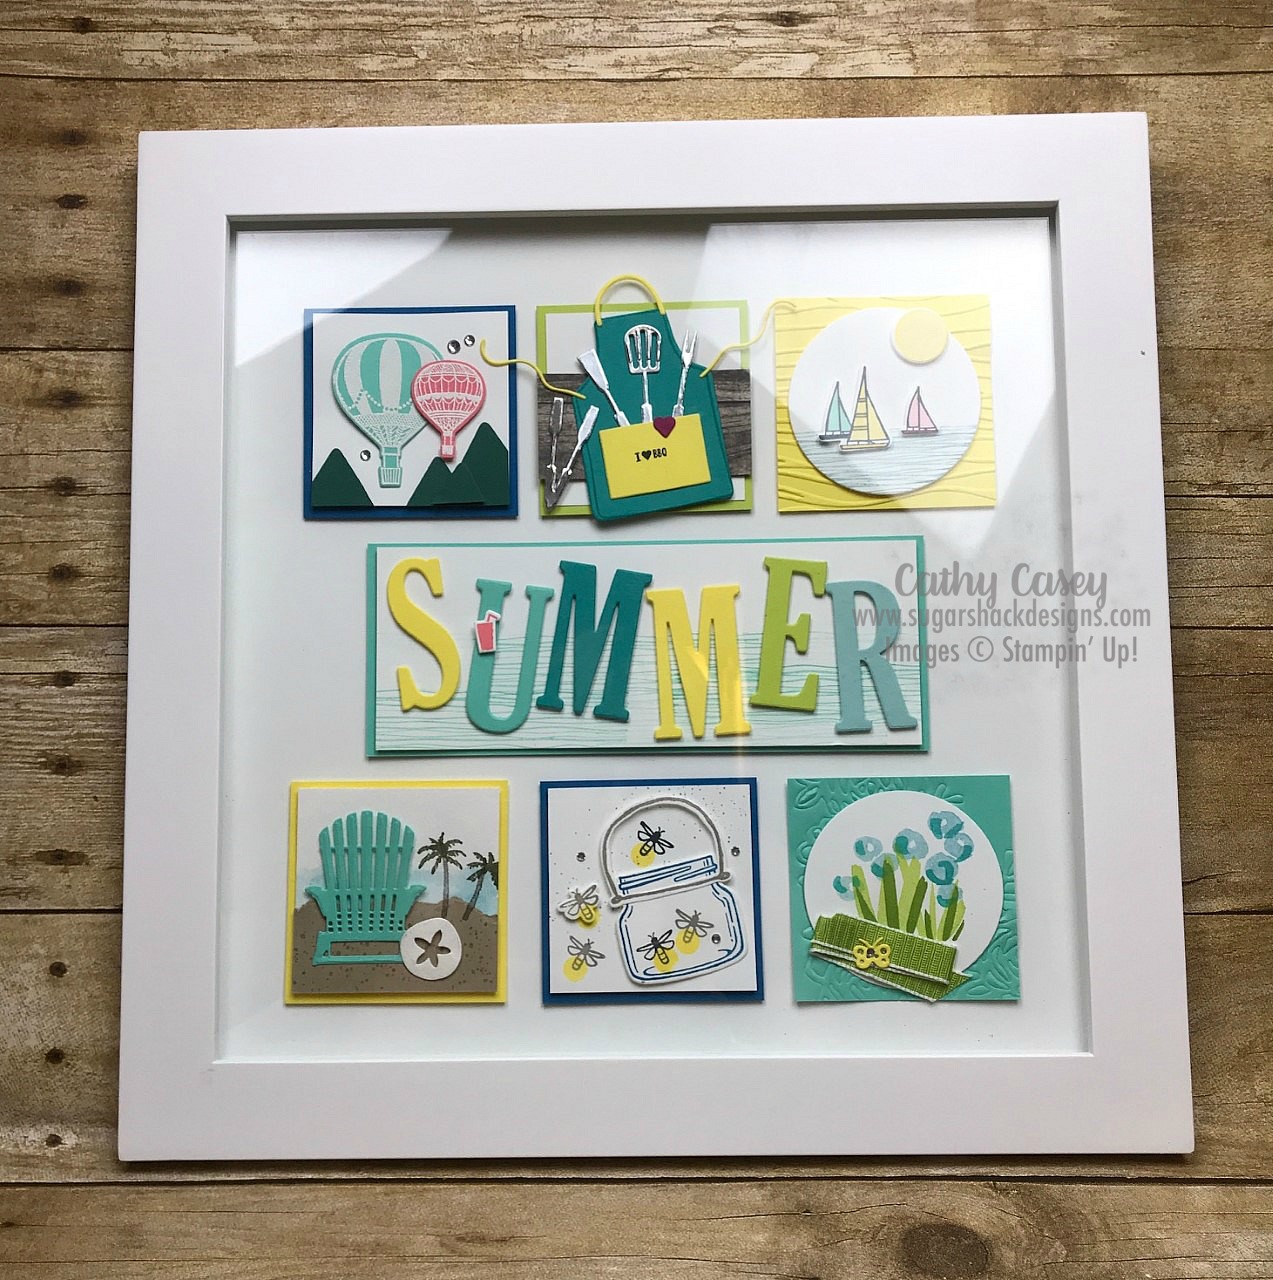
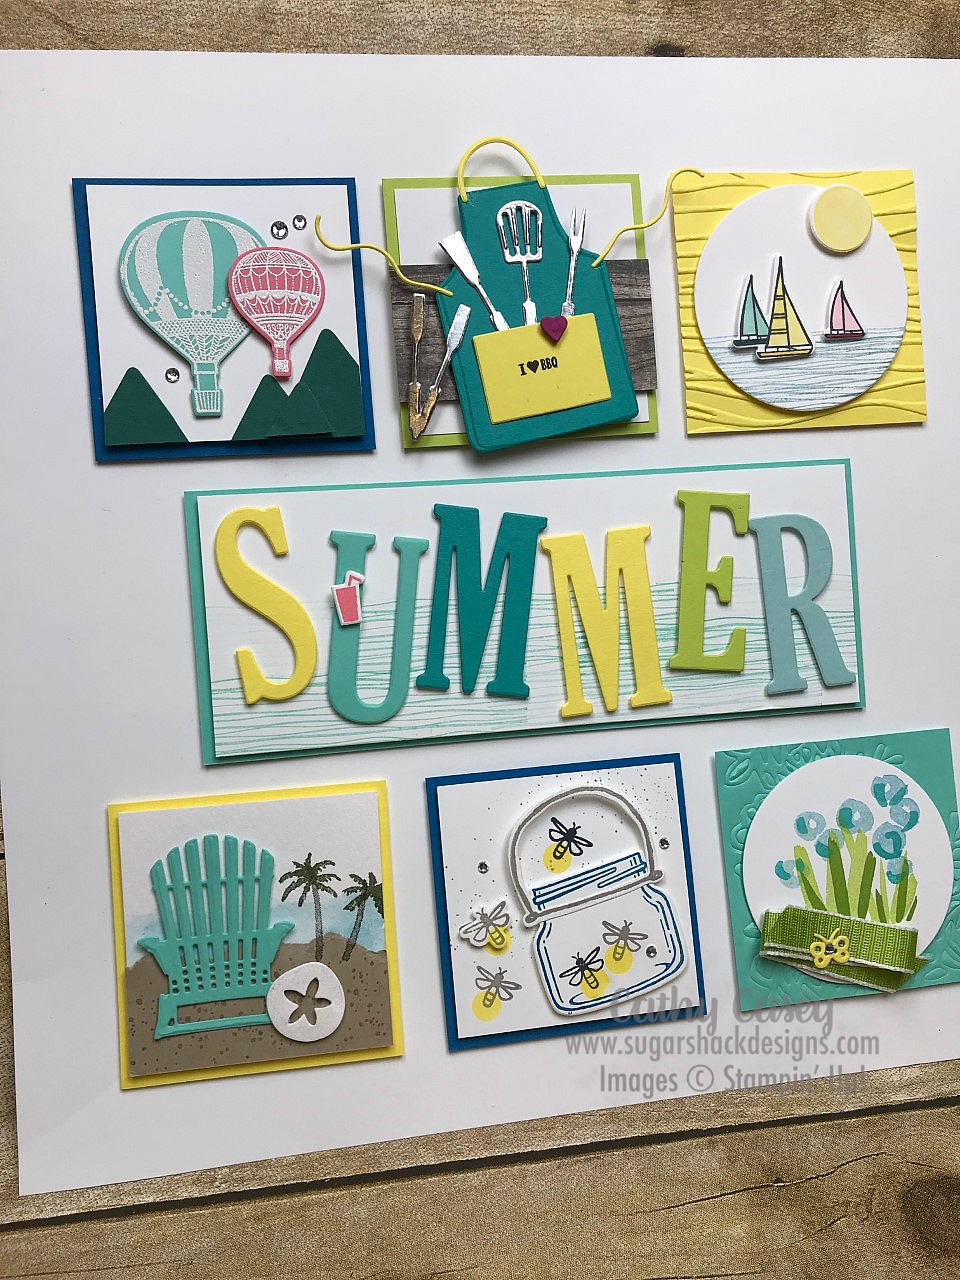
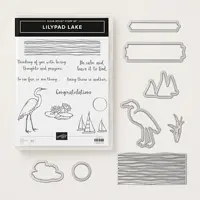
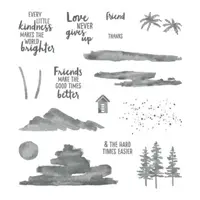
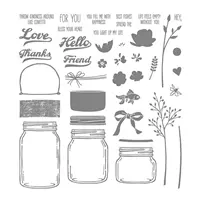
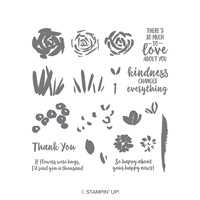
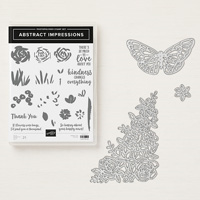
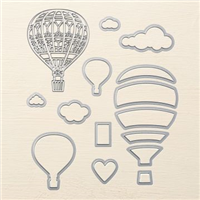
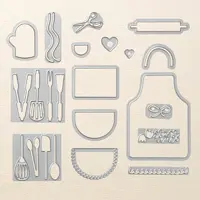
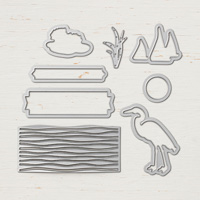
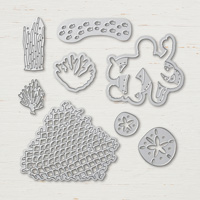
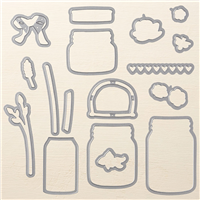
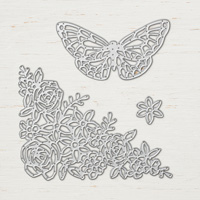
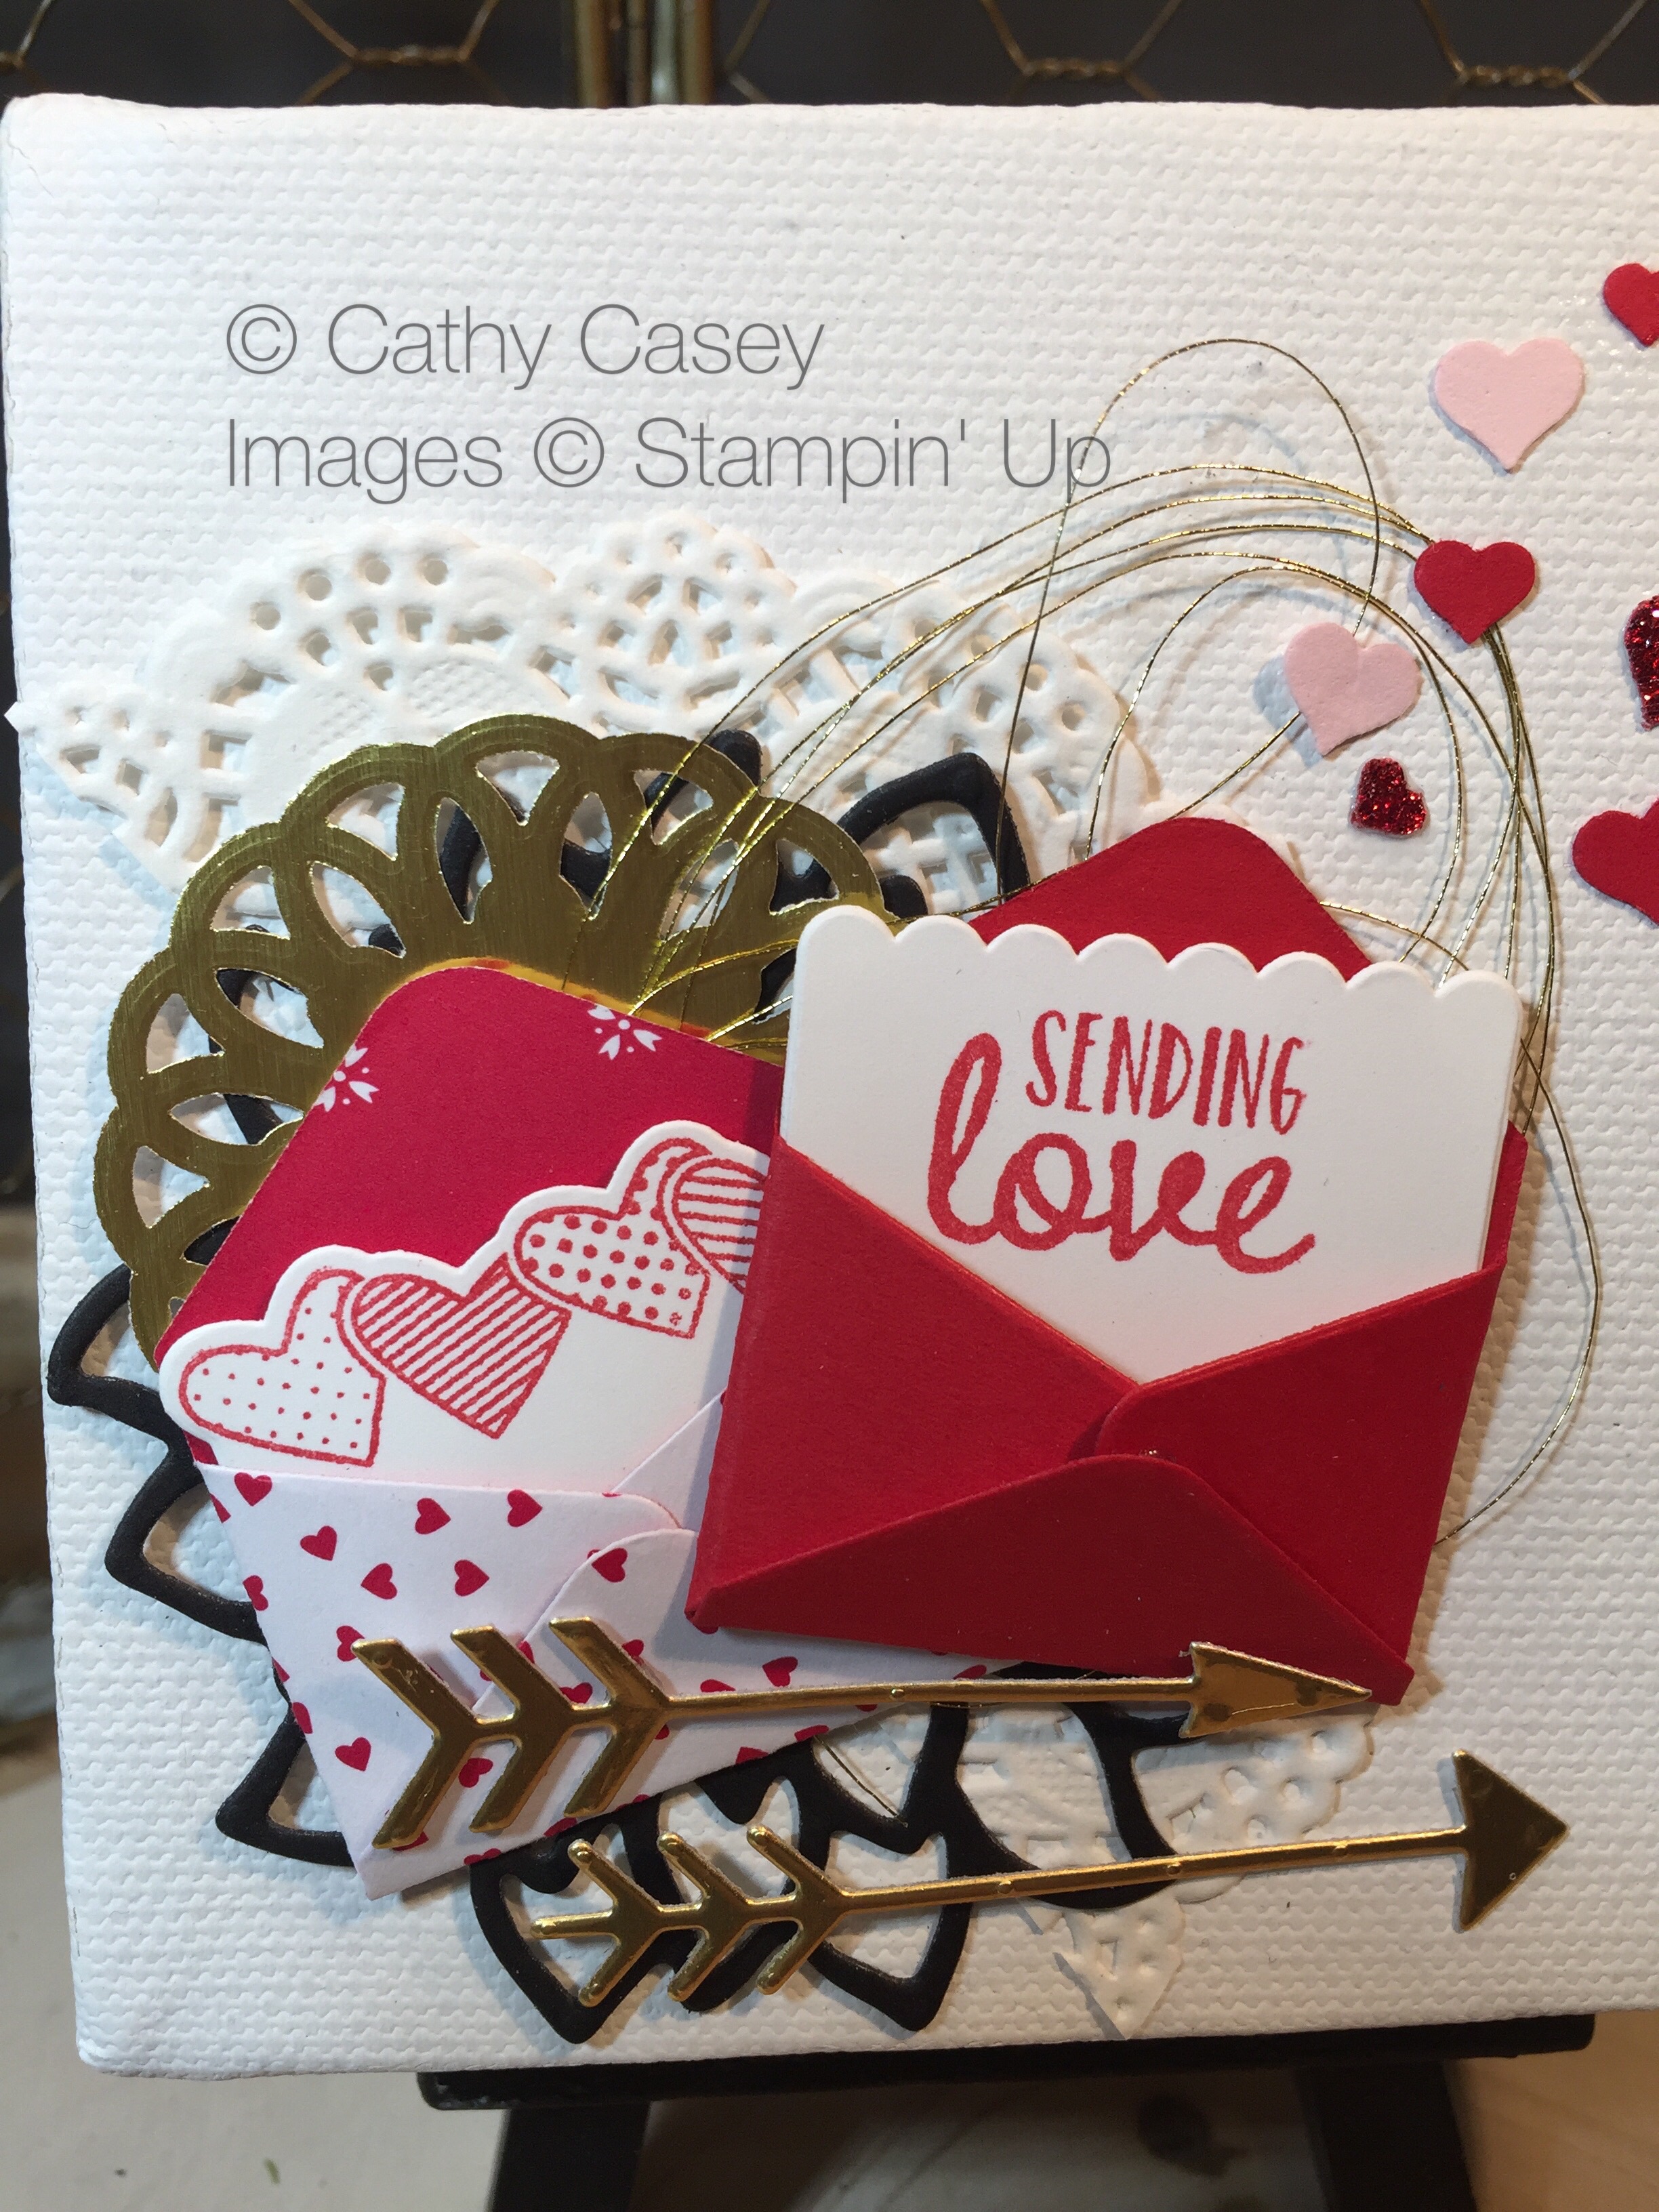
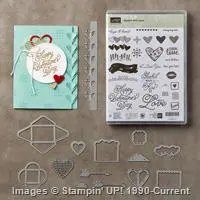
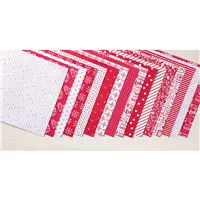
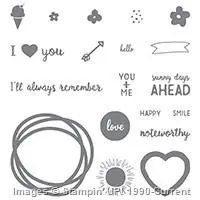
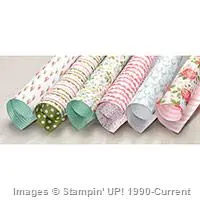
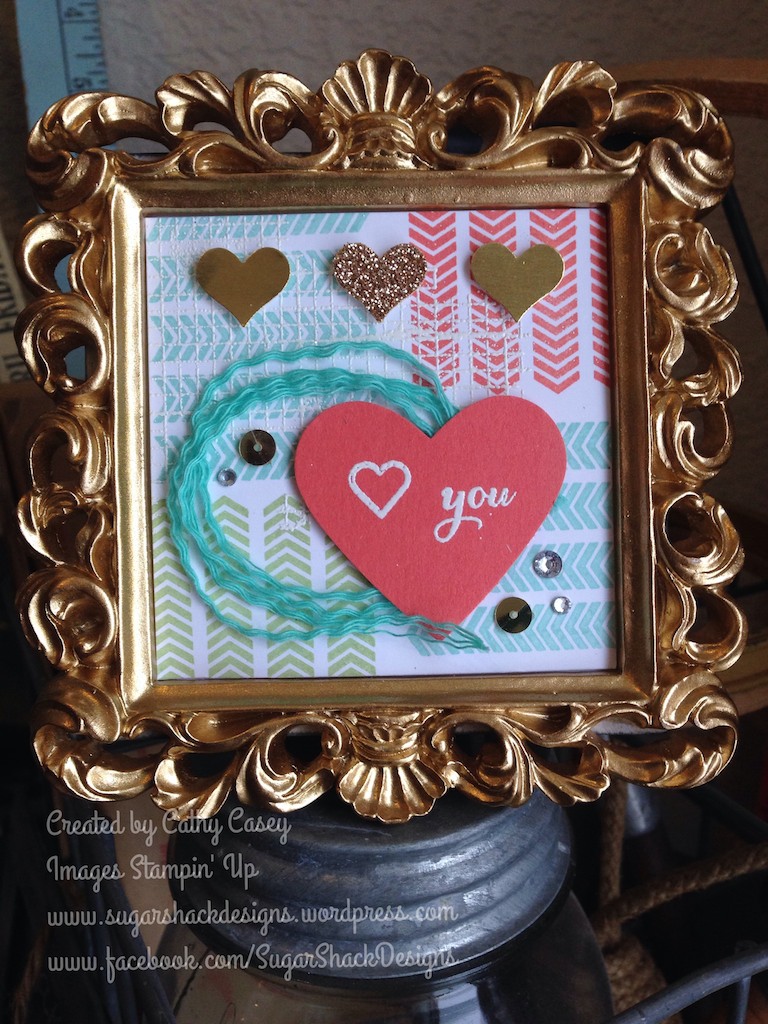
My favorite projects to share in classes right now are seasonal samplers.  Today we did a Summer Sampler and I could not love it more!  It is so much fun creating little vignettes that make a big, beautiful home decor piece for the season.  The new stamp sets in the new catalog and these gorgeous bright colors combine to for bright, summery fun 🙂

I created a tutorial for this project that is available here for $15 if you would like to make your own summer sampler!

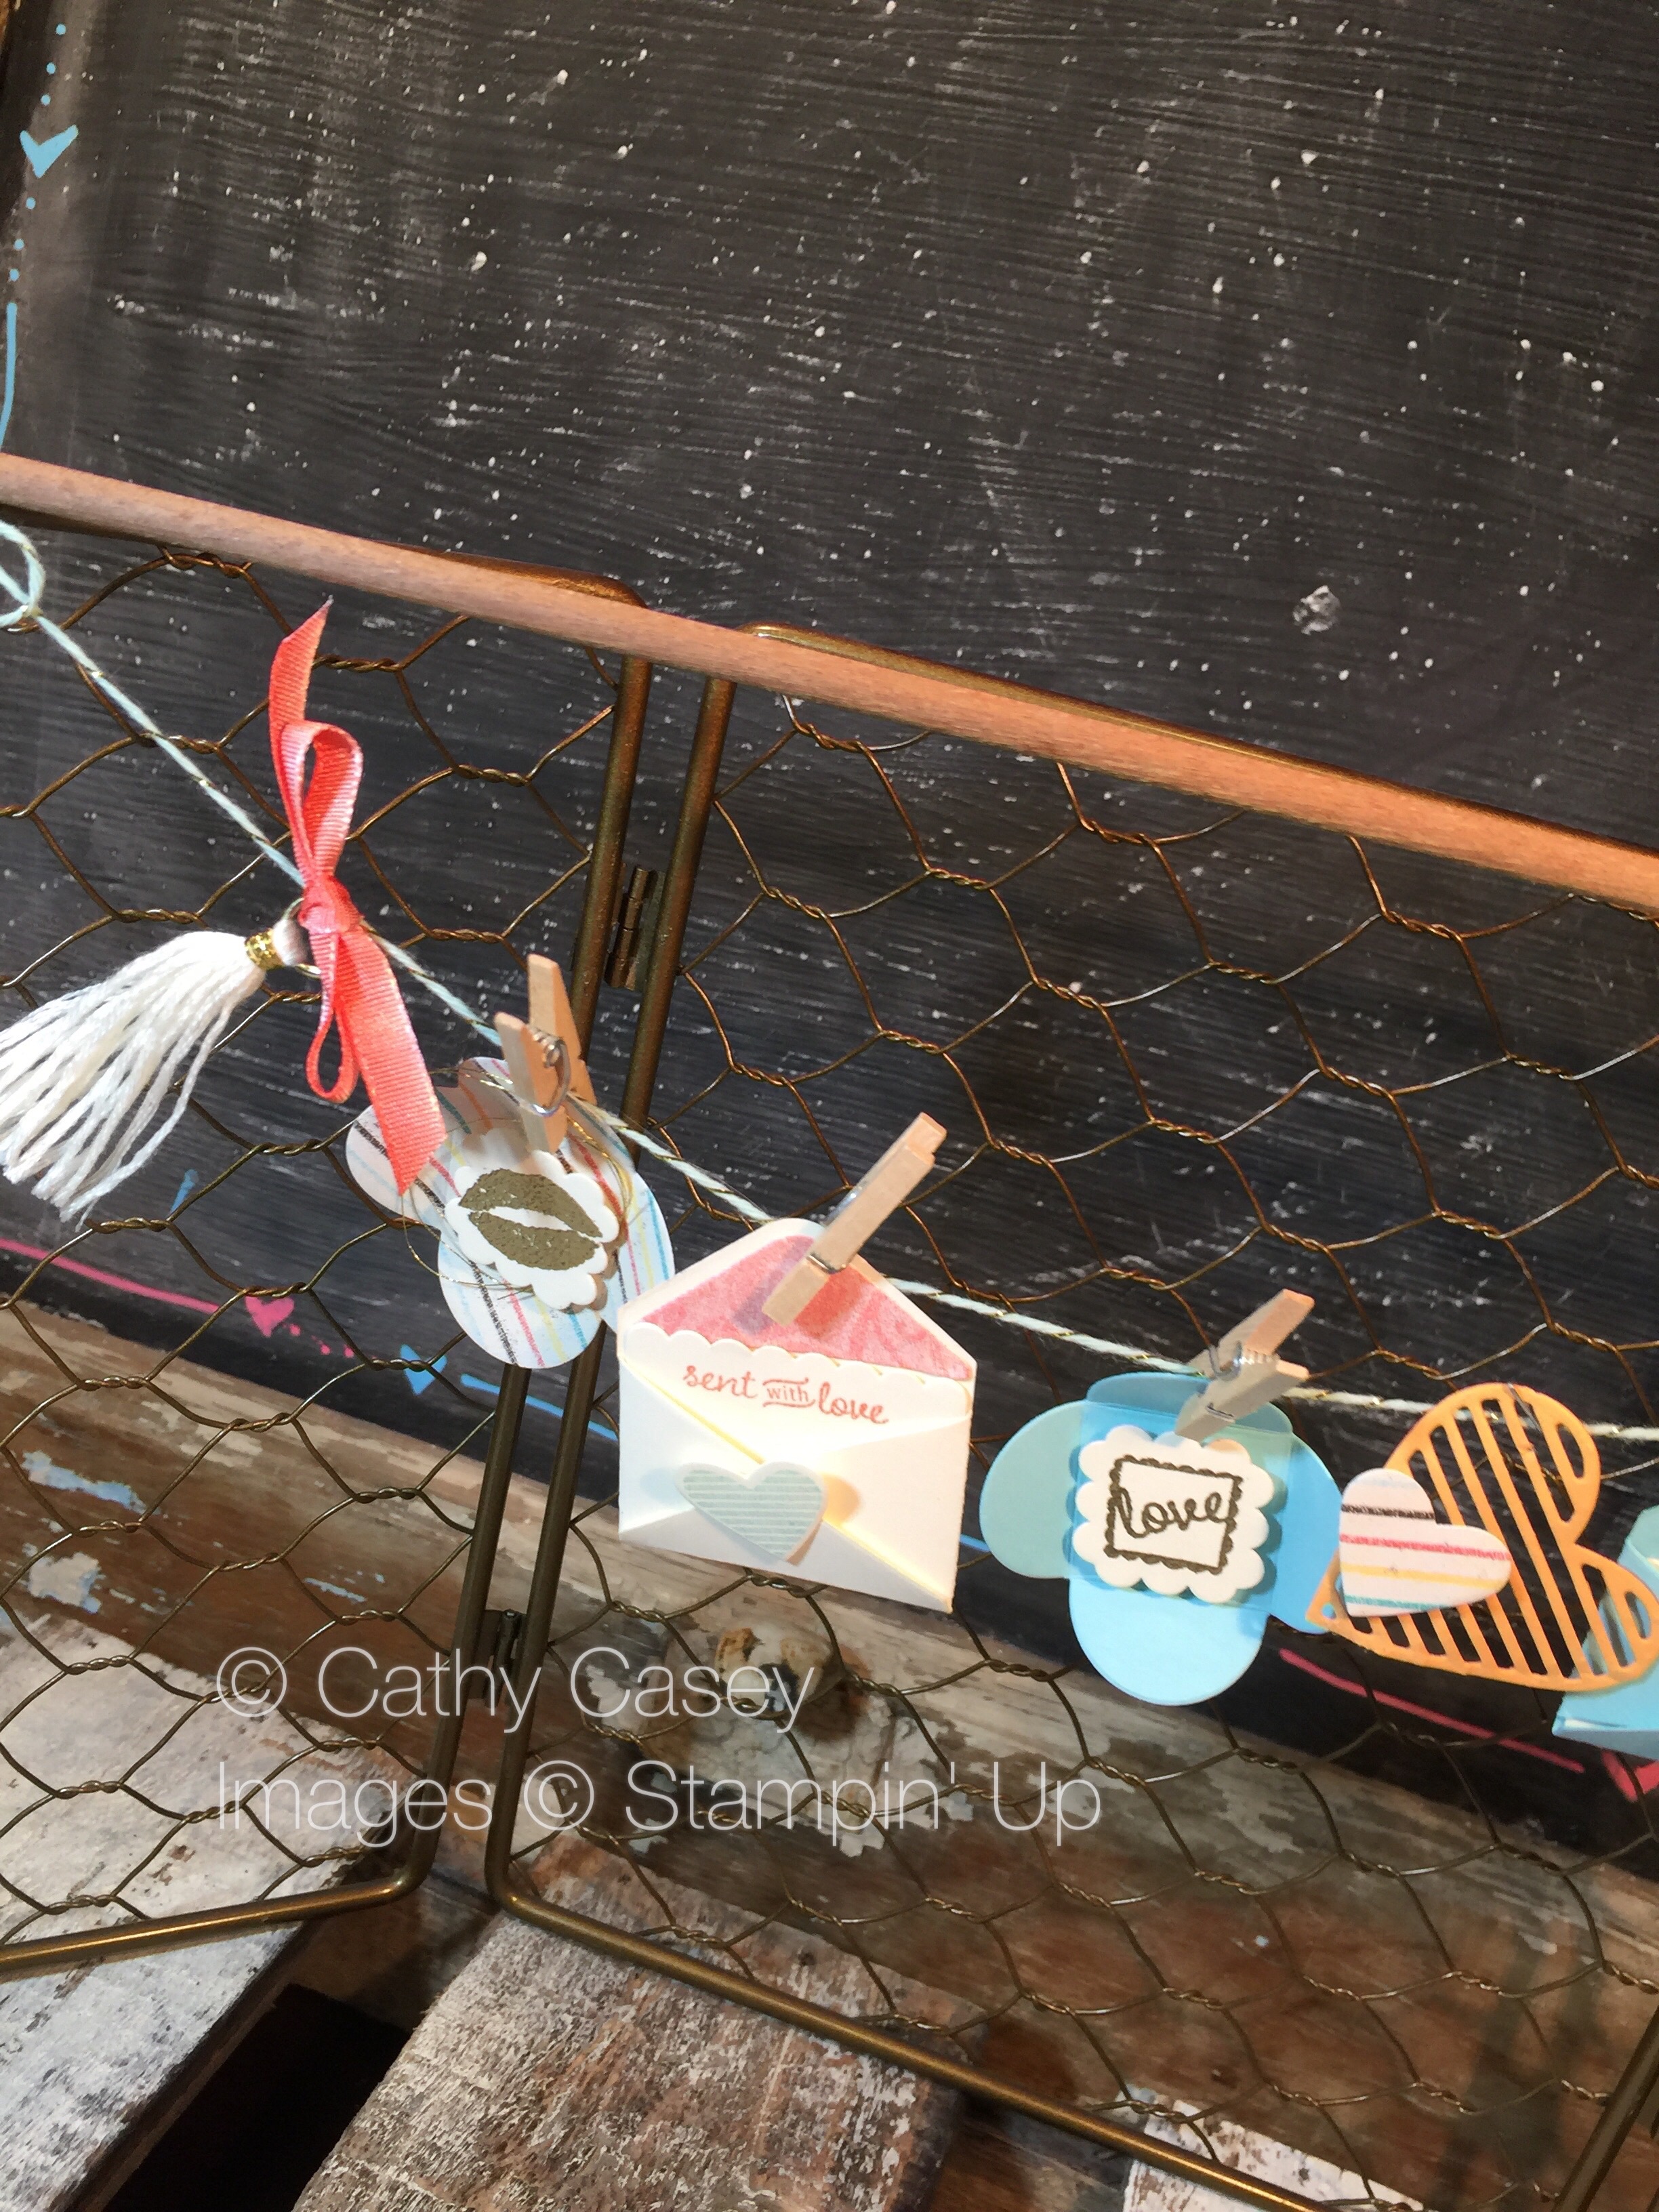
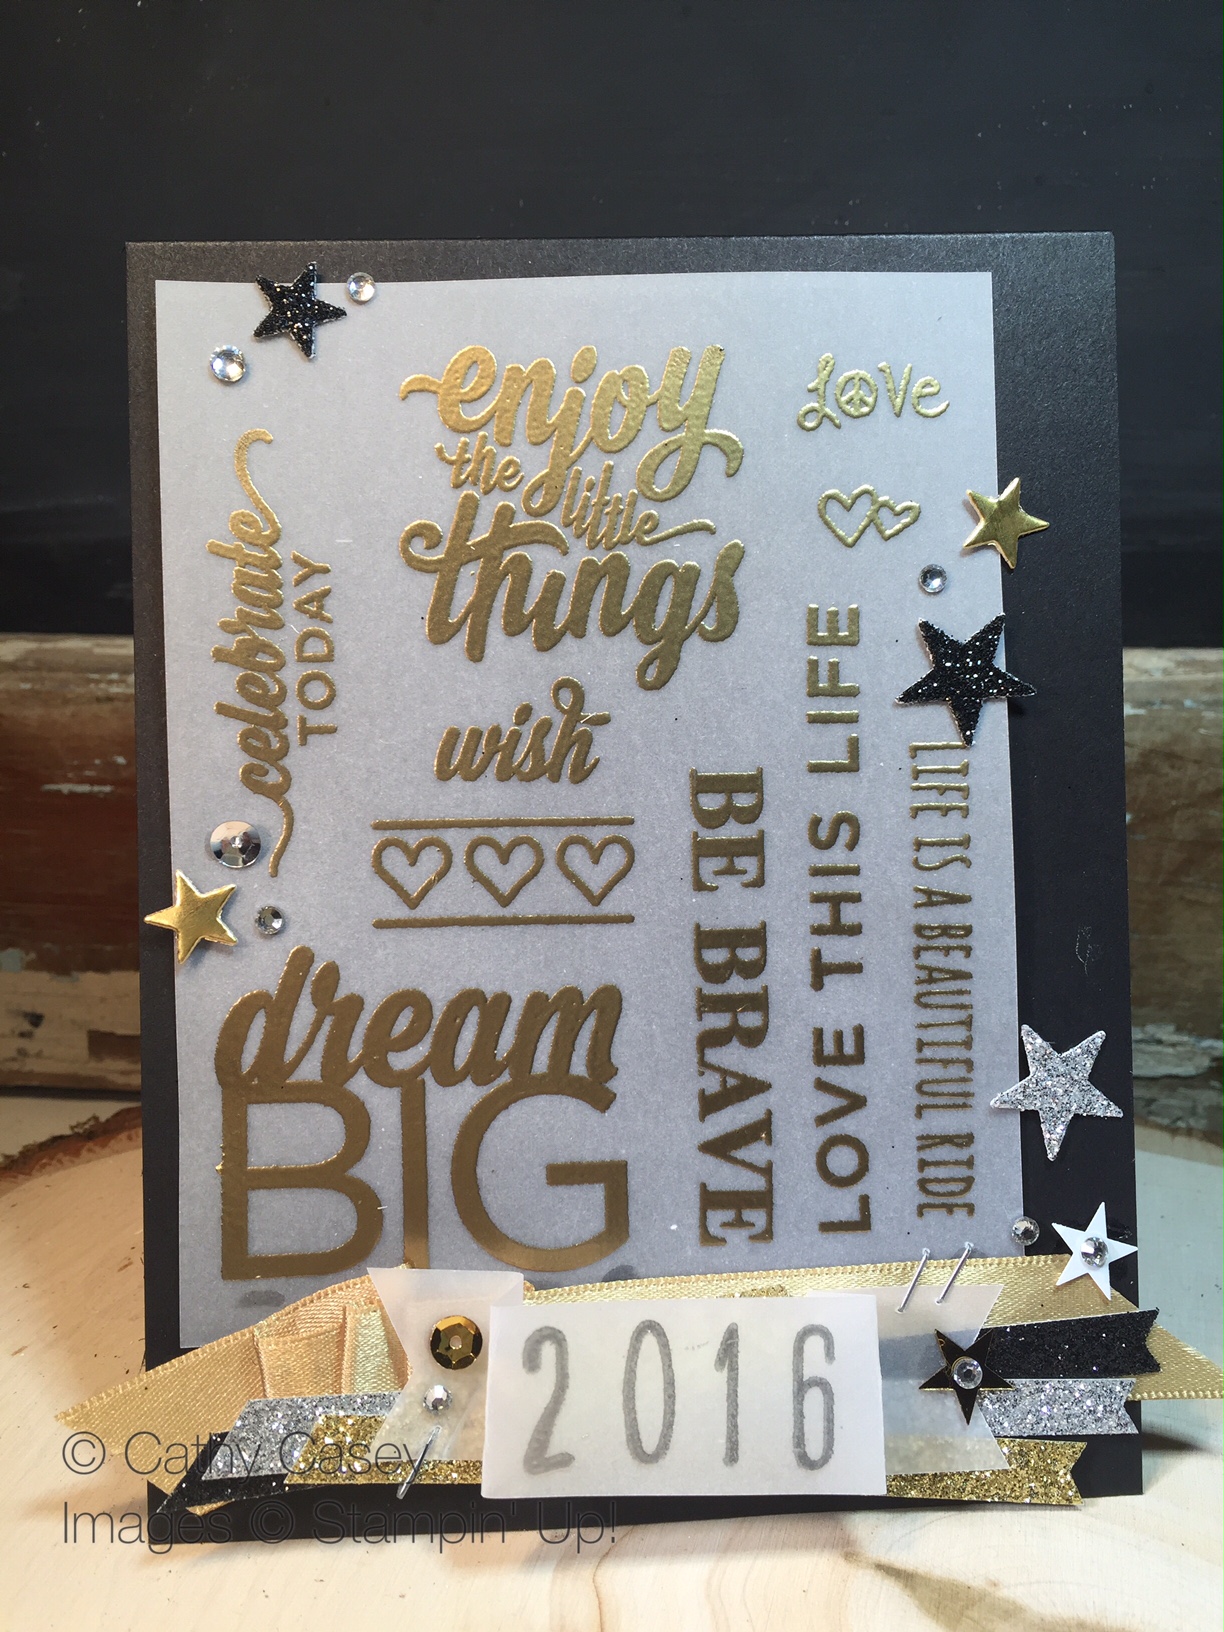
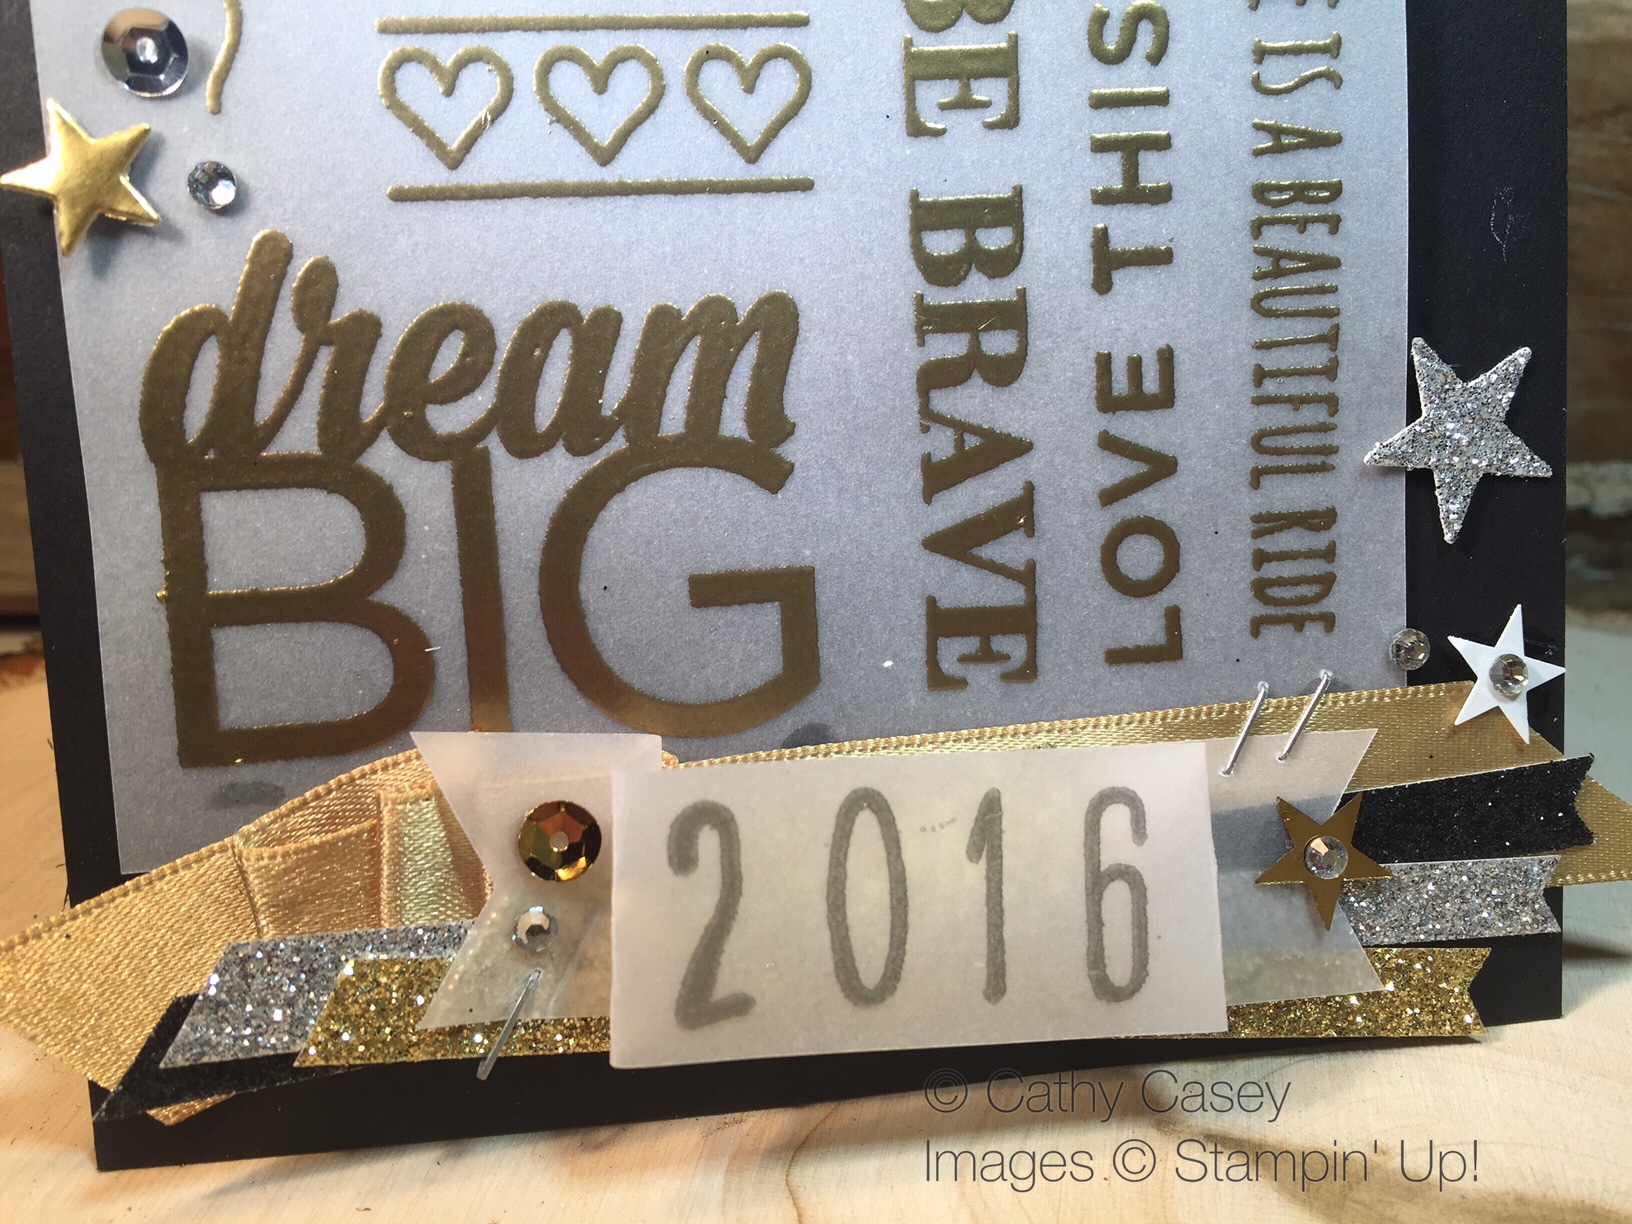
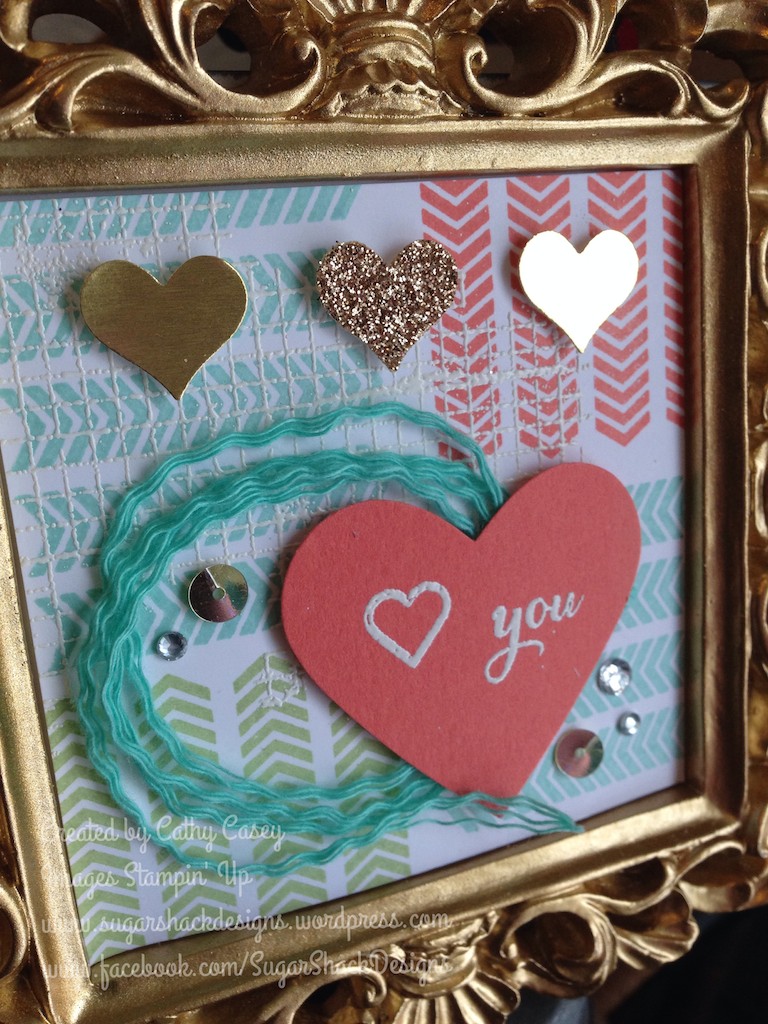
Here is the finished project in its frame.  It is hard to get a good photo without reflections off the glass but you can see how pretty it is ready for display.

Summer Sampler Stampin' Up

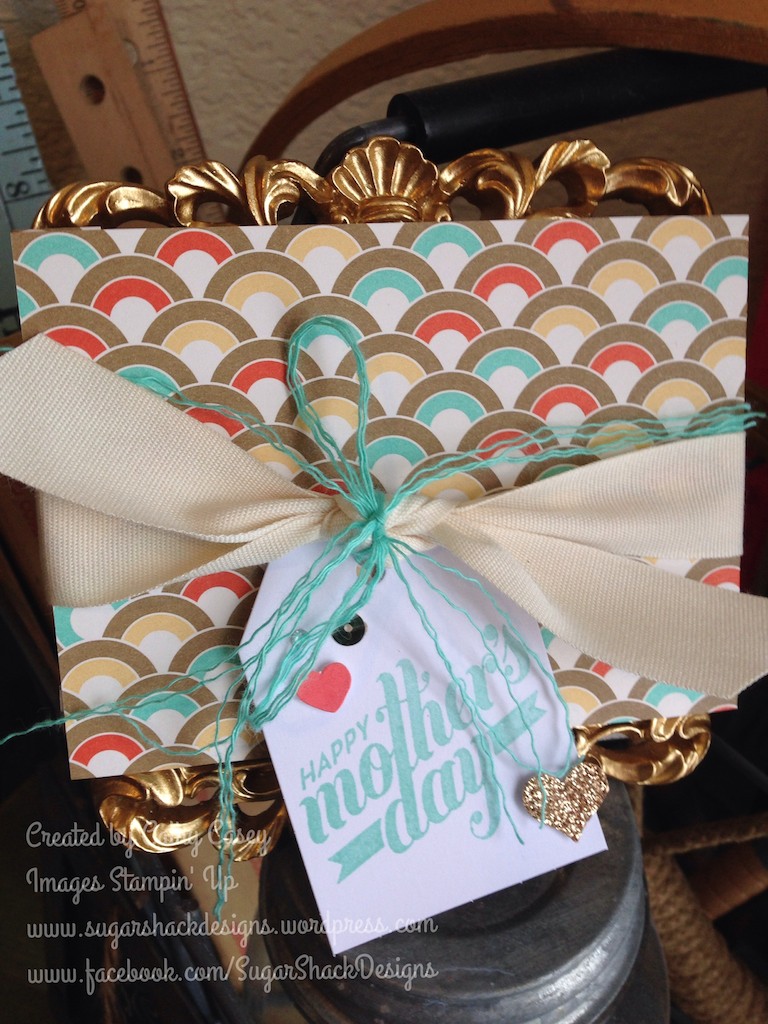
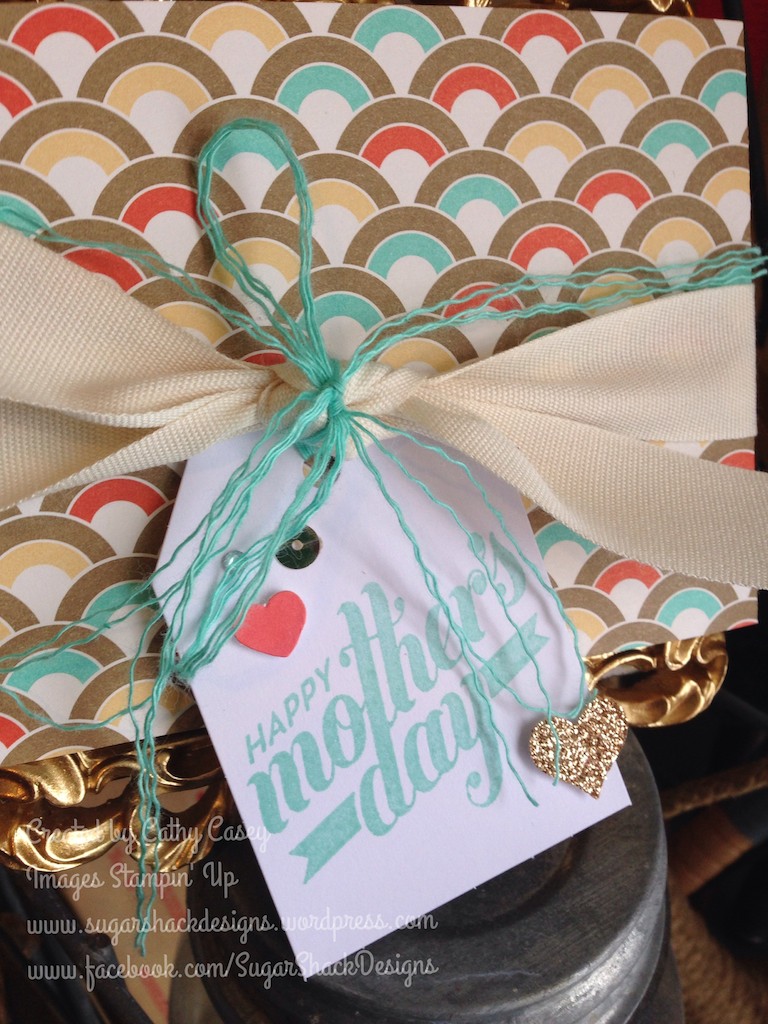
No frame in this pic:

Summer Sampler Stampin' Up

Busy stampers creating their masterpieces…and enjoying their Starbucks of course!!

Summer Sampler Stampin' Up

Creative Tips:

  1. Pick colors for the season that work well together.  Then mix and match your selected colors among the blocks.  Every color is not in each block except Whisper White.  This helps you create a cohesive piece that pops!  Sometimes I base my color palette on a DSP, then your palette is already set and you know the colors will work together.  Thank you Stampin’ Up!  You make it so easy to create a gorgeous project!
  2. This project is all about dimension!  You want to use a shadow box style frame that has some distance between the glass and your finished project.  Then go crazy with dimensionals to bring your vignettes to life!  So much fun 🙂
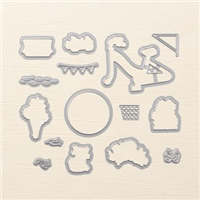
  3. Have you tried the Big Shot Embossing Mats yet????  I used it today to use the big die from the Springtime Impressions Thinlits to create an embossed background instead of a die cut.  This is life changing!!  It means all of my dies now have an opportunity for double duty and lots of fun impressions are just waiting to be made!  I LOVE this and you NEED it in your creative arsenal!  Make sure you keep the packaging, it has all the instructions for various sandwiches for different effects.

Make sure you go “back” if you missed Bree’s wonderful creation or you can loop on around by hitting the “next” button to get to Dani’s gorgeous work and the rest of the hop!  Links to all of our fabulous hoppers are listed below 🙂

  1. Amy O’Neill
  2. Breelin Renwick
  3. Cathy Casey – you are here!
  4. Dani Dziama
  5. Elizabeth Price
  6. Julie Warnick
  7. Kaitlyn Zumbach
  8. Melissa Stout
  9. Wendy Weixler

Banner Love

mondaymontage banner revised Oct 13

Monday Montage Blog Hop – Week 87

Hello friends! Welcome back to the Monday Montage Blog Hop! You may have gotten here from the amazing Bree Renwick’s blog, make sure you select the “next” button below and that will take you to the next stop on the hop, the wonderful Dani Dziama’s blog.

Today I have a different take on love and the Sending Love Suite.  I combined the images and dies from the love suite with the colors of the Cupcakes & Carousels Suite.  I think the results are sweet and romantic and a little different than your typical Valentines colors.  Yum!

This project can be as simple or as complicated as you feel like making it 🙂

This little beauty is up in my craft room & I just love gazing at it!

Sealed with Love Stampin' Up

Sealed with Love Stampin' Up

Sealed with Love Stampin' Up

Make sure you go “back” if you missed Bree’s wonderful creation or you can loop on around by hitting the “next” button to get to Dani’s amazing work and the rest of the hop!

mondaymontagebackrevmondaymontagenext

Sending Love to You!

mondaymontage banner revised Oct 13

Monday Montage Blog Hop – Week 85

Hello friends! Welcome back to the Monday Montage Blog Hop! You may have gotten here from the amazing Bree Renwick’s blog, make sure you select the “next” button below and that will take you to the next stop on the hop, the wonderful Dani Dziama’s blog.

Welcome 2017 and welcome back to our fantastic group of bloggers!  We took a little time off during the holidays but we are super excited to be back and sharing fun stuff with you!

My project features one of my absolute faves from the Occasions Catalog that went live on January 4th.  If you haven’t checked this catalog out yet, you are totally missing out!  Super fun stuff inside 🙂  I am totally in love with the Sending Love Suite on page 14.  I made a cute canvas that will become part of my January/February home decor.

The tiny canvas came from a craft store along with the tiny easel that is painted black.  Many of the little goodies added to the canvas were stamped with the Sealed with Love stamp set or die cut with the Love Notes Framelits.  There is a lot of Real Red in these pieces, it is set off with a black flower die cut with the May Flowers Framelits and a gold doilie.

I know this will be a cherished piece in my home & I hope you love it too!

Sending Love Suite Stampin' Up

Sending Love Suite Stampin' Up

Sending Love Suite Stampin' Up

Make sure you go “back” if you missed Bree’s wonderful creation or you can loop on around by hitting the “next” button to get to Dani’s amazing work and the rest of the hop!

mondaymontagebackrevmondaymontagenext

OnStage 2016! Some pretties from SLC!

mondaymontage banner revised Oct 13

Monday Montage Blog Hop – Week 67

Hello friends! Welcome back to the Monday Montage Blog Hop! You may have gotten here from the amazing Bree Renwick’s blog, make sure you select the “next” button below and that will take you to the next stop on the hop, the wonderful Dani Dziama’s blog.  I am sure we all have something special to share today!

I just got home from OnStage 2016 in Salt Lake City!  It was soooo much fun!  Lot’s of fantastic inspiration and all my creative cells are on fire and ready to make some pretty things 🙂  It was a great week with friends too, laughing and just enjoying time together.

I didn’t make any swaps this year, I just brought a few cards for downline sisters and friends.  I didn’t have a lot of time before my trip to put anything together so I made this simple project the night before I left for Salt Lake.  It is so simple yet sweet and elegant.  The gold embossed image makes it classy yet easy to put together.

The card features the swirly image gold embossed on the Whisper White card stock base.  “Hello” is die cut from Soft Sky card stock and the hashtag is die cut from Island Indigo.  They are connected with a staple.  Silver thread is swirled behind the die cut images and attached to the card front with glue dots.  The final touch are the rhinestones for extra bling 🙂

Memories in the Making Stampin' Up

Memories in the Making Stampin' Up

My second project is a cute gift bag I made for my BFF and roomie in SLC.  I had a little gift for her and I needed something quick and easy to put it in.  No stamping necessary, I just made a cute little topper to add to the top of a glassine bag.

This project features about 3/4 of a Tea Lace Doilie and a small gold Metallic Foil Doilie stacked on top of each other.  Two small banners are punched out of Birthday Bouquet Designer Series Paper and Pool Party.  A piece of Mint Macaron Dotted Lace Trim is folded accordian style under the mini banners.  These are all stapled in a stack to the doilies.  A bow is tied with doubled Whisper White Baker’s Twine and added.  A Metal Rimmed Pearl is added too.  The whole piece is attached to the top of a Sketched Dots Gift Bag.  This went together in a few short minutes and looks soooo cute and extra special!

Sketched Dots Tag a Bag Gift Bag Stampin' Up

Sketched Dots Tag a Bag Gift Bag Stampin' Up


I hope you have enjoyed our projects and I am so happy to share a little bit of OnStage with you!

Make sure you go “Back” if you missed Bree Renwick or you can loop on around by hitting the “Next” button to get to Dani Dziama and the rest of the hop!

mondaymontagebackrev

mondaymontagenext

Price: $5.25

Enjoy the Little Things in 2016!

2016???  Seriously!  The past year just seemed to fly by and now 2016 is here!  I just know this is going to be a fantastic year, I am committed to making it the best year ever 🙂

My last entry into the TGIF Challenge was picked as a favorite again!  Sooo exciting!  I have to play along again this week and I must say I am so excited to take on this week’s glitzy color challenge featuring silver, black and gold….uhhhh, these are faves to play with 🙂

On to this week’s challenge:

TGIF JAN Challenges_2_2-001

I am so in love with this new set in the Occasions Catalog “Enjoy the Little Things”.  I am totes obsessed with the fonts and the sentiments and I wanted to incorporate at least one in my New Year’s card.  Then I thought, hey why not use a bunch of them subway style??  The result is this beauty.

First several of the stamps were set up on one large block in the design and then gold embossed on vellum.  The vellum was added to a Basic Black card base.  Next, gold satin ribbon and banners of gold, black and silver glimmer paper were added along the bottom of the card front.  A vellum banner was added with the year 2016 silver embossed on it.  The final touches were sequins, rhinestones and stars to add glitz and glam….all a fitting welcome to the new year!

Enjoy the Little Things Stampin' Up

Enjoy the Little Things Stampin' Up

Happy, happy new year to you and yours!

Price: $5.25

Supply List

Built for Free Using: My Stampin Blog

Christmas Eve, Eve!

Wow, I can hardly believe it is already Christmas Eve in just a few hours!  I.am.not.ready!  LOL!  So tonight I will be burning the midnight oil for sure!!!  I made scrumptious chocolate covered pretzels for my team and peers at work and I needed something super cute to put them in.  Voila!  This adorbs pillow box is perfect!  Except….I probably will be up alllll night if I make one of these for each recipient.  I may end up doing something a little simpler for tomorrow’s treats 🙂

I love this pillow box though and it is my entry for the “Holly Jolly” TGIF Challenge this week!  I’m super excited to say that I was the winner of last week’s challenge….yippeeeee!  I just need to figure out how to add this cute button to my blog sidebar 🙂

TGIF Fave!

On to this week’s challenge:

#tgifc34

My pillow box is my favorite kind of Christmas project, you may have noticed I am a fan of non-traditional Christmas color schemes and this is no exception!  Black, white and silver!  Classy Christmas right?

To start, the pillow box is die cut in Whisper White and one additional side in the tree image from the Winter Wonderland Designer Vellum Stack.   The tag image is die cut from Black Glimmer Paper…so gorge!  The deer image from Jolly Christmas is silver embossed and fussy cut.  The final touches are a Silver Satin Ribbon belly band tied in a big bow and White Perfect Accents & Rhinestones.  I love the simplicity and beauty of this project!  It would look fantastic as place setting gifts for Christmas dinner guests.

Jolly Christmas Pillow Box

Jolly Christmas Pillow Box

Jolly Christmas Pillow Box

Jolly Christmas Pillow Box

I wish the very best for Christmas with your family and loved ones!  I hope you are inspired to make something pretty over the holidays 🙂

Supply List

Built for Free Using: My Stampin Blog

Christmas Gifties

mondaymontage banner revised Oct 13

Monday Montage Blog Hop – Week 36

Hello friends! Welcome back to the Monday Montage Blog Hop! You may have gotten here from the amazing Bree Renwick’s blog, make sure you select the “next” button below and that will take you to the next stop on the hop, the fabulous Dani Dziama’s blog. I can’t wait to share our beautiful inspiration with you today!

I know January is already winding down but bear with me for a look back at Christmas 2014 and our blog hop group’s gift exchange.  This year my gift went to Bree.  I made her an ocean themed charm necklace because I know she loves the beach and goes to the Washington coast often with her family.    I hope she loves as much as I do!  I have been selling jewelry at craft shows locally for the last several years and I have finally gotten up my nerve to open up a shop on Etsy too!

Cathy 033

I have been obsessed the last few years with the cute snow globes in jars projects you see all over Pinterest.  This year I finally made some myself that I liked 🙂  I sent this one to Bree:

Cathy 034

Cathy 035

Gifts for special people need special wrapping…here is what Bree’s gift looked like before I sealed up the shipping box.  This is Target meets Stamping’ Up and it’s a match made in heaven.  Target had the cutest deer themed goodies this year 🙂

Cathy 032

Thanks for letting me share, I hope you have a week filled with inspiration and beauty!

Make sure you go “Back” if you missed Bree Renwick or you can loop on around by hitting the “Next” button to get to Dani Dziama and the rest of the hop!

mondaymontagebackrev

mondaymontagenext

Happy, Happy Mother’s Day!

mondaymontage banner revised Oct 13

Monday Montage Blog Hop – Week 19

Hello friends! Welcome back to our Monday Montage Blog Hop! You may have gotten here from the amazing Bree Renwick’s blog, make sure you select the “next” button below and that will take you to the next stop on the hop, the fabulous Dani Dziama’s blog. I have something super fun today & I know my friends have amazing inspiration too!

I just had to use a couple of our new products coming in the new catalog in a few short weeks and some stuff that that will soon be gone from the Occasions Catalog!  I also used some of my April Paper Pumpkin goodies & I was totally inspired by that project.  If you are not subscribing to My Paper Pumpkin, you are totally missing out!  The projects are so super, duper cute and the stamps sets are only available to subscribers.  I have to say, the stamps that come with MPP are some of my “go to” stamps!  Sooooo adorbs!

MPP came with a beautiful white 4″ x 4″ frame and some pre-cut pre scored card stock to make a cute “wrap” around the finished frame.  I wanted to show that you can duplicate this project with any frame you pick up at any craft store.  I got my beautiful gold frame at Michael’s in the dollar bins.  I think I paid $2 for it but it is so pretty and well worth the $2 🙂

Cathy 005 (2)

Cathy 006 (2)

Let’s talk about how I made the outer wrap first.  I had to modify the dimensions of the wrap piece to match my frame.  The MPP project has the top and bottom of the frame sticking out and I loved that look…my gold frame sticking out top and bottom is just delish!

Cathy 007 (2)

Cathy 008 (1)

Here are the measurements I used:

The narrow dimension was 3.5″ to fit my frame and leave some of the gold edges visible top and bottom.  The long dimension was 11″, that gave me a front of 4.75″, a back of 4.75″ and 1.5″ to score and fold for the ends.  See the dimensions below:

Cathy 004 (2)

You just need to adapt to whatever your size frame is, your folds are based on the thickness and the big sections are based on the front dimensions.  Really easy I promise!

Since my frame was gold, I had to add lots of gold accents, hearts punched out of gold foil and gold glitter paper.  Isn’t that new little heart punch the cutest?  I just love the look of that heart!  I also added gold sequins and rhinestones.  I can hardly wait to order the new sequins in the new catalog!  They are soooo cutely!  If you don’t have a new catalog yet, let me know and I will get one right out to you!

I was also super excited to see that the thick baker’s twine we had during Sale-A-Bration made the catalog!  I just love that stuff!  I un-twine it and it makes the best fluffy twine ever.  I used Coastal Cabana for my front bow and my twine inside on the frame.  I used the MPP stamps to do my background and my front tag.  MPP stamps are photopolymer now.  I really, really like using photopolymer stamps.  It is easy, peasy to get them lined up right where you want them and they stick to the blocks like crazy!  Another stamp set I just had to use was “Off the Grid”.  I am so, so, so sad that set is retiring!  I have used it so much this past year, I just think it is the perfect add to nearly everything!  I stamped it in Versamark on top of my arrows in the background and embossed it in white.  I just love how that looks!

That’s pretty much it, I used a few new items, a few MPP items and a few soon to be gone items!  I also used the MPP inspiration to make a similar project with other supplies (the frame).  Lots of things to inspire you to look outside the box so to speak!

I hope you enjoyed this project I made for my mom for Mother’s Day & that I’ve inspired you to use MPP as a jumping off place for your creativity 🙂

Don’t miss the rest of the pretties my friends have for you!  I just know everyone has gorgeous projects to share!

Make sure you go “Back” if you missed Bree Renwick or you can loop on around by hitting the “Next” button to get to Dani Dziama and the rest of the hop!

At the bottom of my post you can find the products I used, just click on the picture to order!

mondaymontagebackrev

mondaymontagenext

“Get Lucky” Banner!

mondaymontage banner revised Oct 13

Monday Montage Blog Hop – Week 14

Hello friends! Welcome back to our Monday Montage Blog Hop! You may have gotten here from the amazing Bree Renwick’s blog, make sure you select the “next” button below and that will take you to the next stop on the hop, the fabulous Dani Dziama’s blog. I have something funky & fresh today & I know my friends have amazing inspiration too!

Okay, I know this is yet another banner but several of my friends have made the cutest banners for St. Patties so I just had to follow suit!  I also wanted to show that you could make more than one banner from the cute banner Sale-A-Bration kit sooooo I made a second banner with the parts I had left from last time 🙂

Cathy 004 (2)

This banner was simple, quick and easy!  It features gold, gold and more gold (another habit I can’t seem to kick!) and shamrocks cut with the e-cutter.  Now for some fun technique info:

I cut the shamrocks out of silver glitter paper and then I spritzed them with Wild Wasabi ink mixed with alcohol.  I can’t tell you how pretty that is!  I used my sponge dauber and gold ink to add gold dots to one of my Wild Wasabi hearts and one of the banner pieces.  I’m not sure I love the gold on the banner, it kinda looks brownish instead of gold but there is a little glint of bling so I stayed with it 🙂

I have to say the whole time I was making this I had the song “Get Lucky” playing in my brain.  I just love that song by Daft Punk & Pharrell Williams!  Those of you that watched the Grammys hopefully saw the awesome collaboration on this song with Stevie Wonder, Pharrell and the “robots” 🙂  Anyway, I love to work out and run to this song and this banner made me feel like I was totally up all night to “get lucky”!

Cathy 005 (2)

Cathy 006 (2)


  Cathy 007 (2)            Cathy 008 (1)

Cathy 009 (1)

I hope you enjoyed this project as much as I enjoyed making it to share!

Don’t miss the rest of the pretties my   friends have for you!  I just know everyone has gorgeous projects to share!

Make sure you go “Back” if you missed Bree Renwick or you can loop on around by hitting the “Next” button to get to Dani Dziama and the rest of the hop!

mondaymontagebackrevmondaymontagenext

Project Life Stampin’ Up Style

mondaymontage banner revised Oct 13

Monday Montage Blog Hop – Week 13

Hello friends! Welcome back to our Monday Montage Blog Hop! You may have gotten here from the amazing Bree Renwick’s blog, make sure you select the “next” button below and that will take you to the next stop on the hop, the fabulous Dani Dziama’s blog. I have something fun today & I know my friends have wonderful goodies too!

I have been pinning Project Life projects on Pinterest like crazy lately and today I just had to try my hand at a PL project Stampin’ Up style 🙂

Cathy 001

This page was super easy and fun to make.  I used the Rhonna Designs photo app on my phone to edit some of my pics, printed them and then figured out my layout.  I used pictures from a running event I participated in last weekend.  My pictures didn’t fit exactly in the pockets of my album page….soooo I chopped things up a bit to fit.  I love the way this turned out!  I think having elements go across pockets made the whole thing come out awesome!  And it was super easy to design and throw together!  The hardest part was photographing the page!  The pockets did not like my camera!  I am posting one pic of the whole thing put together and then the individual parts up close so you can see how the puzzle of the page was designed and goes together.  I’m also going to keep working on these pictures!!!  I’ll try to get better ones 🙂

Cathy 004 (1) Cathy 005 (1)

Cathy 007 (1)  Cathy 002

Cathy 003 Cathy 008

I hope you enjoyed this project as much as I enjoyed making it to share!

Don’t miss the rest of the pretties my   friends have for you!  I just know everyone has gorgeous projects to share!

Make sure you go “Back” if you missed Bree Renwick or you can loop on around by hitting the “Next” button to get to Dani Dziama and the rest of the hop!

mondaymontagebackrevmondaymontagenext