(last) summer fun

mondaymontage banner revised Oct 13

Monday Montage Blog Hop – Week 64

Hello friends! Welcome back to the Monday Montage Blog Hop! You may have gotten here from the amazing Bree Renwick’s blog, make sure you select the “next” button below and that will take you to the next stop on the hop, the wonderful Dani Dziama’s blog.  I am sure we all have something special to share today!

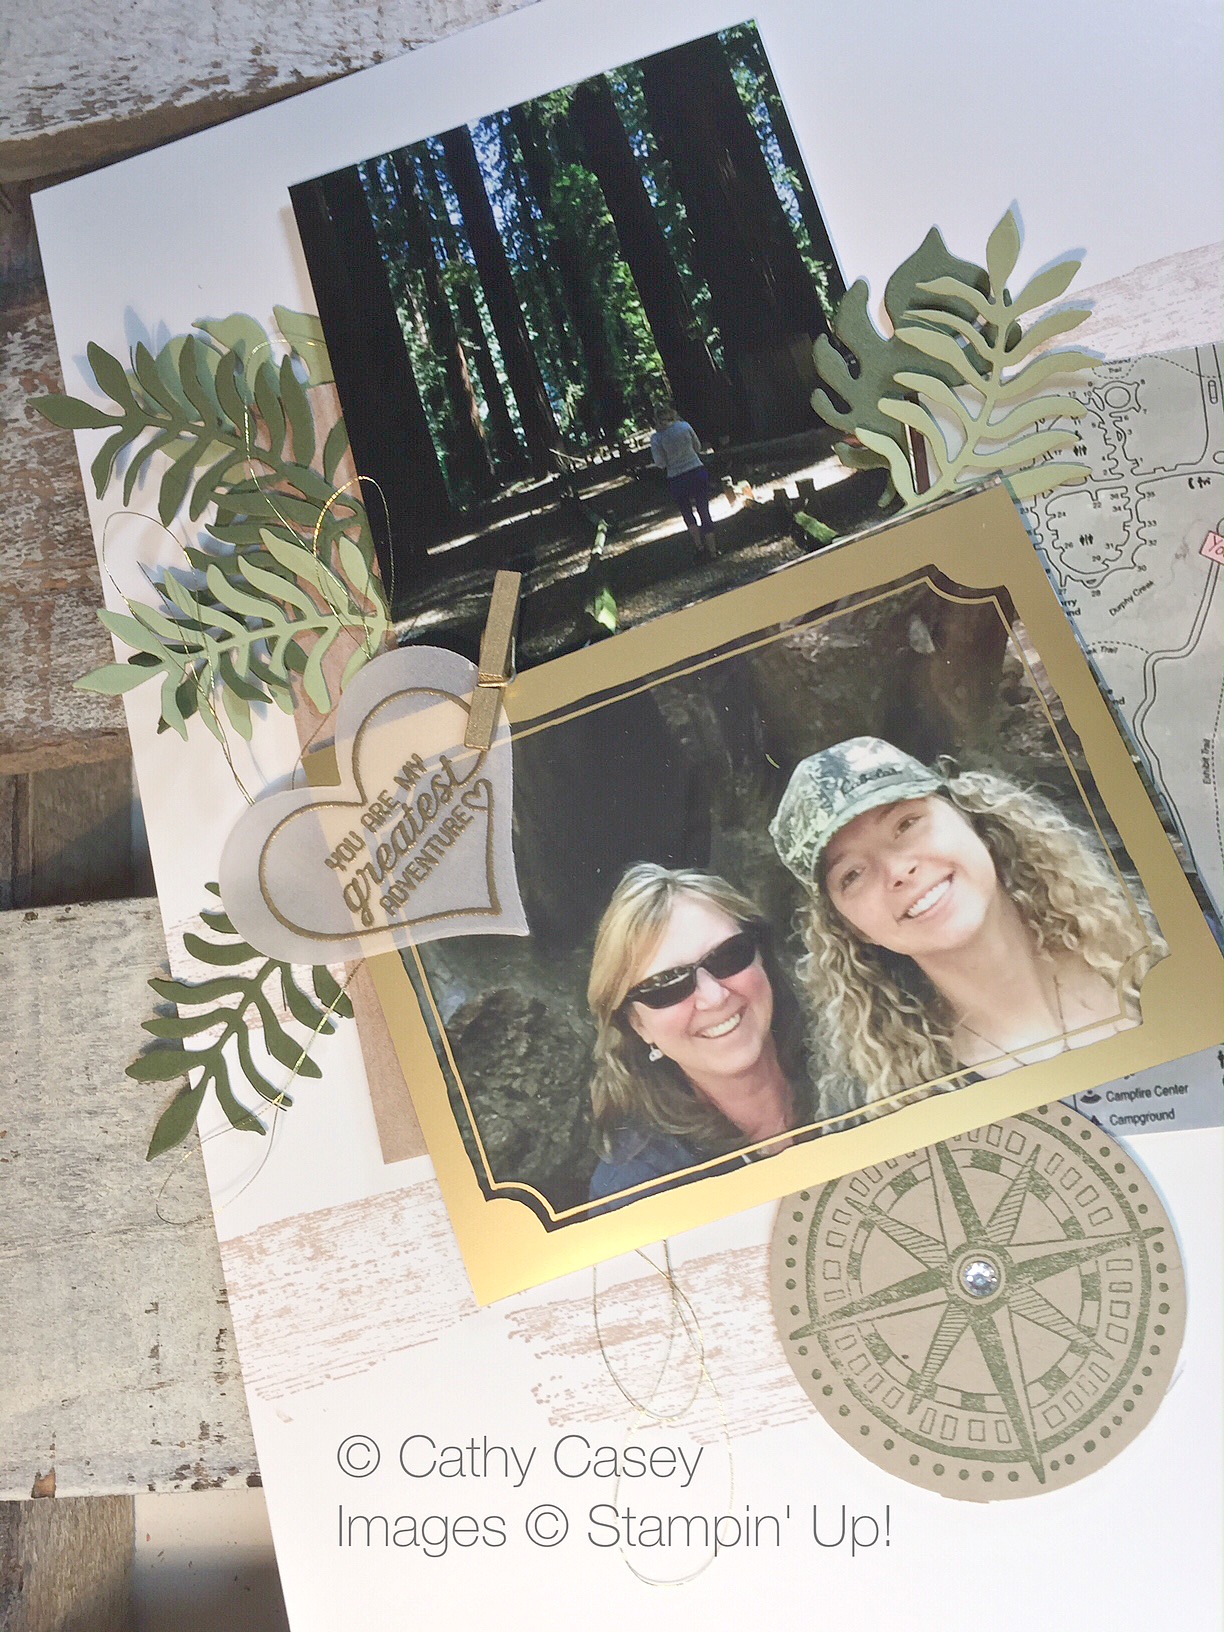
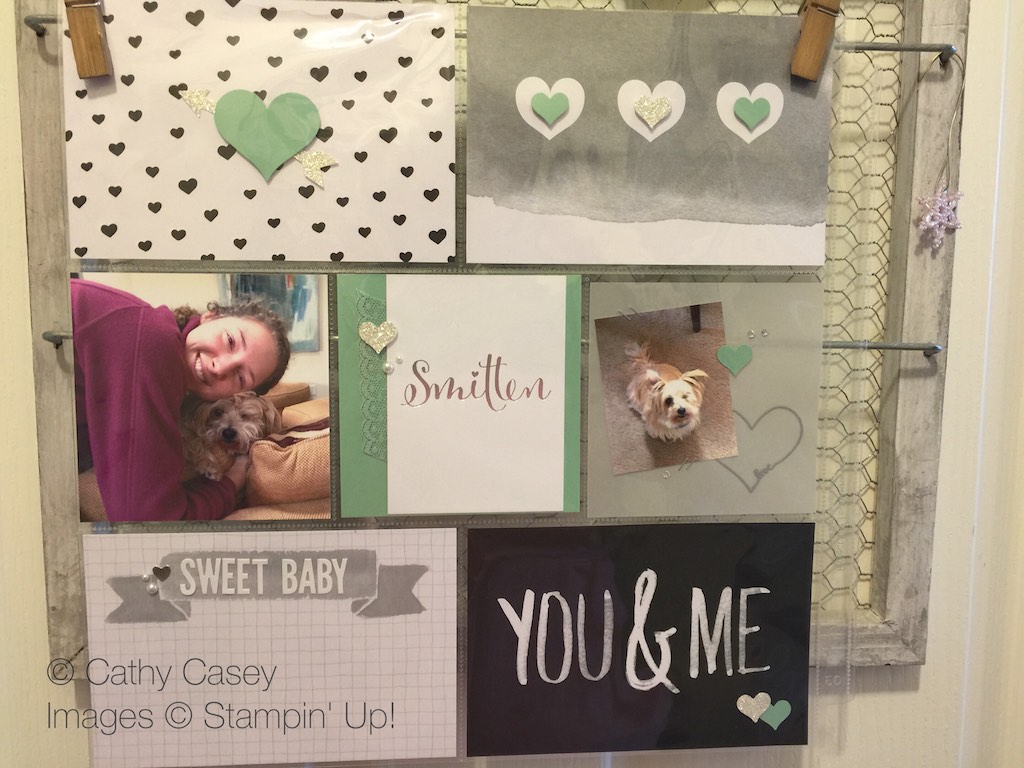
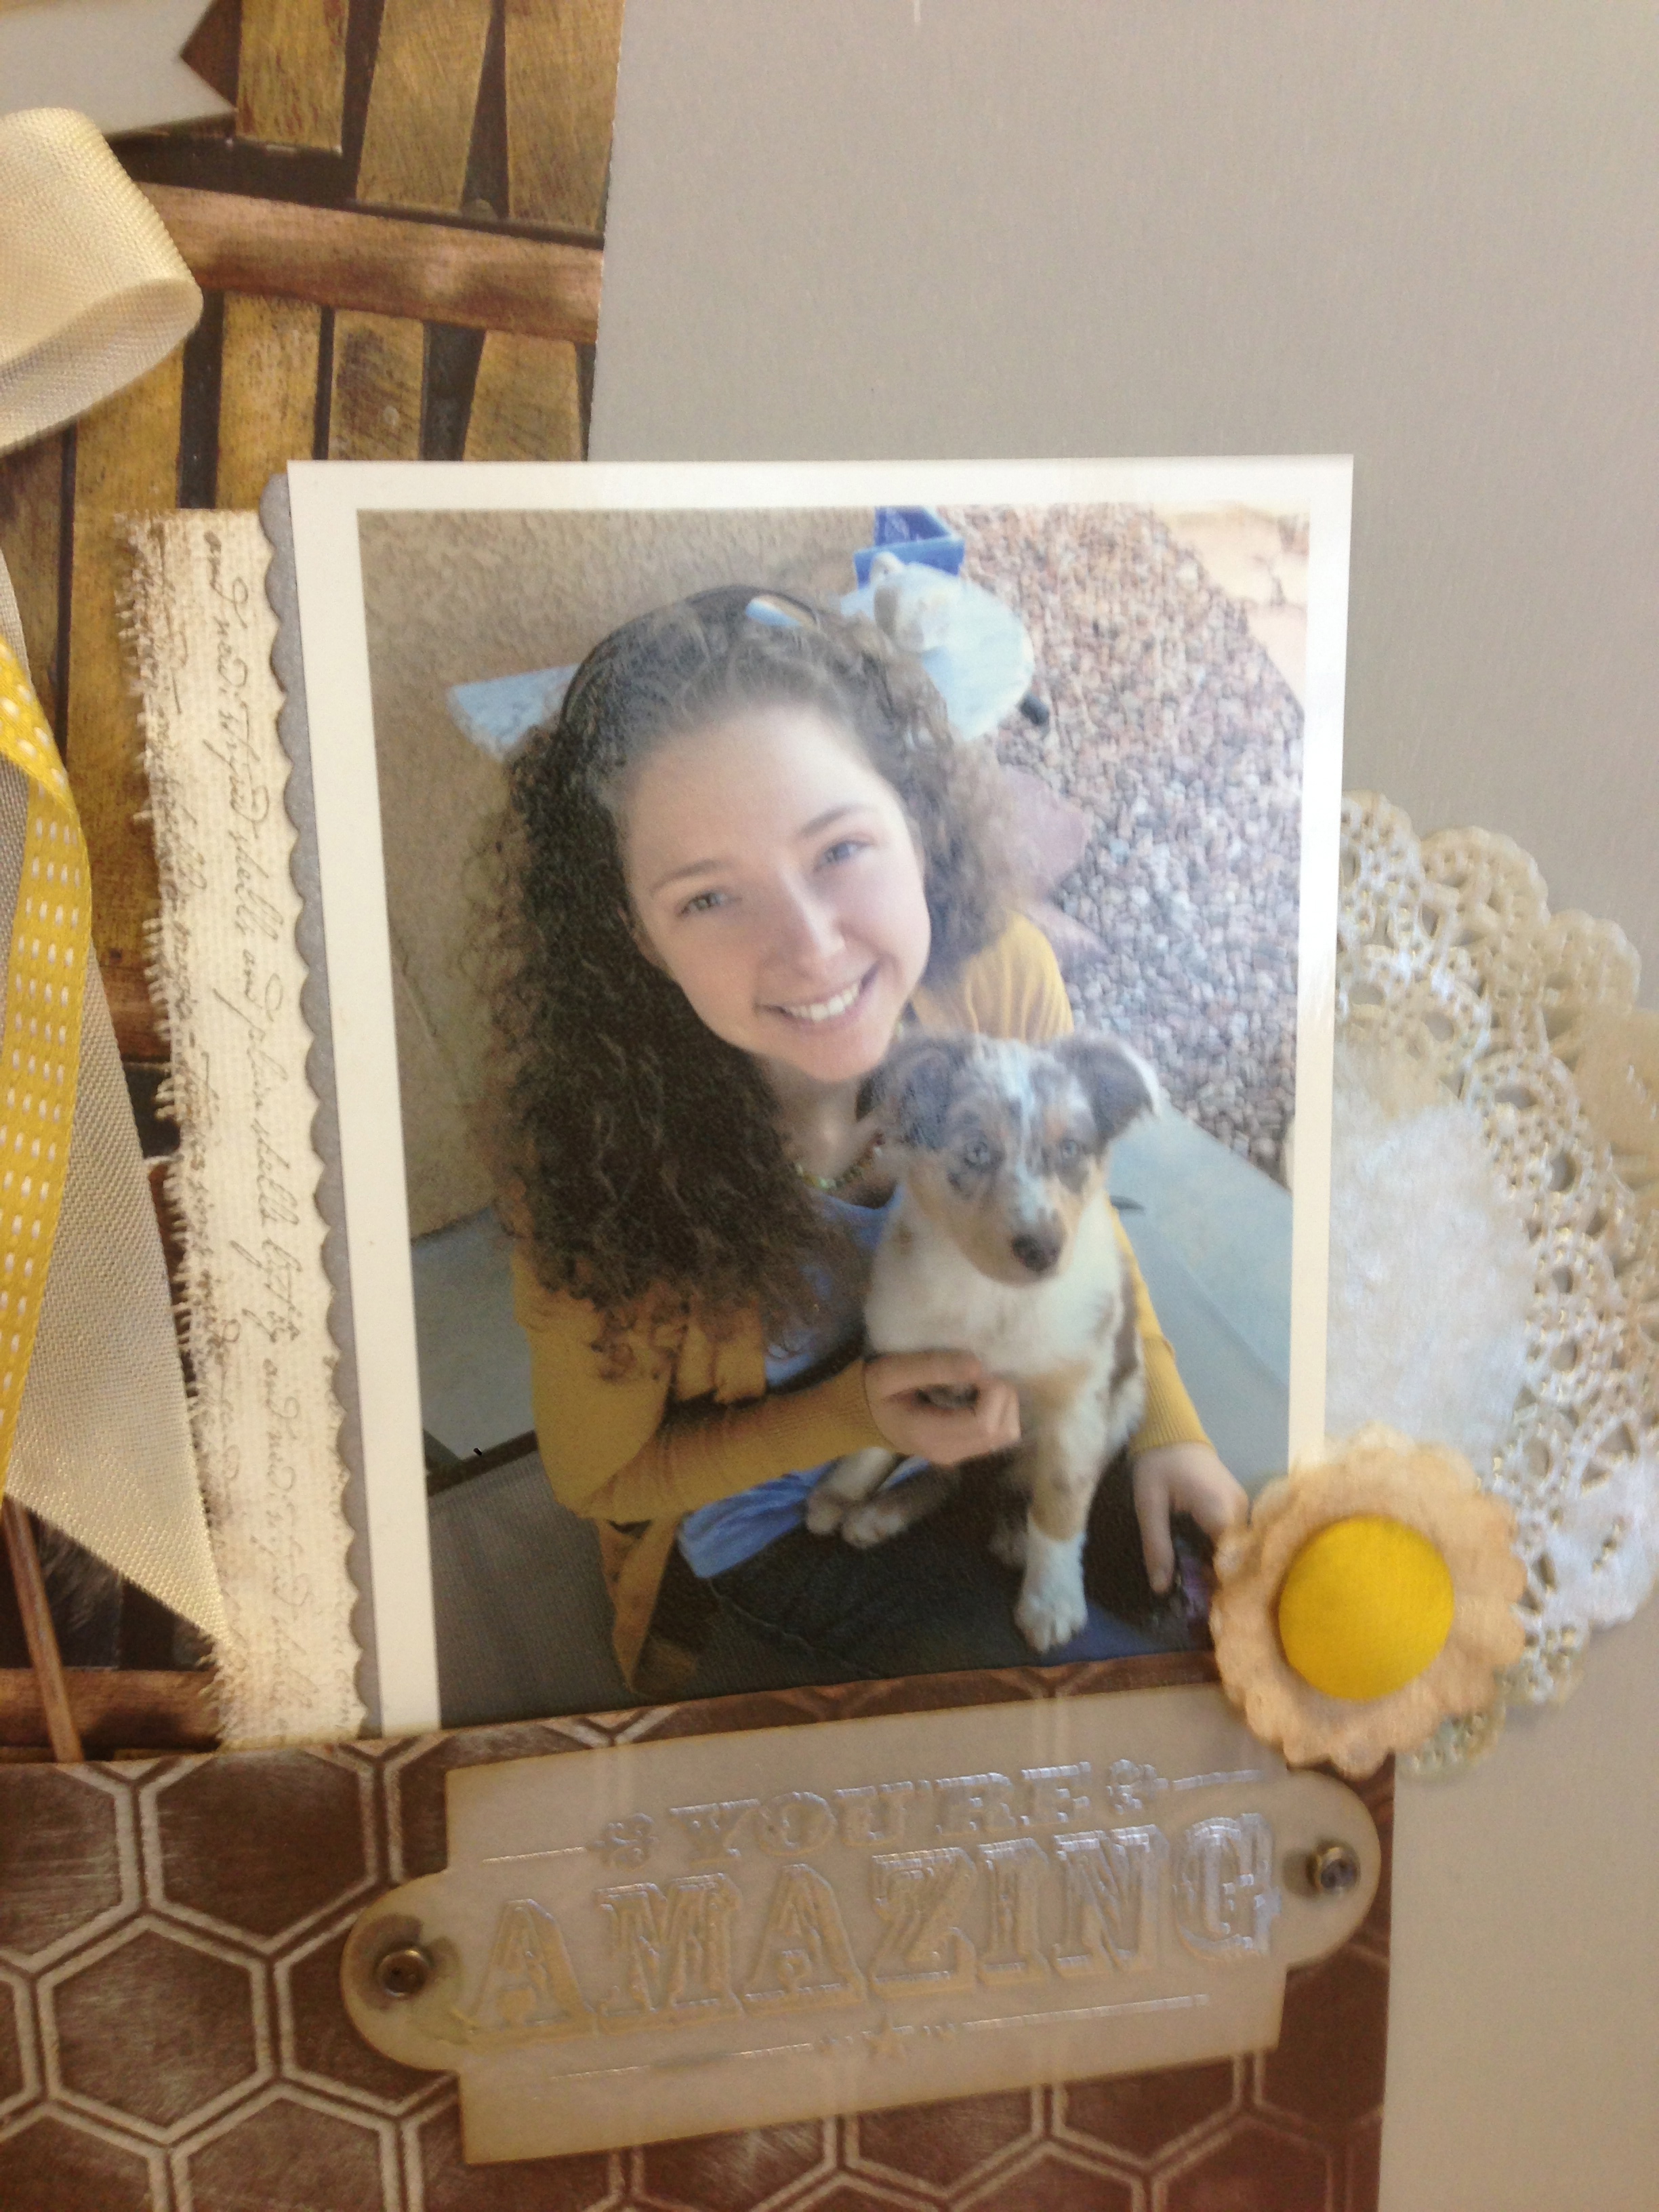
I’ve had the flu since Thursday…ugh!!  I didn’t feel too crafty this weekend, I spent my whole weekend in bed trying to kick the crud 😦  I made this cute scrapbook page last week memorializing one of our adventures during my road trip with my daughter last summer.  So fast and easy to throw this together 🙂

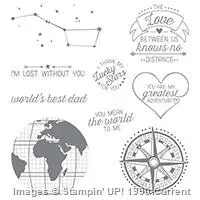
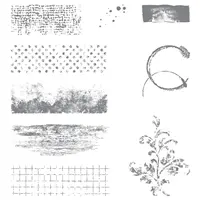
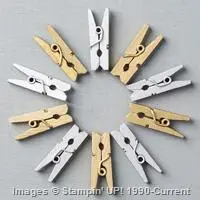
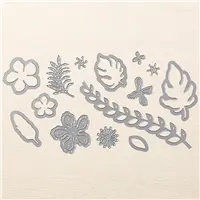
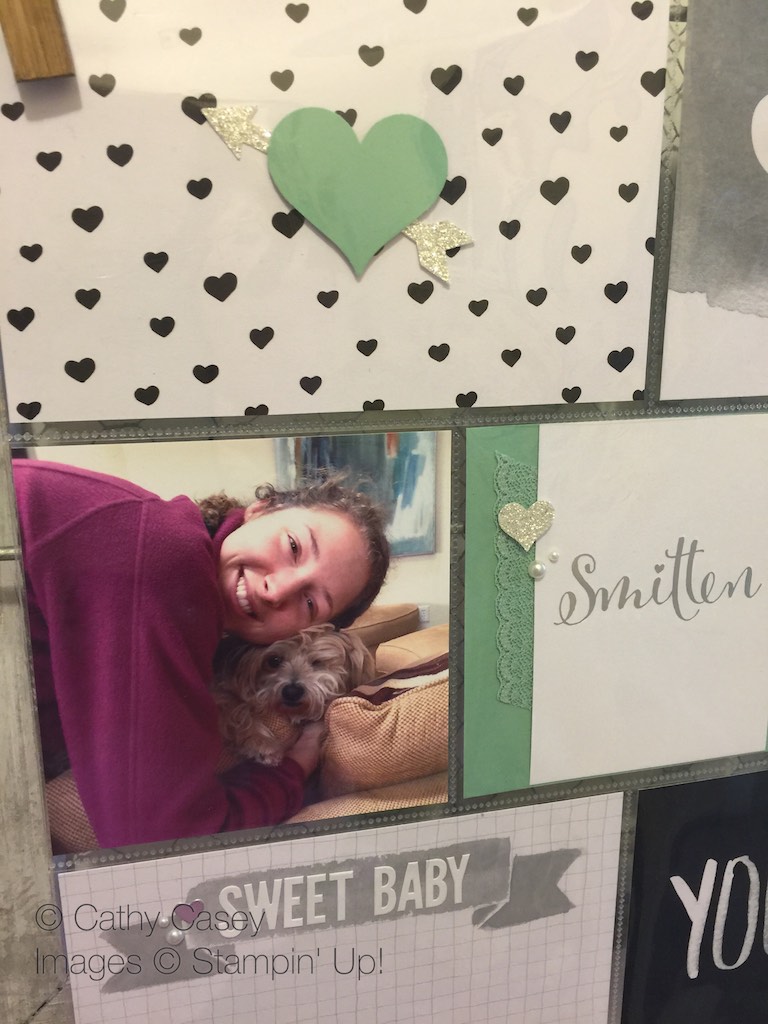
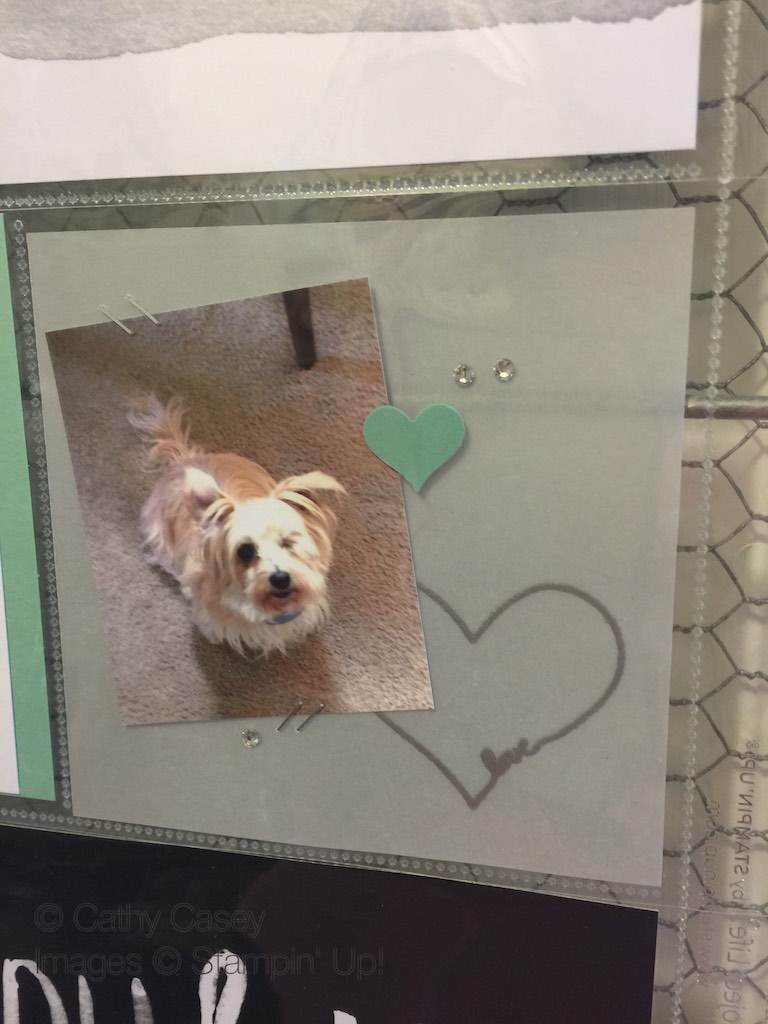
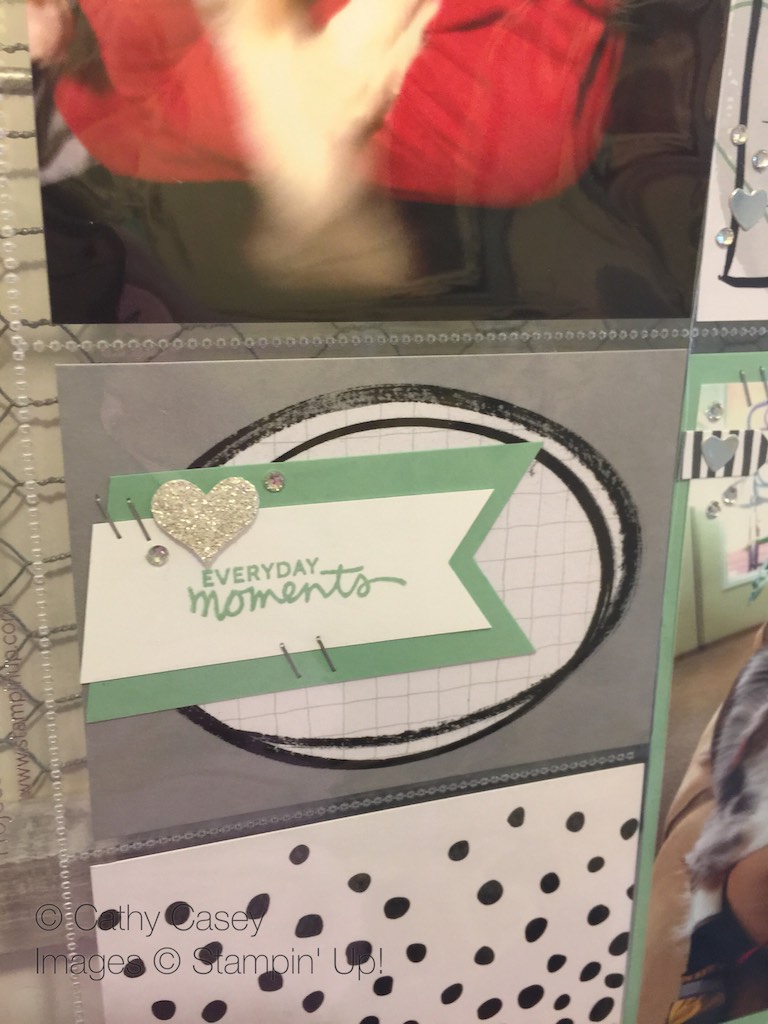
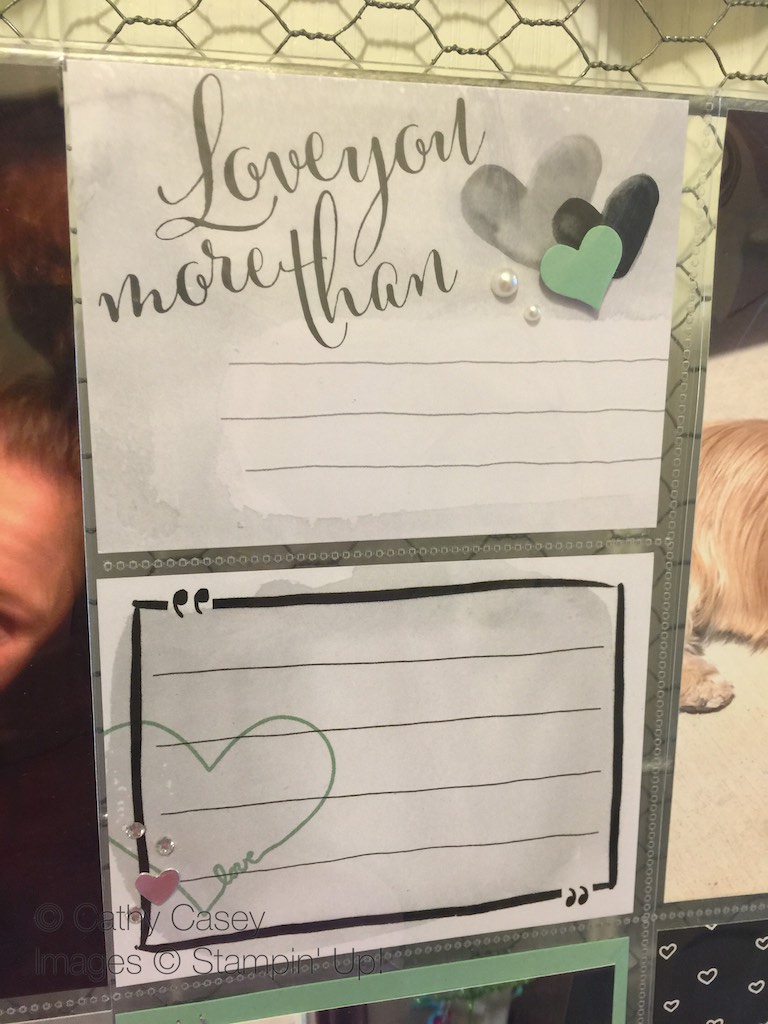
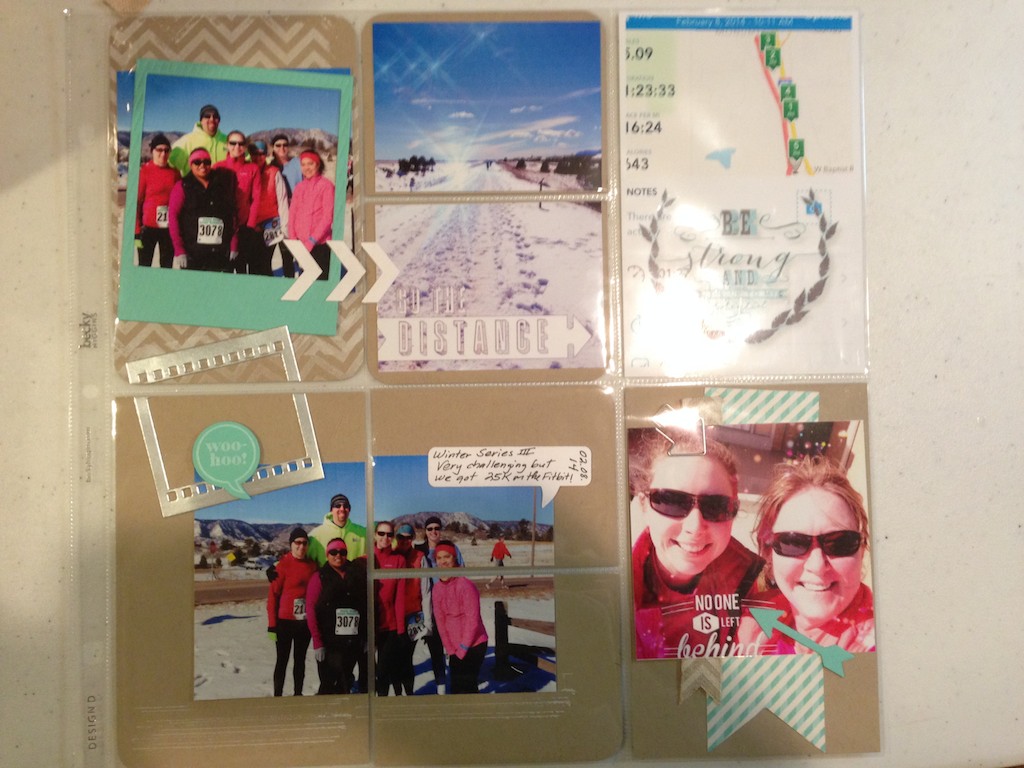
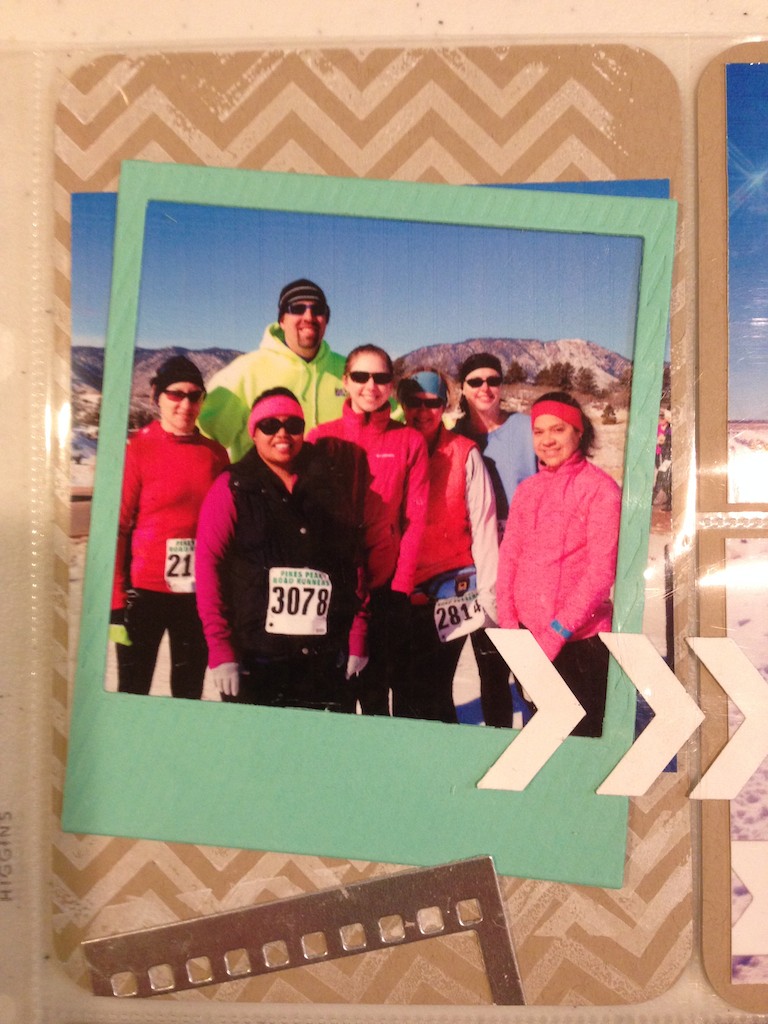
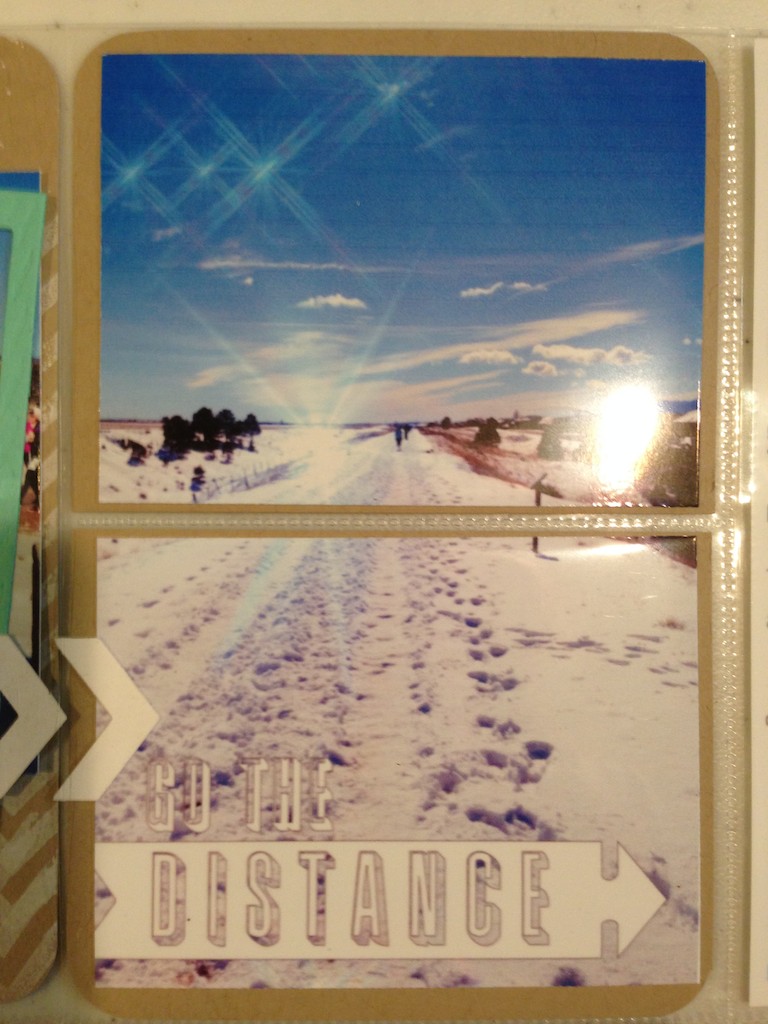
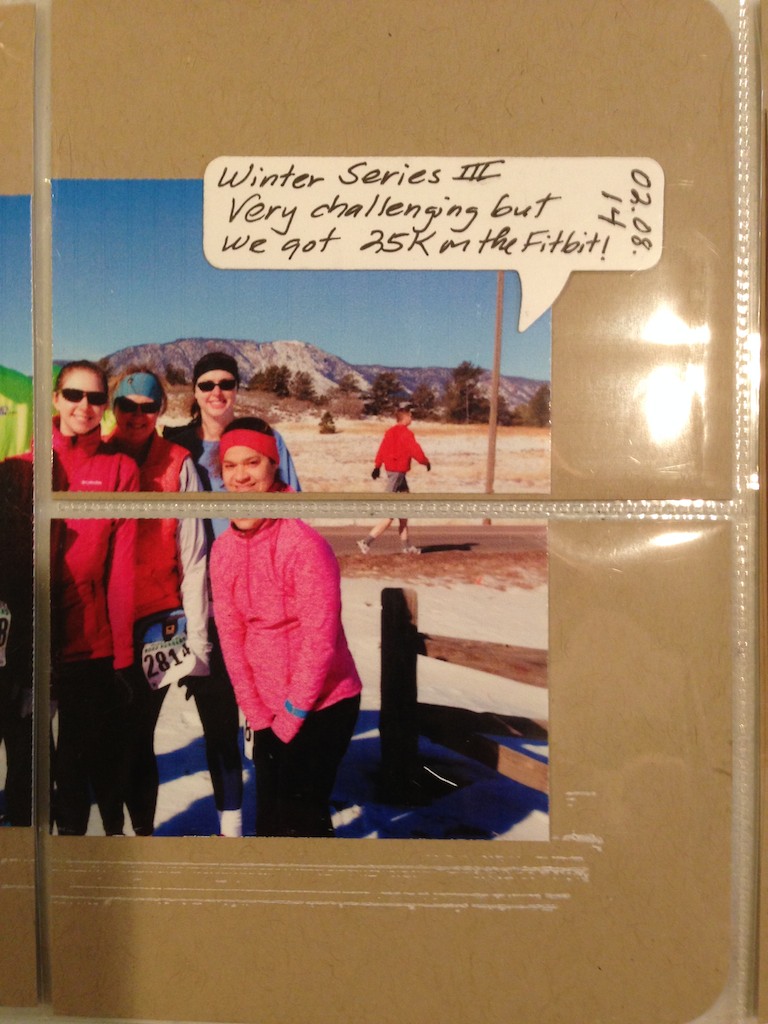
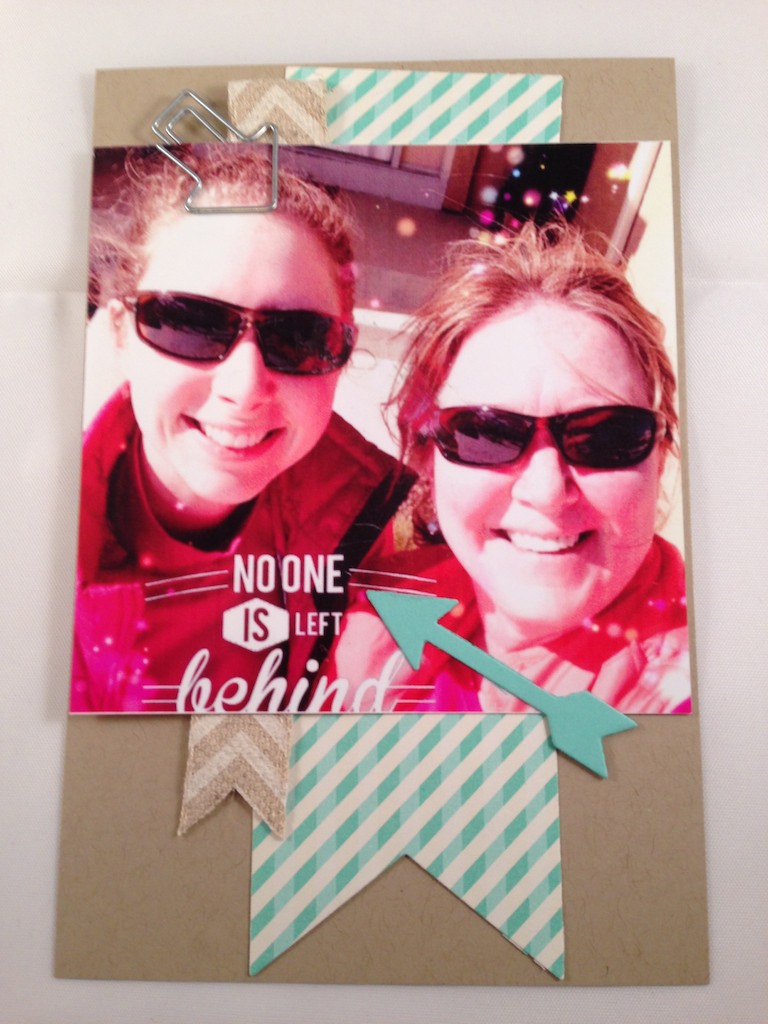
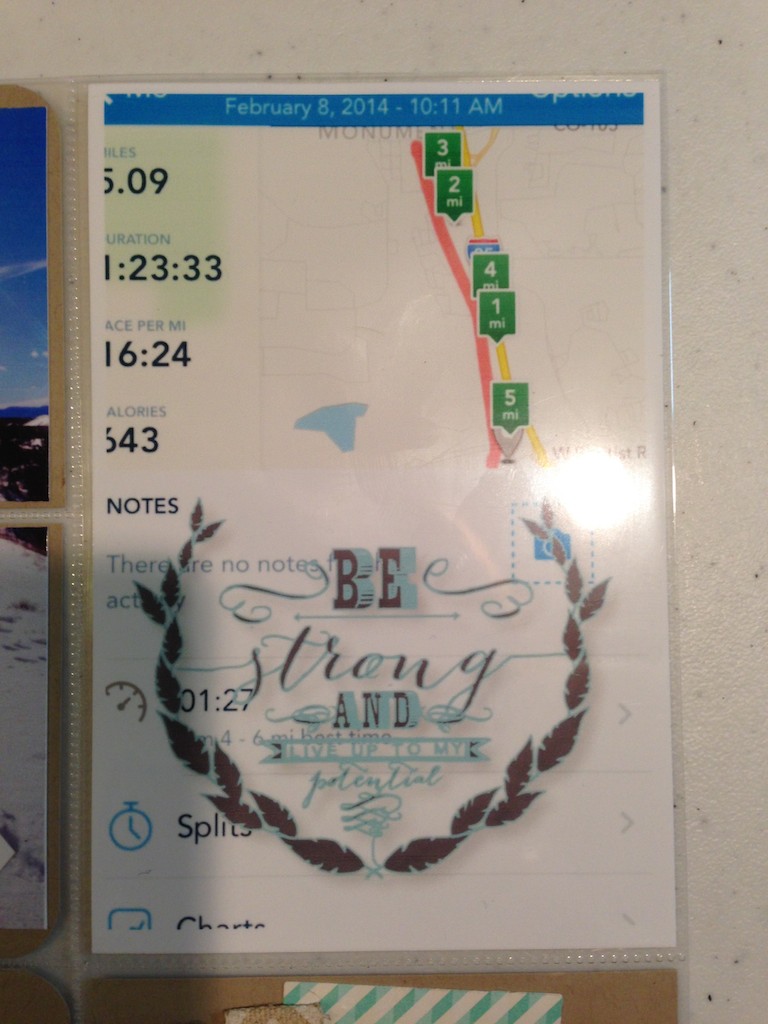
The page features two different leaf dies from the Botanical Builder Framelits Dies cut in Mossy Meadow and Pear Pizzazz.  These leaves poke out behind the photos that are kinda scattered on the page.  There is a piece of Crumb Cake cardstock that is the same size as the photos that has been embossed with the Woodgrain TIEF carrying the woodland theme.  The sentiment is from Going Global and gold embossed on vellum, then die cut with the large heart from the Mini Treat Bag Thinlets.  The compass from Going Global is stamped in Mossy Meadow on Crumb Cake and die cut with a circle die.  The gold frame around the pic is from the Memories in the Making Project Life Card Collection available for free during Sale-A-Bration!  Don’t miss this cute set of cards, I am loving them right now 🙂  The last touches are some random grungy images from Timeless Textures in Crumb Cake, a tiny gold clothespin and some gold thread twisted in behind the trees and in the leaves.

Botanical Builder Scrapbook Page Stampin' Up

Botanical Builder Scrapbook Page Stampin' Up

I hope you enjoy my little remembrance of last summer and the rest of our hop.  Hopefully you are inspired to make something pretty today….and stay away from this flu if you possible can!!!

Make sure you go “Back” if you missed Bree Renwick or you can loop on around by hitting the “Next” button to get to Dani Dziama and the rest of the hop!

mondaymontagebackrev

mondaymontagenext

in love with Project Life “Love Story”

I’m single and there is no lovey dovey stuff going on in my life but I wanted to use the “Love Story” PL kit anyway!  My double layout features my little doggie and my daughter and her doggie.  This layout was soooooo easy peasy to put together and has lots of wow factor!  The kit is white, black, gray and silver.  I added one color:  Mint Macaroon.  I think the layouts are gorge with just the pop of color to set off the cards and embellishments included and the final result is that your photos take center stage!

Don’t miss this kit even if you don’t have a wedding you want to capture, the cards and embellishments work for anything or anyone that you love.  And you can use the wedding specific elements to make your next wedding card fast and easy!

I struggle with photographing pocket pages, the shiny and cameras just don’t mix!   I think these pics show how cute these pages are despite the inherent issues with taking pics of pocket pages!  I hope you enjoy as much as I do!  Here are the two layouts….

Cathy Casey, Independent Stampin' Up Demonstrator www.sugarshackdes... Project Life "Love Story" Stampin' Up

Cathy Casey, Independent Stampin' Up Demonstrator www.sugarshackdes... Project Life "Love Story" Stampin' Up

Here are some close ups of some of the details:

Cathy Casey, Independent Stampin' Up Demonstrator www.sugarshackdes... Project Life "Love Story" Stampin' Up

Cathy Casey, Independent Stampin' Up Demonstrator www.sugarshackdes... Project Life "Love Story" Stampin' Up

Cathy Casey, Independent Stampin' Up Demonstrator www.sugarshackdes... Project Life "Love Story" Stampin' Up

Cathy Casey, Independent Stampin' Up Demonstrator www.sugarshackdes... Project Life "Love Story" Stampin' Up

Cathy Casey, Independent Stampin' Up Demonstrator www.sugarshackdes... Project Life "Love Story" Stampin' Up

All these pages need now are some sweet journaling and they are done!  I just love the new “You’re So Sweet” set and how the heart in that set worked perfectly with this kit & layout.

Happy memory keeping!


Product List

Links by TheseAreMyStamps.com

My sweet girls…

I love this picture of my daughter and her dog Sawyer when Sawyer was just a little puppy that I have scrapped it into a traditional page and now a digital layout.  This project was quick and easy….so much faster and more portable than traditional scrapping!

I used the beautiful SVG “lovely” from Endless Birthday Wishes…gosh I just love the word brushes in that set!  I also used the new “Gorgeous Grunge” brushes, I love that stamp set so much and I am thrilled its available in digital form now!

Marissa-Sawyer Digi Scrap

I hope you are having a fantastic Sunday and find a few minutes to do something you love!

You can find all the fun things I used below, click on the picture to go to my online store to purchase!

Project Life Stampin’ Up Style

mondaymontage banner revised Oct 13

Monday Montage Blog Hop – Week 13

Hello friends! Welcome back to our Monday Montage Blog Hop! You may have gotten here from the amazing Bree Renwick’s blog, make sure you select the “next” button below and that will take you to the next stop on the hop, the fabulous Dani Dziama’s blog. I have something fun today & I know my friends have wonderful goodies too!

I have been pinning Project Life projects on Pinterest like crazy lately and today I just had to try my hand at a PL project Stampin’ Up style 🙂

Cathy 001

This page was super easy and fun to make.  I used the Rhonna Designs photo app on my phone to edit some of my pics, printed them and then figured out my layout.  I used pictures from a running event I participated in last weekend.  My pictures didn’t fit exactly in the pockets of my album page….soooo I chopped things up a bit to fit.  I love the way this turned out!  I think having elements go across pockets made the whole thing come out awesome!  And it was super easy to design and throw together!  The hardest part was photographing the page!  The pockets did not like my camera!  I am posting one pic of the whole thing put together and then the individual parts up close so you can see how the puzzle of the page was designed and goes together.  I’m also going to keep working on these pictures!!!  I’ll try to get better ones 🙂

Cathy 004 (1) Cathy 005 (1)

Cathy 007 (1)  Cathy 002

Cathy 003 Cathy 008

I hope you enjoyed this project as much as I enjoyed making it to share!

Don’t miss the rest of the pretties my   friends have for you!  I just know everyone has gorgeous projects to share!

Make sure you go “Back” if you missed Bree Renwick or you can loop on around by hitting the “Next” button to get to Dani Dziama and the rest of the hop!

mondaymontagebackrevmondaymontagenext

2013 Artisan Finalists Blog Hop – Day 8

2013artisanfinalistA

Welcome to Day 8 of the 2013 Artisan Design Team Finalists Blog Hop!  We may be winding down the days but the creativity is still in full on mode!  I don’t want to miss a thing and I am sure you don’t either!!!

You should have come from the fabulous Bree Renwick’s post to get here and from here you can click on “next” and get to Dani Dziama’s amazing work!  If you missed Bree either select the “back” button to get there or go all the way around the hop to get back to her.

IMG_4219

IMG_4220

IMG_4224

I have my last scrapbook page to share today!  This is an 8 x 8 page of my son Dylan and his beautiful girlfriend Randy.  We were actually on a road trip moving them from Arizona back to Colorado.  It had been an exhausting couple of days but they looked wonderful don’t you think?

The page primarily features the Epic Day This and That line along with my faves (as you already know) doilies, First Edition DSP and Vintage Faceted Buttons.  I also incorporated some great stamps from the photopolymer set Designer Typeset and the May 2013 Paper Pumpkin.  One of the things I love most about this page (besides my beloved kids) is the banner.  I made this with the photopolymer banner stamp in the Designer Typeset set.  I was able to curve the banner image exactly how I wanted it on one of the big acrylic blocks.  I stamped the image on Very Vanilla Cardstock in Soft Suede Ink.  Then I cut the banner out very carefully along the outside of the stamped image.  Next I cut up some of the Canvas Creations into banner shapes and did some stamping and sponging on it.  I also cut a couple of pieces of the Epic Day This and That DSP into banner triangles.  I adhered canvas and DSP banner pieces randomly on the banner leaving some of the banners the plain Very Vanilla Cardstock.  I took Linen Thread and wrapped it around the top of the banner leaving the two ends longish and knotted.  I stamped ” ME & U” with the Designer Typeset set and finally I added the banner to the page, popping it up with dimensionals.  The page also features a doily painted with Frost White Shimmer Paint (can you tell I was REALLY into this technique when I was making projects to enter?) and some machine sewing.   Another product I really loved and I used on this page was the thick Baker’s Twine that came in the Boutique Boxes Designer Kit….yummy!  I mixed it with the Calypso Coral Baker’s Twine on the button.

One of the things I love about the photopolymer sets is that they evoke the hobo signs of years ago, the arrows and “the good life”.  I thought that was perfect for my page commemorating our travels this summer 🙂

I hope you love this page as much as I do and it inspires you to make a beautiful page of someone you love today too!

Here are the products I used:

Stamps:  Designer Typeset Photopolymer, Remember This & That Rotary Stamp, Netting, Clockworks, Paper Pumpkin Image – May, 2013

Ink:  Soft SuedeBaked Brown Sugar, Island Indigo

Cardstock:  Epic Day This & That DSP, First Edition DSP, Very Vanilla, Crumb Cake

Embellishments:  Vintage Faceted Designer Buttons, Canvas Creations, Linen Thread, Calypso Coral Baker’s Twine, Boutique Boxes Designer Kit,  White Tea Lace Paper Doilies, Frost White Shimmer Paint

To purchase these products go to my online store!

Check here for upcoming events and classes!

Make sure you check out all the fabulous projects created by the finalists by going through the hop!  Select “back” to see Bree Renwick’s fabulous work and select “next” to get to Dani Dziama’s amazing projects!  You do not want to miss a thing!!!

2013artfinalistback2013artfinalistnext

2013 Artisan Finalists Blog Hop – Day 6

2013artisanfinalistA

Welcome to Day 6 of the 2013 Artisan Design Team Finalists Blog Hop!  I hope you are enjoying these 10 days of inspiration as much as I am!  I have learned how to do something new every day 🙂

You should have come from the fabulous Bree Renwick’s post to get here and from here you can click on “next” and get to Dani Dziama’s amazing work!  If you missed Bree either select the “back” button to get there or go all the way around the hop to get back to her.

IMG_4196

IMG_4231

I have another favorite scrapbook page to share today!  This is an 8 x 8 page of my cute little niece Gianna commemorating her first trip to the beach!  She is such a cutie!  Makes me love this page even more because it’s of her 🙂

I started with a Baked Brown Sugar Cardstock base and used the Soho Subway DSP again.  I brought in some Pink Pirouette in the pennants to match her cute little bathing hat.  I did some sewing on the page, sewing down the pennants over the large piece of Soho Subway grid image.  The stamp set I featured is “By the Tide” and I gold embossed the seashell image, cut it out and popped it up.  I also stamped the sea fan image in Whisper White Craft Ink on the base and again on a piece of scrap.  I cut out the scrap, sponged and added Gold Lame Smooch Ink to the edges…..soooo pretty!

I hope you love this page as much as I do and make a beautiful page of someone you love today too!

Here are the products I used:

Stamps:  By the Tide, Remember This & That Rotary Stamp

Ink:  Soft SuedeWhisper White Craft Ink, VersaMark, Baked Brown Sugar, Early Espresso

Cardstock:  Baked Brown Sugar, Pink Pirouette, Soho Subway DSP, Very Vanilla, Brushed Gold

Embellishments:  Very Vintage Designer Buttons, Canvas Creations, 5/8″ Crochet Trim, Gold Embossing Powder, Linen Thread, 7/16″ Trim, Gold Lame Smooch Pearlized Accent Ink, Epic Day This & That Washi Tape

To purchase these products go to my online store!

Check here for upcoming events and classes!

Make sure you check out all the fabulous projects created by the finalists by going through the hop!  Select “back” to see Bree Renwick’s fabulous work and select “next” to get to Dani Dziama’s amazing projects!  You do not want to miss a thing!!!

2013artfinalistback2013artfinalistnext

2013 Artisan Finalists Blog Hop – Day 2

2013artisanfinalistA

Welcome to Day 2 of the 2013 Artisan Design Team Finalists Blog Hop!  You should have come from the fabulous Bree Renwick’s post to get here and from here you can click on “next” and get to Dani Dziama’s amazing work!  If you missed Bree either select the “back” button to get there or go all the way around the hop to get back to her.

IMG_4211

IMG_4213

Today I am sharing one of the scrapbook pages I submitted for the Artisan Design Team contest.  I love, love, love this page!  I love the subjects….my daughter and her beautiful puppy Sawyer….and I love the products I used to create it!  This is an 8 1/2 x 11 scrapbook page and I used the new member of the neutrals family as my base:  Smoky Slate.  This color is soooo yummy!  I also used a couple of different patterns from Soho Subway Designer Series Paper; it was perfect for this project.  Some highlights on the page:  I made a “flag” with a wooden skewer and put three flags in Smoky Slate with words from the “Fabulous Phrases” stamp set.  I added some ribbon to the flag and slid it under the panel of Early Espresso Core’dinations Cardstock across the bottom.  I embossed the Early Espresso panel with the Honeycomb Embossing Folder and distressed it a bit by sanding it and then smearing some Whisper White Craft Ink over the high spots.  I included White Tea Paper Doilies again and again, I painted them with shimmer paint.  This time I used Frost White Shimmer Paint.  Have I mentioned how much I will miss this product????  (sigh)  I can’t seem to make any projects these days without using a doily or two!  And who would want to?  They are beautiful, add just the right final touch to nearly every project and they are sooooo affordable!  I embossed “You’re Amazing” from the “You’re Amazing” stamp set in Silver Embossing Powder onto White Vellum Cardstock and then used one of the framelits from the Apothecary Accents Framelits to cut it out.  I added the brads from Vintage Trinkets to finish off the piece.  I used one of the images from the “Mosaic Madness” stamp set to stamp some subtle highlights on the base cardstock in Whisper White Craft Ink.  I love how beautiful this is on the Smoky Slate, the image is delicate and soft at the same time.  It makes me swoon a little!  Lastly, I made a flower with the corduroy Summer Starfruit button and some punched cardstock.  I love that Summer Starfruit button and ribbon pick up the color of my daughter’s sweater!

Here are the products I used:

Stamps:  You’re Amazing, Mosaic Madness, Fabulous Phrases

Ink:  Early EspressoWhisper White Craft InkVersaMark

Cardstock:  Smoky Slate, Brushed Silver, White Vellum, Soho Subway DSP

Embellishments:  Summer Starfruit Corduroy Button, Frost White Shimmer Paint, Summer Starfruit 3/8″ Stitched Satin Ribbon, Very Vanilla 1/2″ Seam Binding Ribbon, Vintage Trinkets, White Tea Lace Paper Doilies, Silver Embossing Powder

Tools:  Big Shot, Honeycomb Embossing Folder, Apothecary Accents Framelits

To purchase these products go to my online store!

Check here for upcoming events and classes!

Make sure you check out all the fabulous projects created by the finalists by going through the hop!  Select “back” to see Bree Renwick’s fabulous work and select “next” to get to Dani Dziama’s amazing projects!

2013artfinalistback2013artfinalistnext