Bubbly Super Bowl Fun!

Monday Montage Blog Hop – Week 109!!!!

Hello friends! Welcome back to the Monday Montage Blog Hop! You may have gotten here from the amazing Bree Renwick’s blog, make sure you select the “next” button below and that will take you to the next stop on the hop, Elizabeth’s beautiful work.

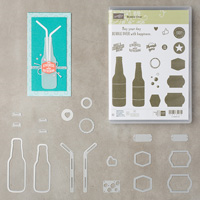
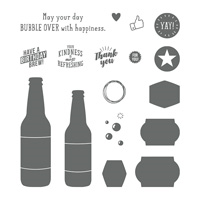
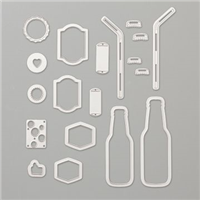
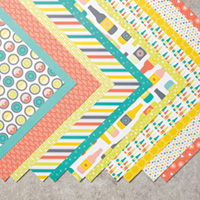
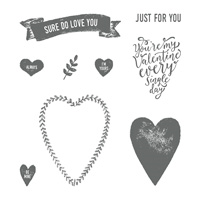
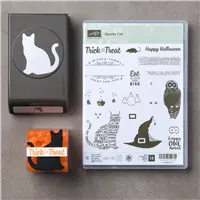
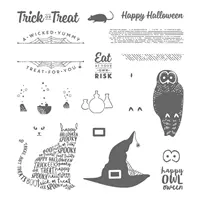
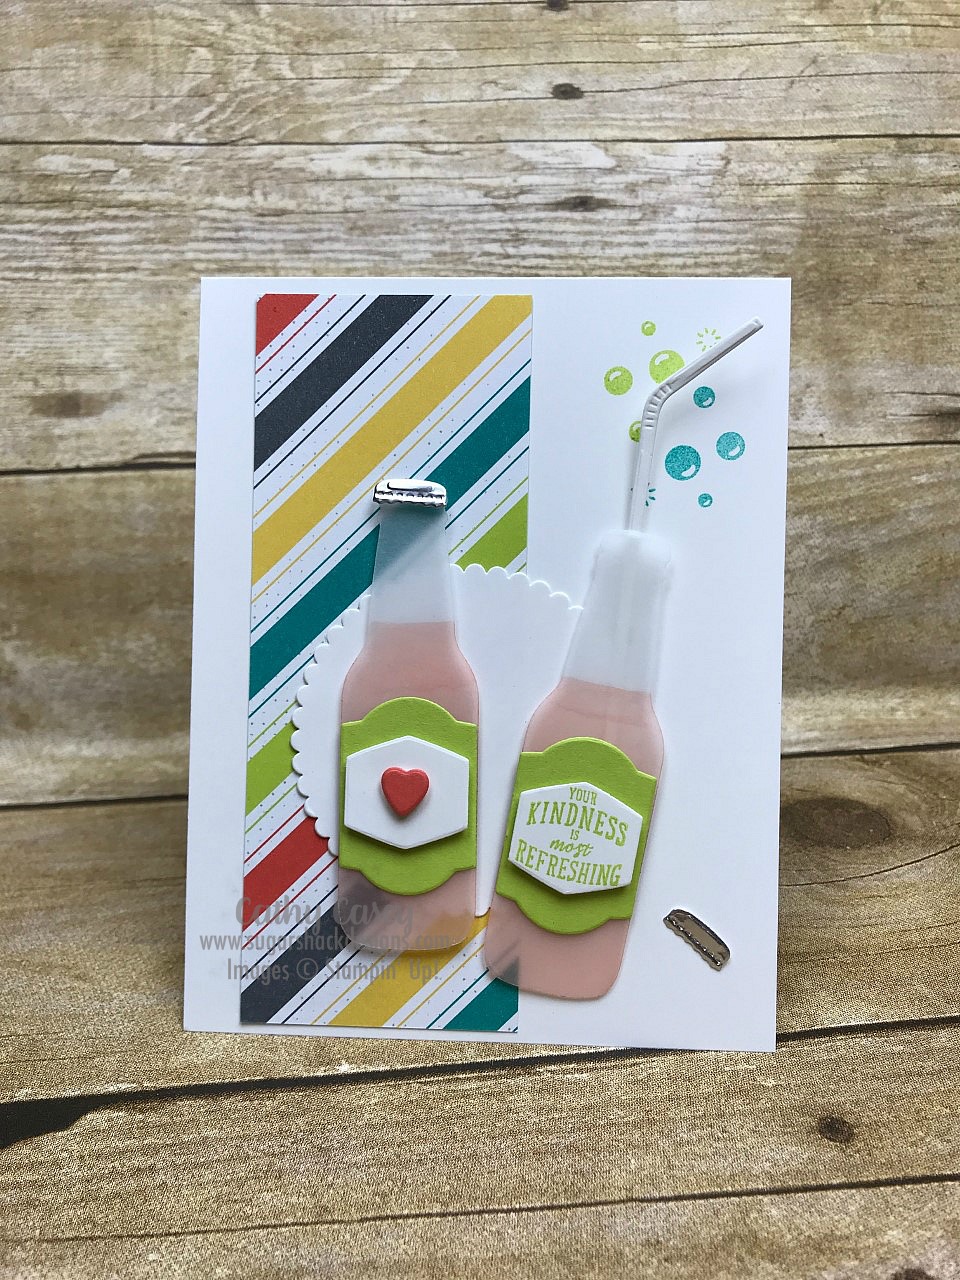
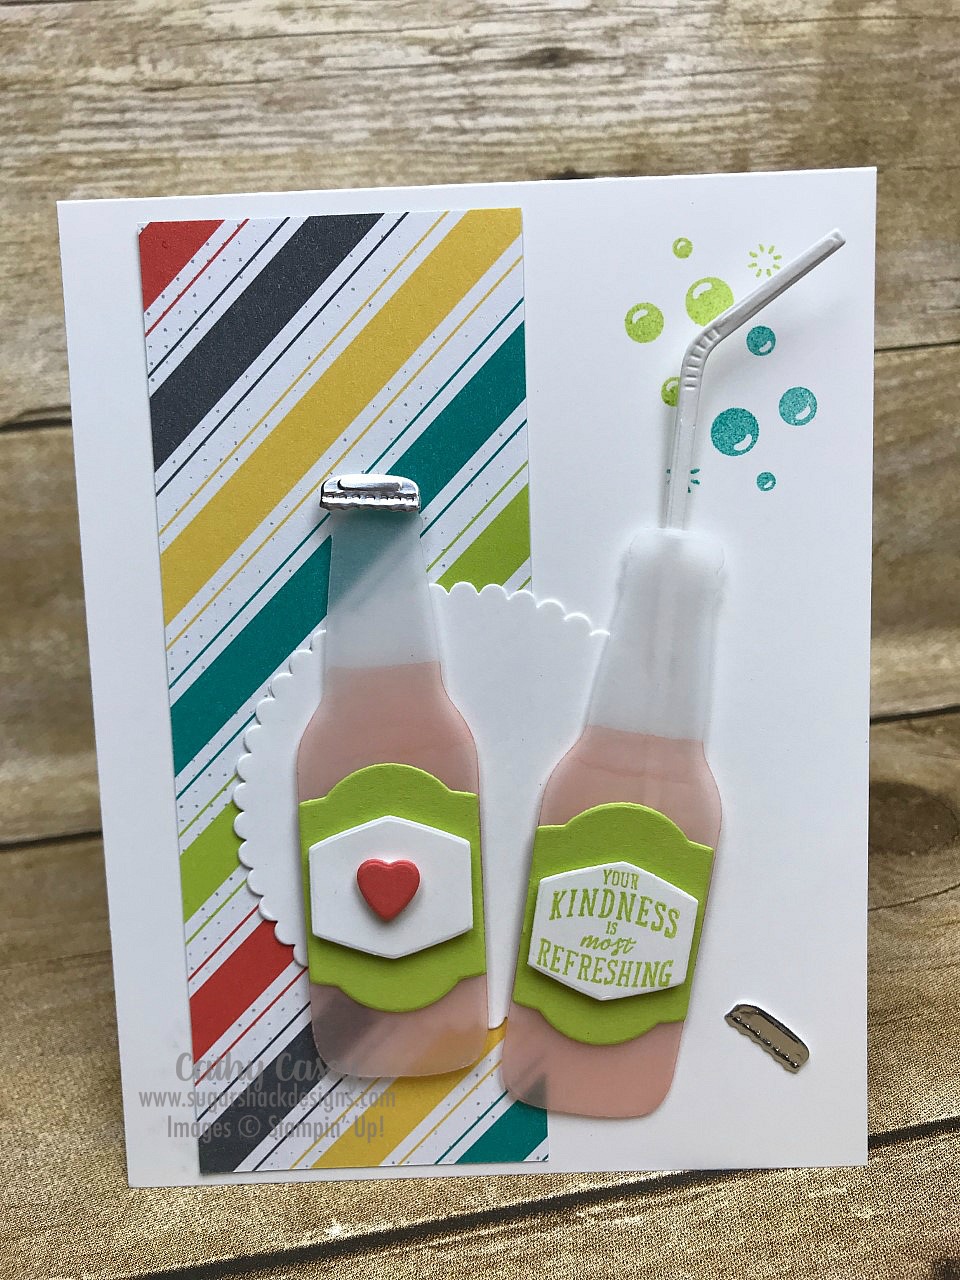
Oh my word!  The Bubble Over stamp along with the free Sale-A-Bration paper and the coordinating dies (Bottles & Bubbles Framelits Dies) are so much fun!  I thought it would be fun to make something with this set for Super Bowl Sunday although my “drinks” look pretty tame and not really Super Bowl party worthy lol 🙂  The best part about this suite of products?  You can get the paper totally free with a $50 order during Sale-A-Bration!  It features my absolute fave colors Lemon Lime Twist and Bermuda Bay…yummy!!

Bubble Over Stampin' Up

Bubble Over Stampin' Up

Creative Tips:

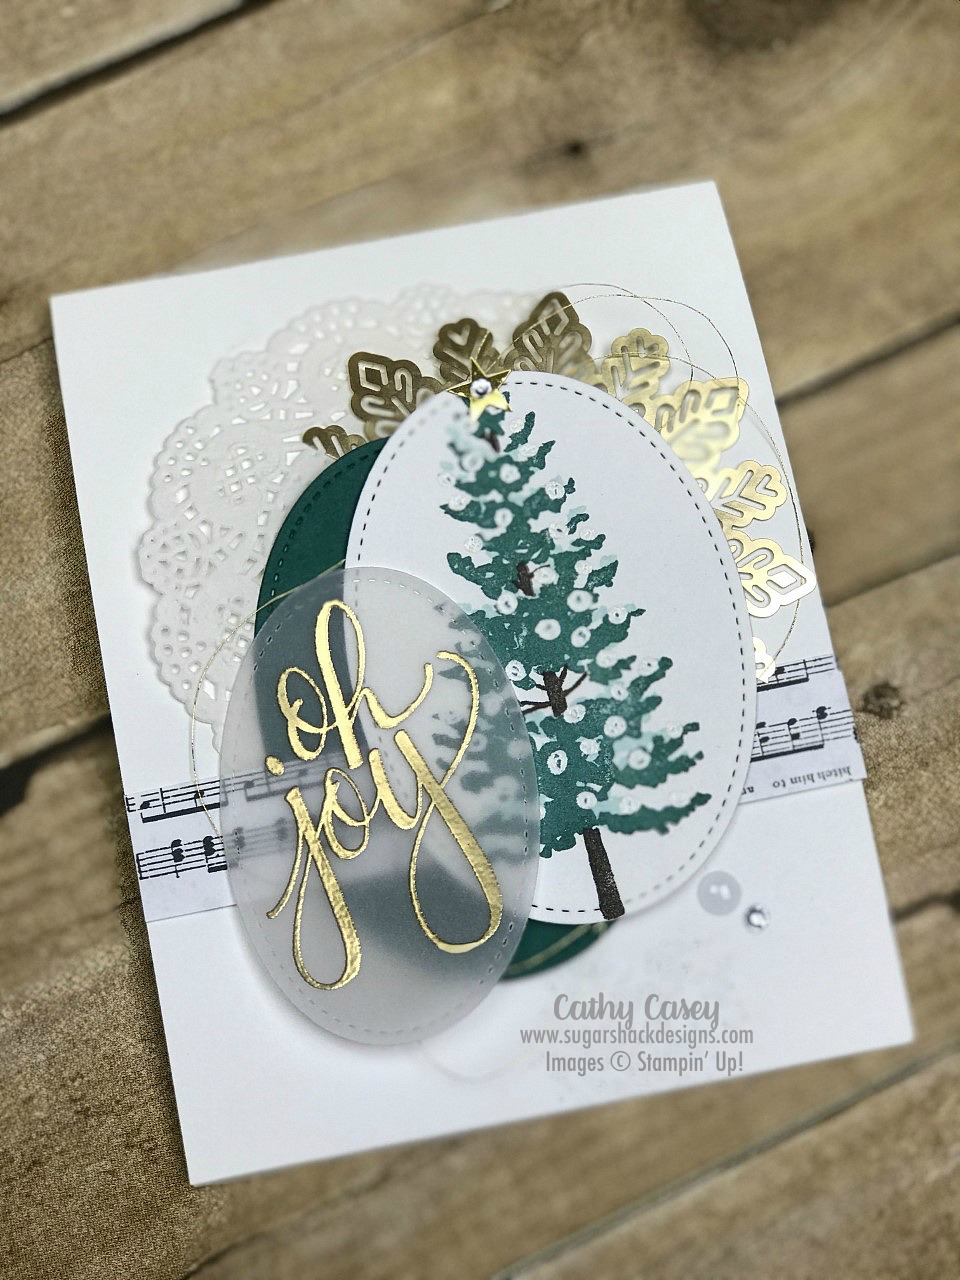
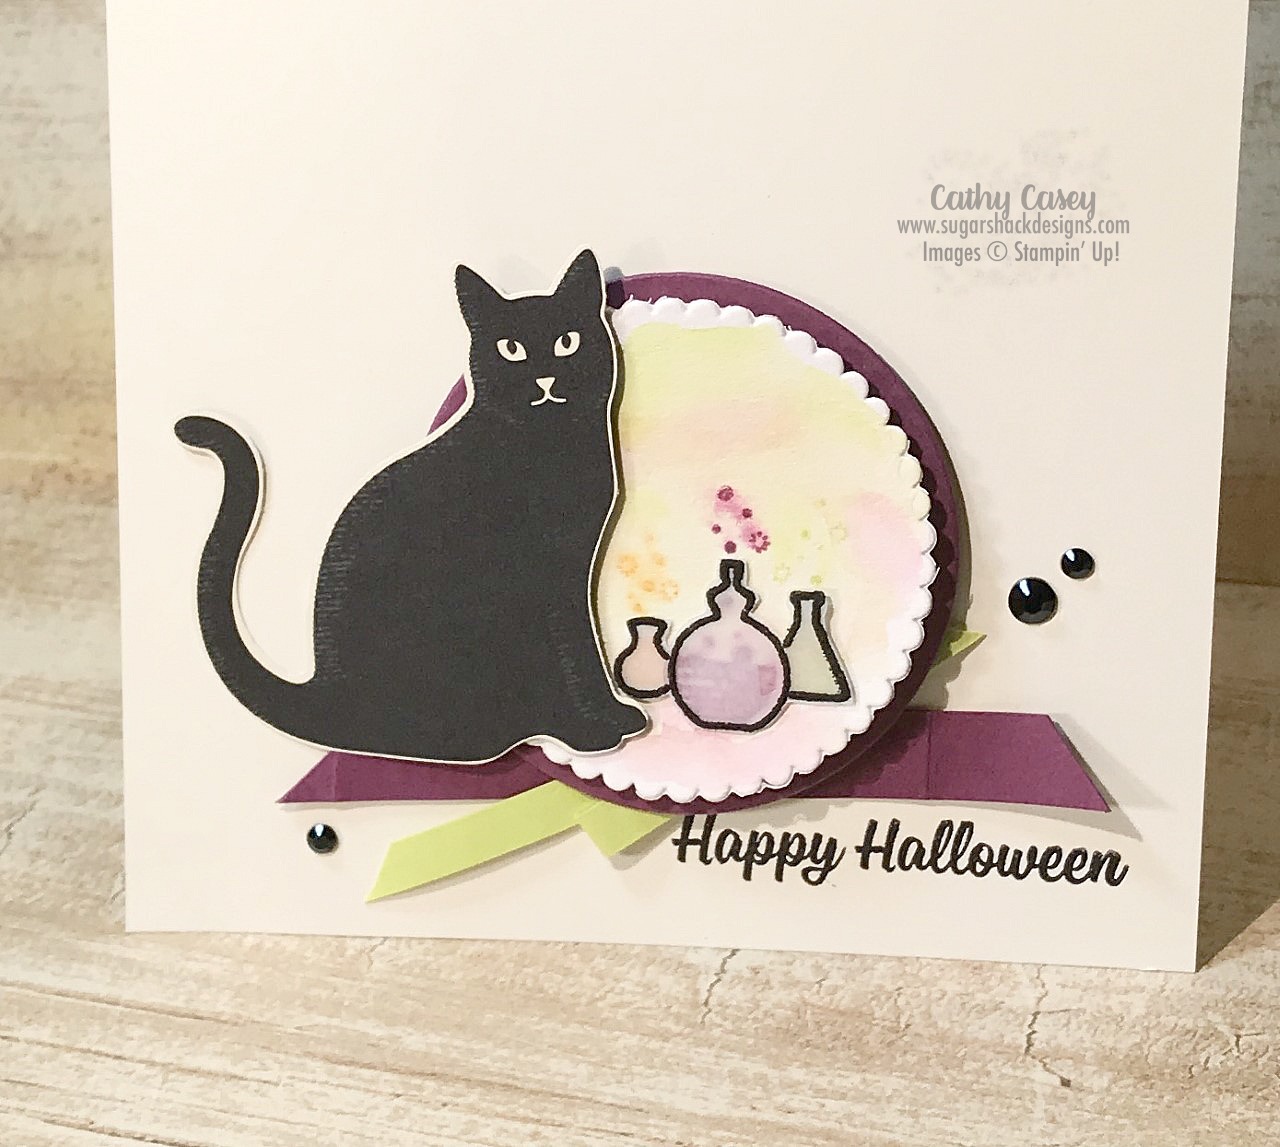
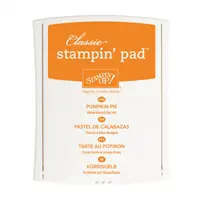
  1. I cut the bottles out of vellum and colored them with Calypso Coral Blend from the back to get my color coordinated “liquid” in the bottle.
  2. Dimensionals and glue dots adhered all the parts together and gave the card front tons of dimension!  For the straw, I added a glue dot near the bottom and then slid it “into the bottle”.  It was the last thing I added to the card.
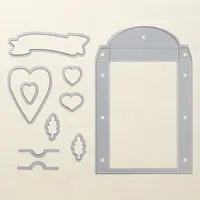
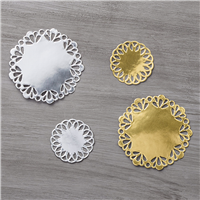
  3. Guess what silver foil is perfect for??  Bottle caps!!  That bottle cap die is the cutest evah!

Make sure you go “back” if you missed Bree’s wonderful creation or you can loop on around by hitting the “next” button to get to Elizabeth’s gorgeous work and the rest of the hop!

Sweet & Simple

Monday Montage Blog Hop – Week 108!!!!

Hello friends! Welcome back to the Monday Montage Blog Hop! You may have gotten here from the amazing Bree Renwick’s blog, make sure you select the “next” button below and that will take you to the next stop on the hop, Dani Dziama’s beautiful work.

Today I was working on a bunch of stuff and needed something simple & sweet for my post.  I received this beautiful stamp set for free in November at Onstage and it was time to ink it up!

Lovely Wishes Stampin' Up

Lovely Wishes Stampin' Up

Lovely Wishes Stampin' Up

Creative Tips:

  1. The flower/leaf image is stamped in Memento Ink so that I could use Stampin Blends on it.  I used Rich Razzleberry and Old Olive and then fussy cut the image.
  2. The other colors in the paper, ink and ribbon?  Fresh Fig and Lemon Lime Twist of course!  I love how these colors pop and they work perfectly with the colors of the blends.

Make sure you go “back” if you missed Bree’s wonderful creation or you can loop on around by hitting the “next” button to get to Dani’s amazing work and the rest of the hop!

Amazingness!

I cannot love the Celebrate You Thinlits enough!!!!  The “amazing” is just that….amazing!!!  The only thing that would be more amazing?  If it said “amazeballs” lol…just kidding.  I would love amazeballs but I am not sure who else would and, to be honest, I probably use the word amazing wayyyyy too much anyway.  Whatever, I love this word & there are so many things each and every day that are amazing 🙂  Guess what makes these dies even better?  They are FREE with a $100 order during Sale-A-Bration.  Seriously.  Free.  What is more amazing than free????  Okay, enough amazingness…on to the project!

I needed a thank you card for a sweet, sweet girl that house sat for us in December and took the best care of our doggies.  This card came together soooo fast!

Celebrate You Stampin' Up

Creative Tips:

  1.  Word dies are my go to when I need big impact and a quick card.  I love how this set has 3 different fonts, each word is a different font.  I used staples to attach “amazing” and mini dimensionals to attach “you” to the card front.
  2. I used the Wood Textures DSP as a focal point on the card front.
  3. To add a little more interest to the card, the large flower image from Awesomely Artistic is stamped in Bermuda Bay on the white card base.

Thank you so much for stopping by!  I hope I’ve inspired you to be creative today!

Shop now for any of the products used in this project, links below:

Love is in the air!

Monday Montage Blog Hop – Week 107!!!!

Hello friends! Welcome back to the Monday Montage Blog Hop! You may have gotten here from the amazing Bree Renwick’s blog, make sure you select the “next” button below and that will take you to the next stop on the hop, Elizabeth Price’s beautiful work.

Most of Christmas is put away and my family celebrations are behind me now!  What a crazy few weeks it was at the end of December!  I had the week between Christmas and New Year’s off and I planned to do all kinds of crafting but that ended up not really happening…we had 4 different nights of rolling Christmas and I just plain didn’t have time lol!  It was wonderful to just be lazy and spend lots of quality time with family & friends 🙂

It’s time to get going with 2018 projects and, of course, the first thing on my horizon is Valentines Day.  I haven’t had a sweetheart in years but I still absolutely love the season of hearts and arrows and always enjoy creating with our “love” themed suites.  Today I got out “Sure Do Love You” and the coordinating framelits and I.am.in.LOVE!!!!  I have lots and lots of ideas of fun things to make with this suite of products 🙂

At first this little box had me confused!  I was thinking, where is the other piece??  Once I figured it out though, it is so easy to use and so cute!  I’m going to make a quick video of how to put this together so stay tuned for that!  Next I need to make some cute cards to go into my little box 🙂

Sure Do Love You Stampin' Up

Sure Do Love You Stampin' Up

Creative Tips:

  1. I used Daffodil Delight (Dark) Blends to create “gold rhinestones”…this works so well!
  2. I white embossed the sentiment on Shimmery White Paper and then watercolored it with Berry Burst.  I LOVE how this came out!  It gives a lovely pop of color to the creation which is otherwise primarily white and gold.
  3. I am also totes in love with the Wood Textures Designer Series Paper Stack….for some reason I had not opened this gem yet.  (I know…seriously??!?)  I love this stuff!

Make sure you go “back” if you missed Bree’s wonderful creation or you can loop on around by hitting the “next” button to get to Elizabeth’s amazing work and the rest of the hop!

O Christmas Tree!

Monday Montage Blog Hop – Week 106!!!!

Hello friends! Welcome back to the Monday Montage Blog Hop! You may have gotten here from the amazing Bree Renwick’s blog, make sure you select the “next” button below and that will take you to the next stop on the hop, Dani Dziama’s beautiful work.

I know Christmas is right around the corner but I am still working on my Christmas cards and this set is so perfect for creating quick & amazing cards for the season!  I love, love how fast and easy it is to layer the parts of this beautiful tree together.

Season Like Christmas Stampin' Up

Season Like Christmas Stampin' Up

Creative Tips:

  1. This card features a lot of white and Tranquil Tide, I used touches of gold to make the whole card pop with the foil snowflake (I will be so sad to see these go!), the gold embossed sentiment and the gold star at the top of the tree.
  2. Mixing stamp sets to get just the right sentiment for your card is always an option!  I love the amazing fonts in the Watercolor Christmas set and I seem to use them a lot.  They emboss so beautifully!  I started with one of the sentiments that came with the tree set but it just didn’t emboss well and will do much better just stamped 🙂
  3. This whole card has lots of layers and wow factor but came together in a flash!  I generally staple some of my layers together and then add them all to the card front at once, this makes it so much easier to layer several pieces to your card front.  Another tip for adding embossing to a stamped image without having your embossing powder stick to everything…use your embossing buddy to “dry” out the first inked image, then stamp your versamark image and emboss.  This is how I added the white, embossed snow to the tree after stamping the tree images.

Make sure you go “back” if you missed Bree’s wonderful creation or you can loop on around by hitting the “next” button to get to Dani’s amazing work and the rest of the hop!

Getting into the holiday spirit!

Well I wanted to decorate my house for the holidays this weekend but that didn’t happen.  I ran out of weekend 😦  That seems to happen a lot!!!  I need more weekend in my life!  lol

I was able to sneak in some fun stamping and this is one of the lovelies I created.  This was sooo easy and came together in just a few minutes, perfect for a last minute Christmas card for someone special.  I love how Stampin’ Up makes it so easy to create something lovely in just a few minutes!

Snowflake Sentiments Stampin' Up

Snowflake Sentiments Stampin' Up

Creative Tips:

  1.  This card features Designer Series Paper from the Be Merry DSP package.  I needed the paper to be slightly toned down and the perfect answer to that was vellum!  The vellum has the large snowflakes from Snowflake Sentiments white embossed on it, this gives a soft muted glow to the paper underneath.
  2. Use what works in your stash…in this case, my ribbon is Real Red and Garden Green but I used Cherry Cobbler ink for the sentiment and Tranquil Tide for the trees.  The whole card works even with these color differences since the lines of color in the ribbon are so tiny and delicate.
  3. You know what makes this card come together so fast?  The dies!  Those sweet trees and adorable deer add just the right embellishment to finish the card 🙂

Christmas Village

Monday Montage Blog Hop – Week 105!!!!

Hello friends! Welcome back to the Monday Montage Blog Hop! You may have gotten here from the amazing Bree Renwick’s blog, make sure you select the “next” button below and that will take you to the next stop on the hop, Dani Dziama’s beautiful work.

I have been playing with this Suite of products non-stop this weekend!  I have a class coming up that features the Hometown Edgelits Dies, I was inspired by this amazing project created by Kathryn Simpson.  Well I can’t stop making projects with these dies…I love the peaceful, snowy, tranquil feel they give.  See more info on my upcoming class (available to go) in this post.

Hearts Come Home Stampin' Up

Hearts Come Home Stampin' Up

Creative Tips:

  1. When I cut the images and lined them up for the card there was a blank spot between the two layers.  I cut an piece of Dazzling Diamonds Glimmer Paper and trimmed it to look like a snow bank and placed it between the two rows.  I love the glittery look this adds to the project.
  2. I used the stars from the Little One Stamp Set to create the sky.  They are white embossed on Watercolor paper and then watercolor washed with Dapper Denim and Soft Sky.
  3. Each layer is added with dimensionals to give extra pop to the card front.

Make sure you go “back” if you missed Bree’s wonderful creation or you can loop on around by hitting the “next” button to get to Dani’s amazing work and the rest of the hop!

Lighted Holiday Village Decor Class

I made a gorgeous Holiday Decor item over Thanksgiving!  I was inspired by the amazing Kathryn Simpson’s project she has shared.  I think this may be one of my most favorite projects!!!  It is so cute and can be displayed all winter long 🙂

It features the Hometown Greetings Edgelits Dies and goes into a shadow box with tiny little lights.  It is really hard to take pictures of in the frame but I tried below!

I am offering this as a local class and as a class to go.  See all the details below.

Hometown Greetings Stampin' Up

Hometown Greetings Stampin' Up

Local Class Options:

Saturday, December 2, 2017, 3:00 PM or Monday, December 4, 2017, 6:30 PM – Cost $35

Includes the completed project with frame.

Starbucks inside King Soopers, 3570 Hartsel Drive, Colorado Springs

If you want to come, just let me know and I will add you to the list!

To Go Class:

If these dates don’t work for you or you are out of the area and want to make this gorgeous project, just email me at katiemae60@msn.com and I will mail you the project to complete at home.  Cost $35 plus $4 shipping.

Oh Joy!

Monday Montage Blog Hop – Week 104!!!!

Hello friends! Welcome back to the Monday Montage Blog Hop! You may have gotten here from the amazing Bree Renwick’s blog, make sure you select the “next” button below and that will take you to the next stop on the hop, Elizabeth Price’s beautiful work.

I just got home today from a fun-filled whirlwind few days in Salt Lake City for OnStage Live (Stampin’ Up convention).  I had so much fun with my besties and I got to see stampin’ friends from all over the world…it was so much fun!  Before I left I made this cute Christmas card.  I love this stamp set, so easy to use and I’ve been creating fast and easy wow projects with it.  The font?  I.can’t.even!

Watercolor Christmas Stampin' Up

Watercolor Christmas Stampin' Up

Creative Tips:

  1. The Watercolor Christmas stamps coordinate with the Watercolor Christmas Project Kit which is super cute and so easy to use!  All you need to do is add the stamping and all your holiday cards are ready to send 🙂
  2. The tiny tree image is colored with the Old Olive Stampin’ Blends.  The result is a fast watercolored look with saturated color and absolutely no paper pilling ( you know, the little paper wads you might get from coloring card stock?).
  3. The layered sentiment image, vellum and card stock give the card interest and dimension.  I cut each with the same stitched shape oval framelit and then offset them in a stack on the card front.

Make sure you go “back” if you missed Bree’s wonderful creation or you can loop on around by hitting the “next” button to get to Elizabeth’s amazing work and the rest of the hop!

Halloween Fun!

Monday Montage Blog Hop – Week 103!!!!

Hello friends! Welcome back to the Monday Montage Blog Hop! You may have gotten here from the amazing Bree Renwick’s blog, make sure you select the “next” button below and that will take you to the next stop on the hop, Dani Dziama’s lovely designs.

I can’t believe how quickly the years is zooming by!  That means Halloween is right around the corner and I think Halloween crafting is probably my absolute fave!  I love the colors and the spooky themes.  Stampin’ Up’s Halloween goodies this year are so fun (of course) and I have been having so much fun playing with it 🙂

Spooky Cat Stampin' Up

Spooky Cat Stampin' Up

Creative Tips:

  1. I love, love, love the Cat Punch which matches perfectly with the Halloween DSP image!  I was able to quickly punch out my cute little spooky cat and pop him onto my card.
  2. I stamped the cute potion jars onto vellum and then cut them out.  I stamped the potions on watercolor paper and then watercolored over them with Lemon Lime Twist and Rich Razzleberry.  Then I popped the vellum vials over the potions.  I love the spooky twist this gives to the witchy potions.
  3. Again, I capitalized on the white space created by my Very Vanilla card base, my only other additions were the paper ribbons and the black rhinestones…yum.

Make sure you go “back” if you missed Bree’s wonderful creation or you can loop on around by hitting the “next” button to get to Dani’s amazing work and the rest of the hop!

Price: $18.00