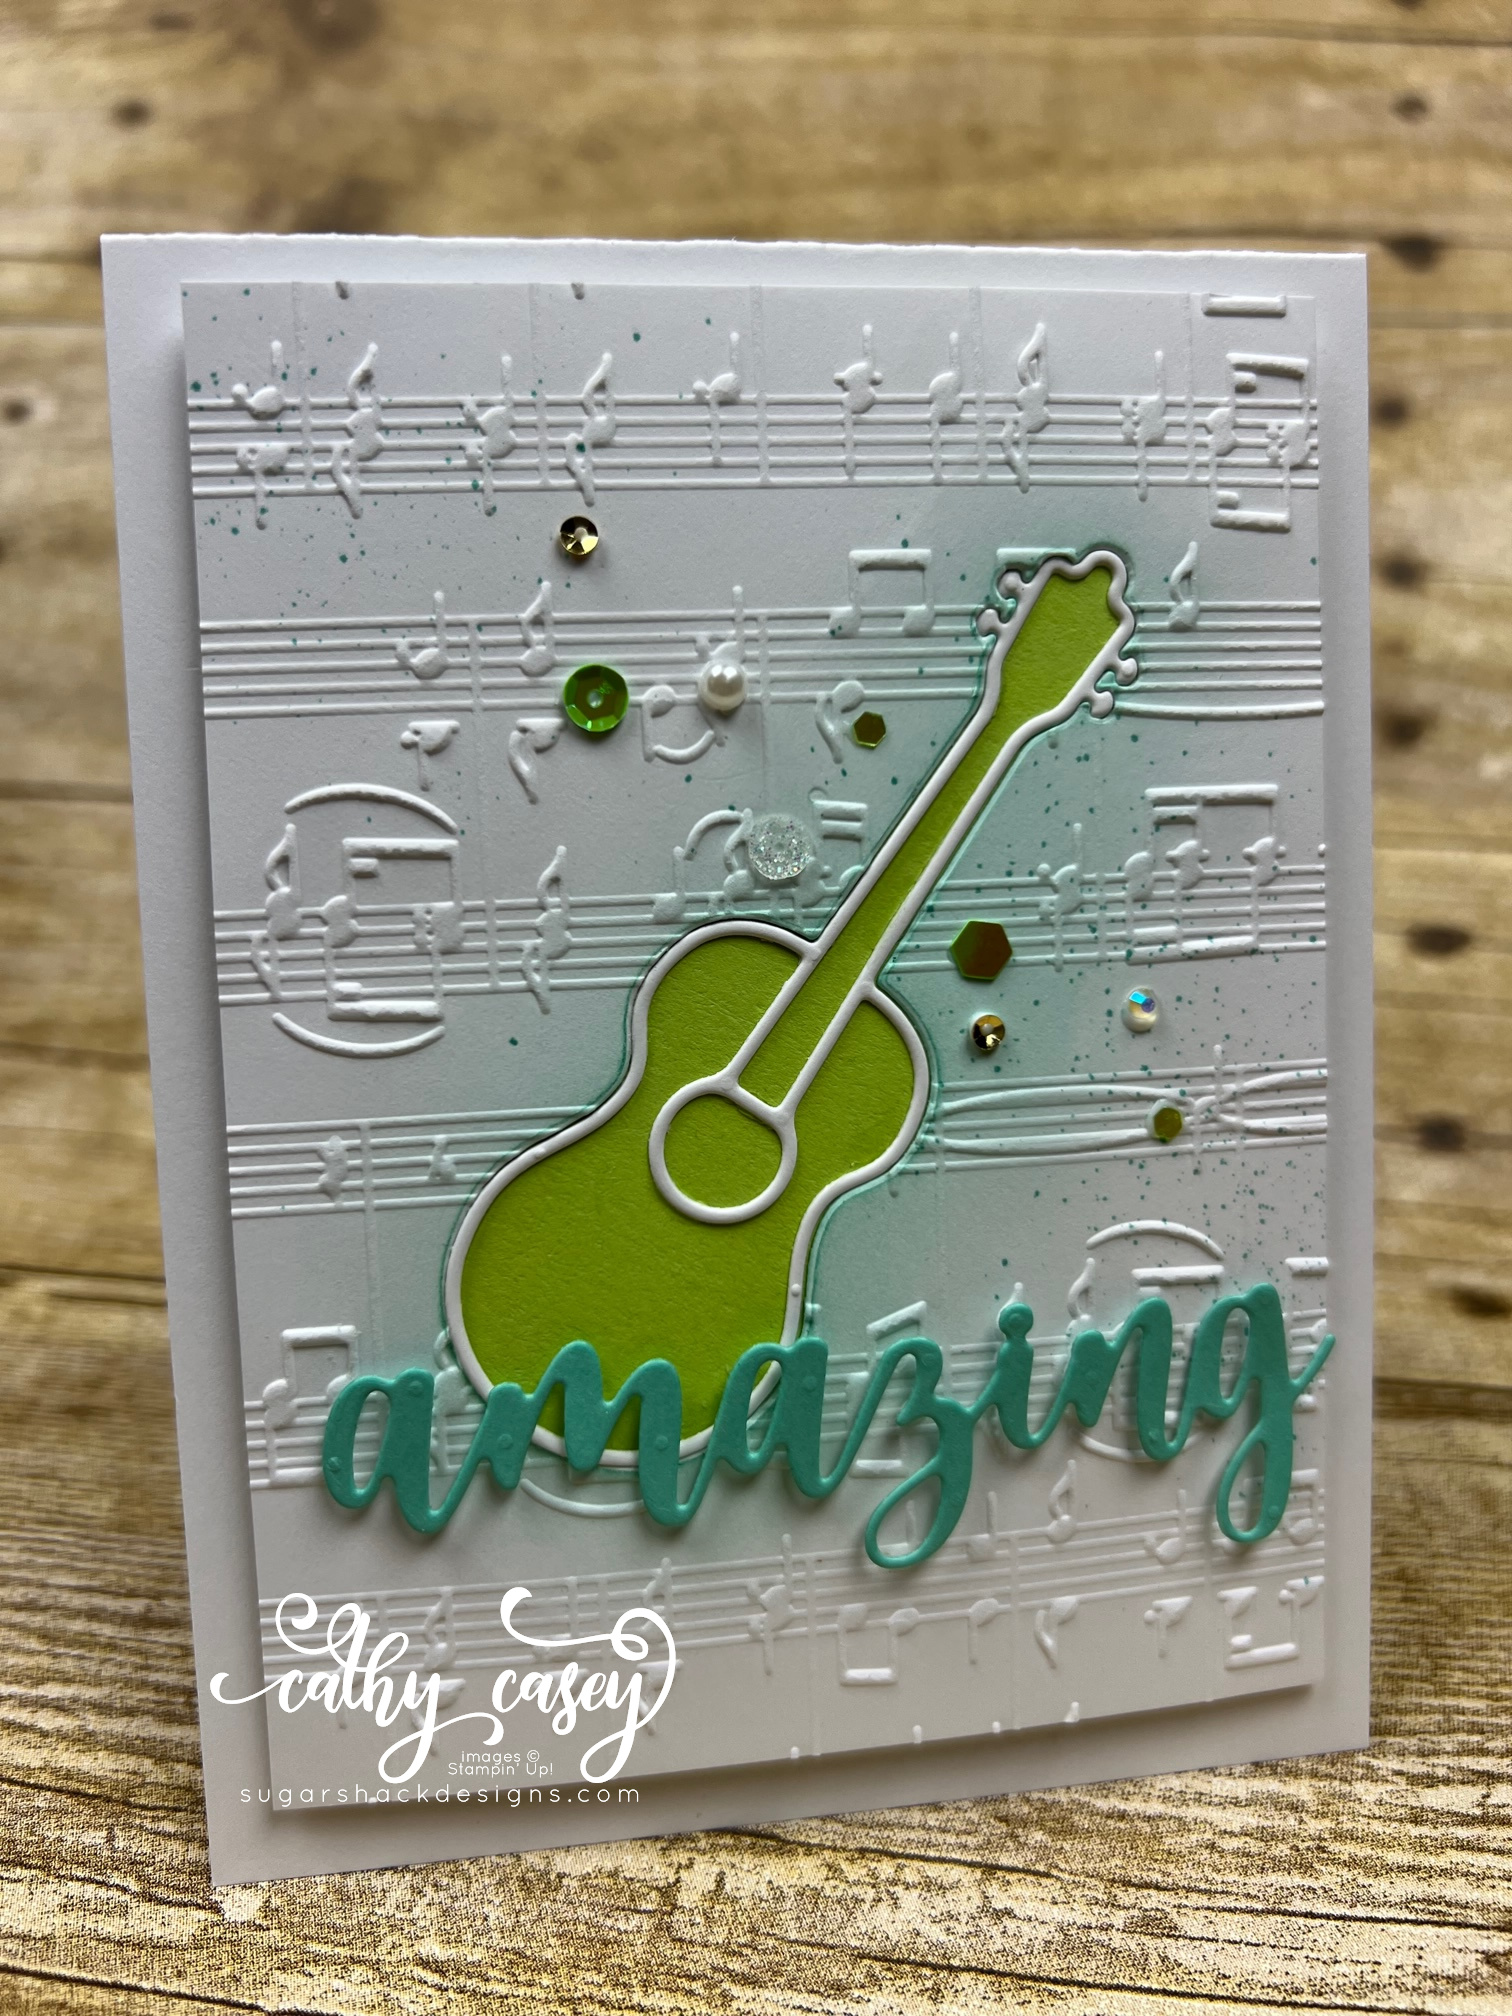
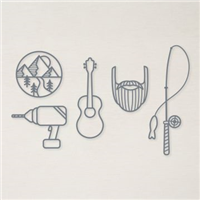
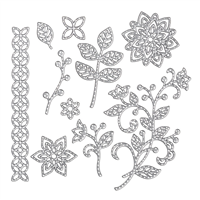
I may or may not have lost my mind with Tim Holtz’s 2023 Christmas goodies! How could I help myself? So many fun things to make! I’ve made a few cards with the Festive Gatherings Dies. I can see featuring these dies in projects year round, they are so versatile. My first card is super simple and features the dies and “Happy Holidays” from Hero Arts’ Holiday Words Fancy Die set. I highly recommend those dies, I use them so much!!
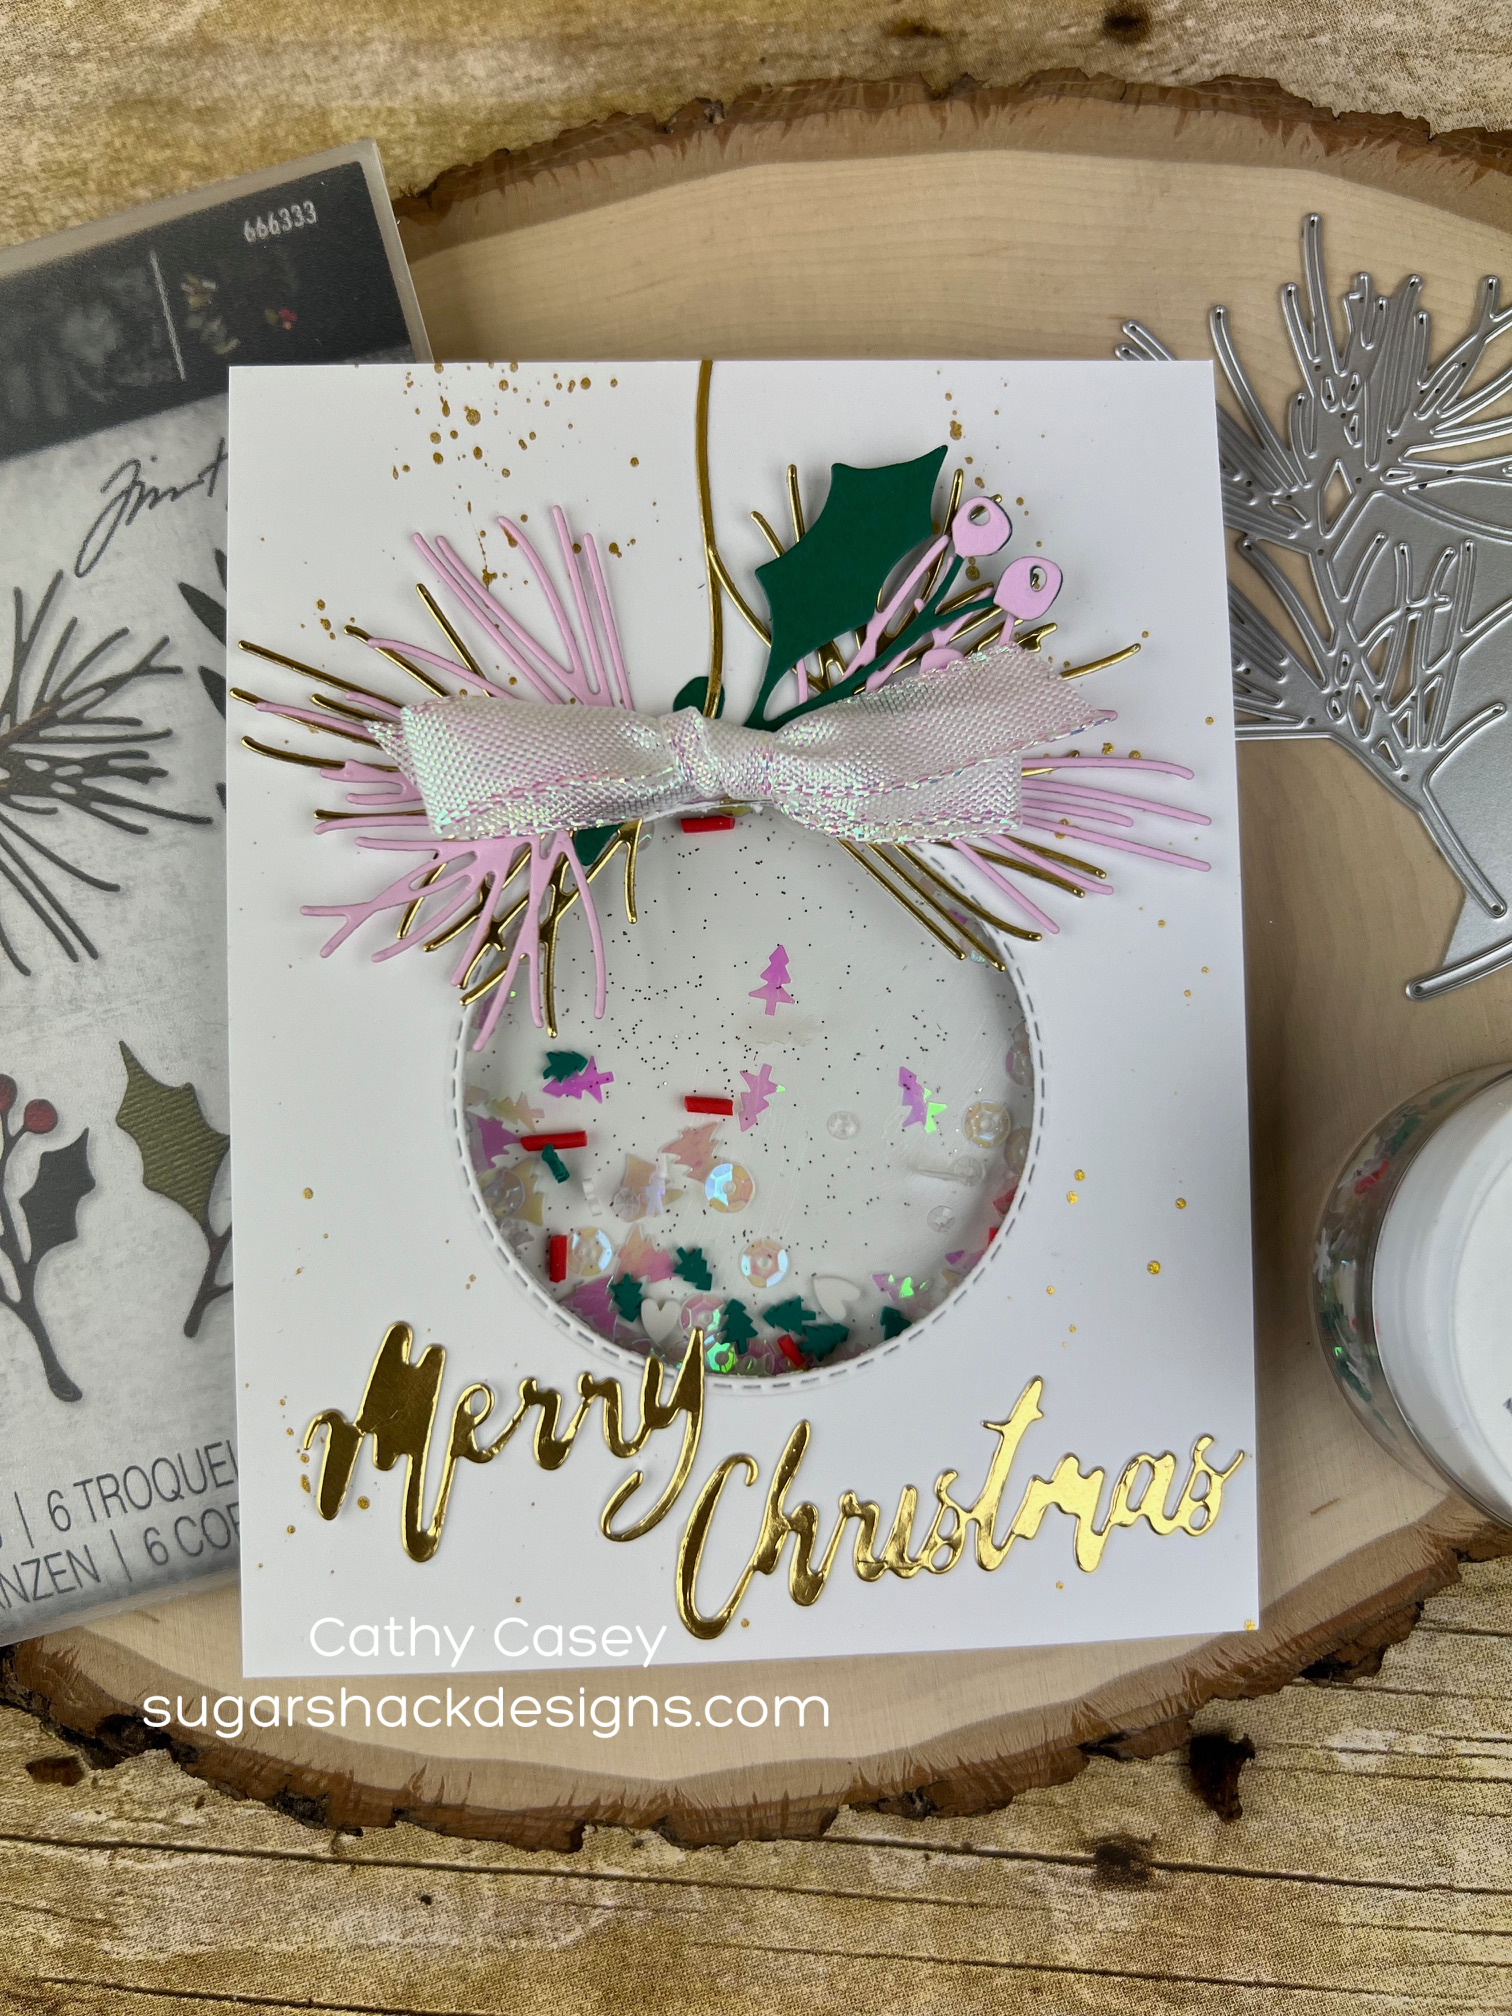
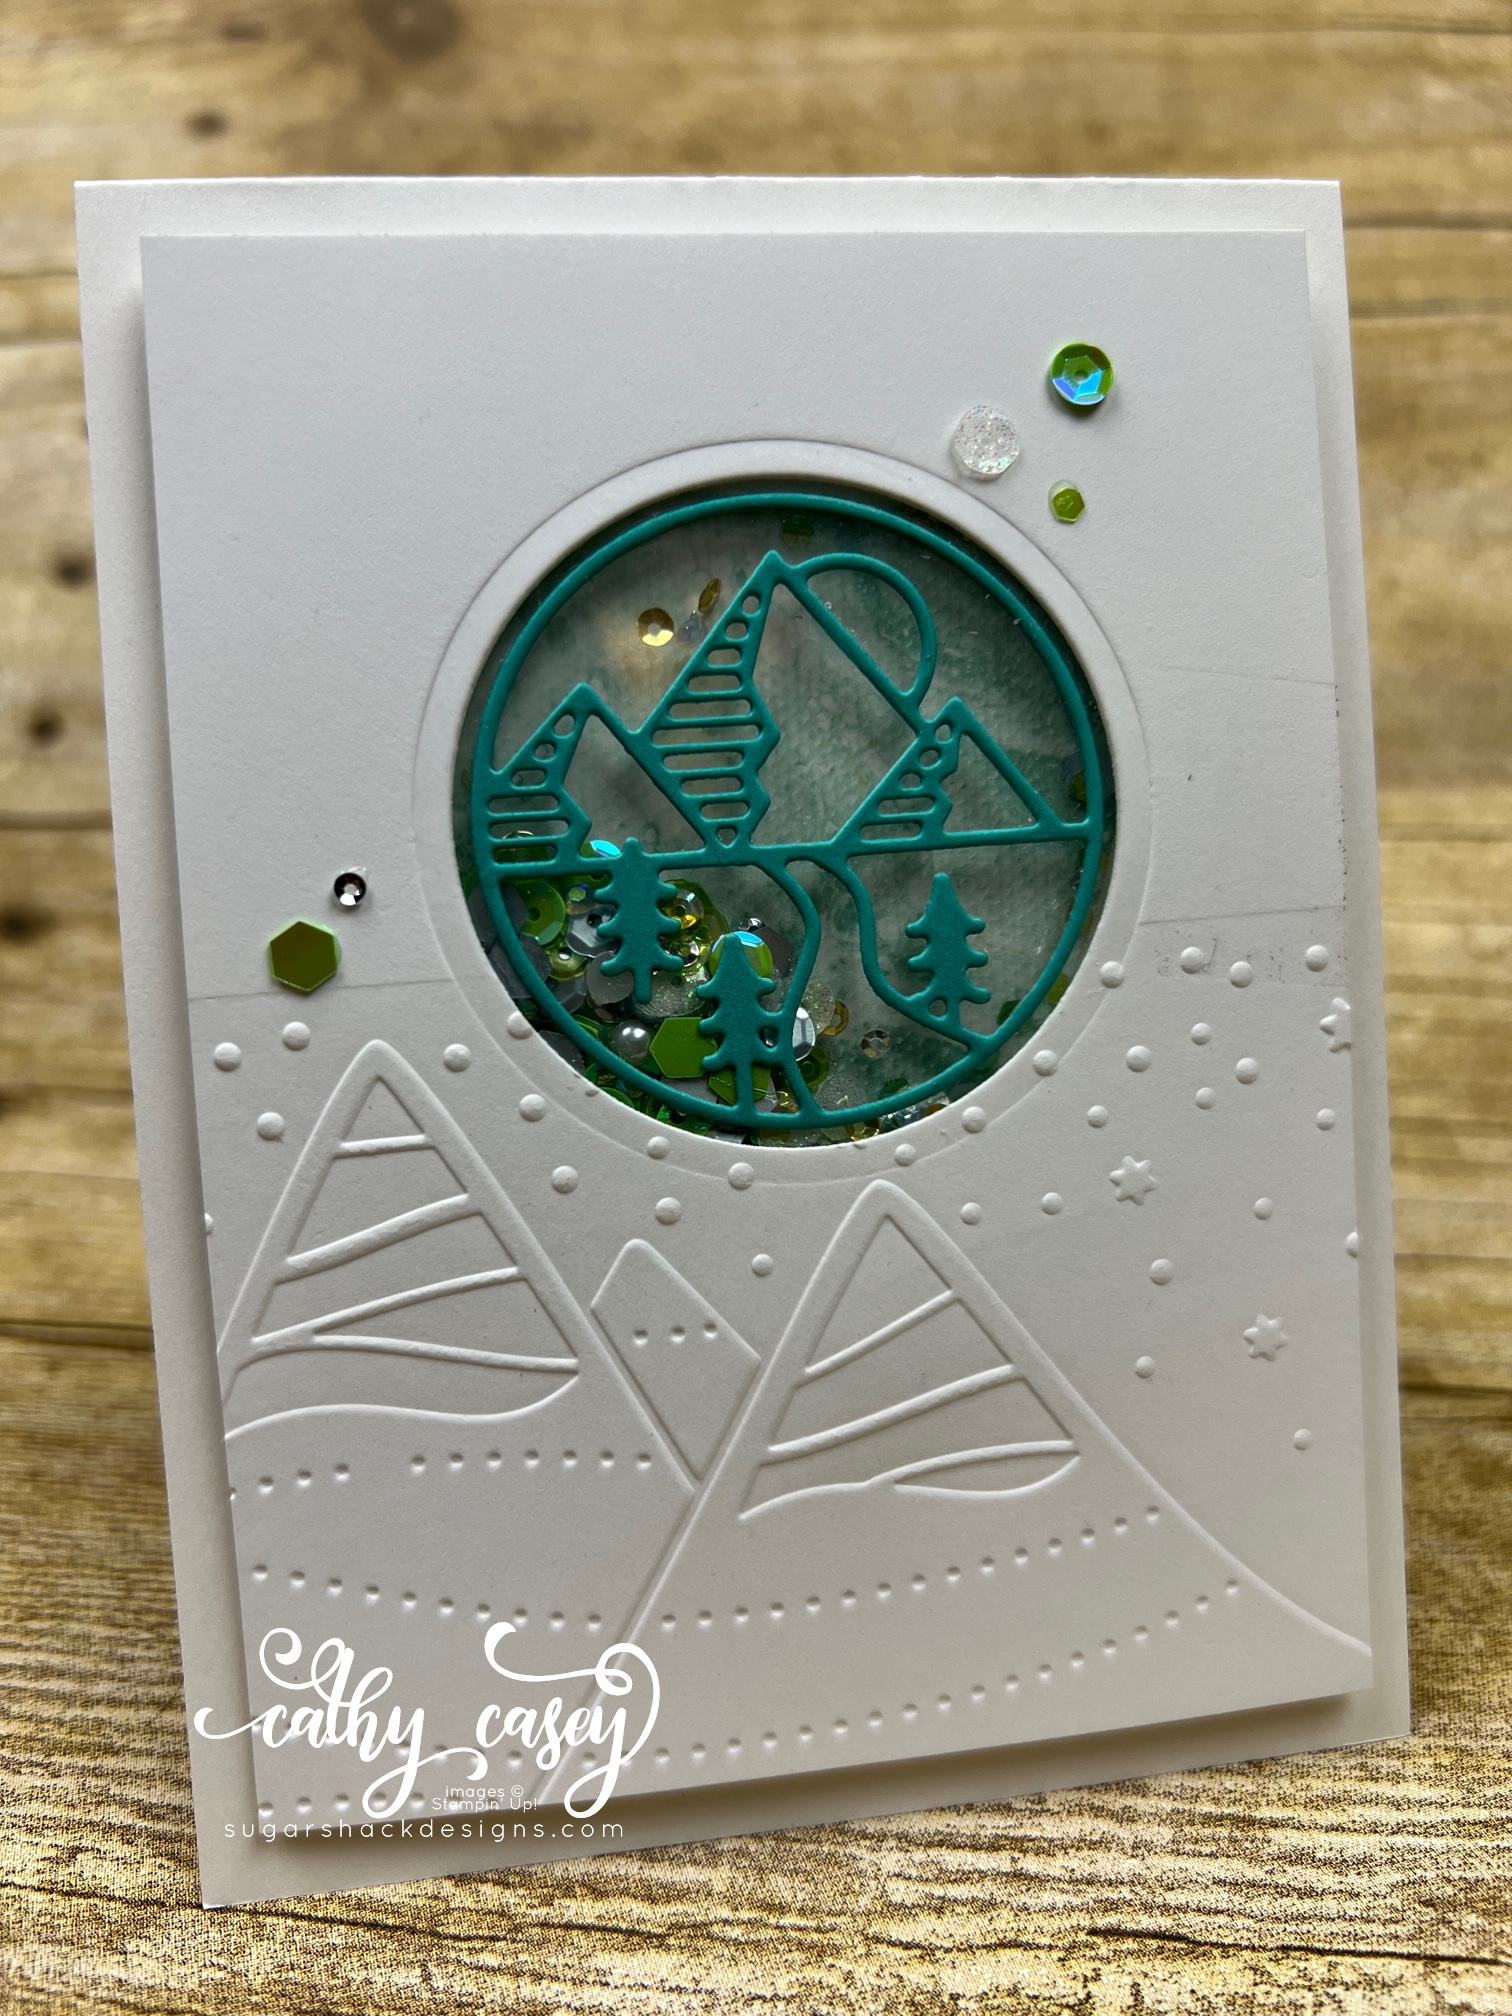
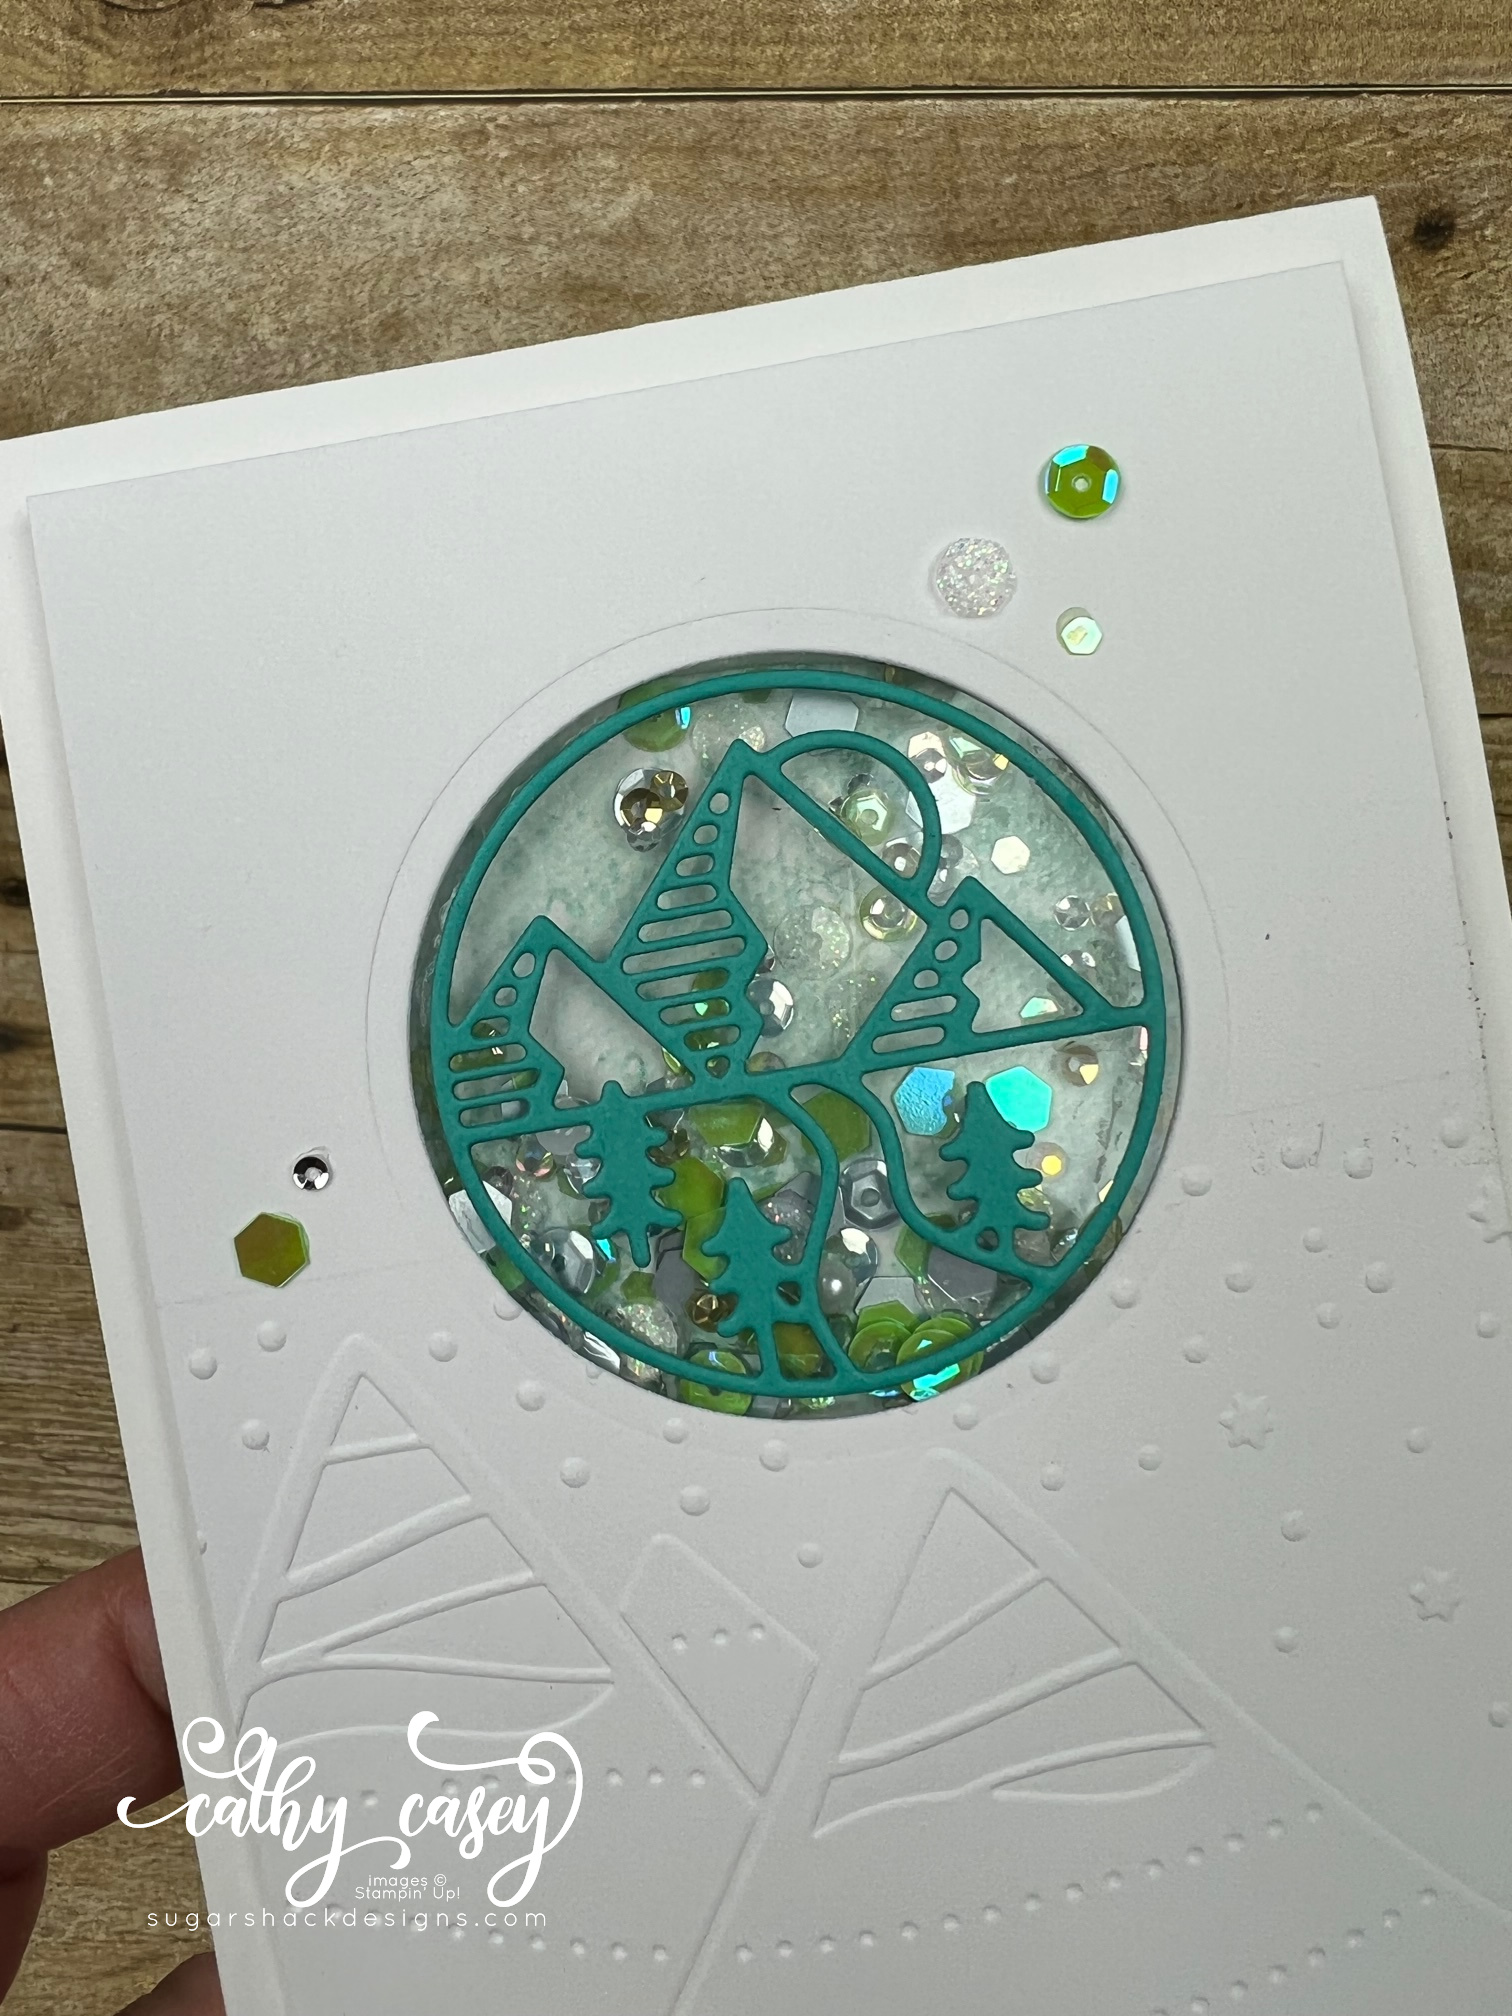
My second card features a shaker ornament also adorned with Festive Gatherings, this time in non-traditional colors. The shaker dies and embellishments are from Picket Fence Studios and I just love, love them! The shaker dies make it so simple to create shaker cards and I can’t wait to shaker all the things!! I got a whole set that includes several sizes of square and circle dies. I highly recommend!
I hope you enjoy these pretties! I am stuffing in all the creating time I can right now, since I am getting knee number two replaced in a few weeks and that will slow craft time down a bit! Thank you for stopping by, I’ll see you soon!