Merry Christmas to Our Soldiers

mondaymontage banner revised Oct 13

Monday Montage Blog Hop – Week 84

Hello friends! Welcome back to the Monday Montage Blog Hop! You may have gotten here from the amazing Bree Renwick’s blog, make sure you select the “next” button below and that will take you to the next stop on the hop, the wonderful Dani Dziama’s blog.  We have some fun holiday treats for you today!

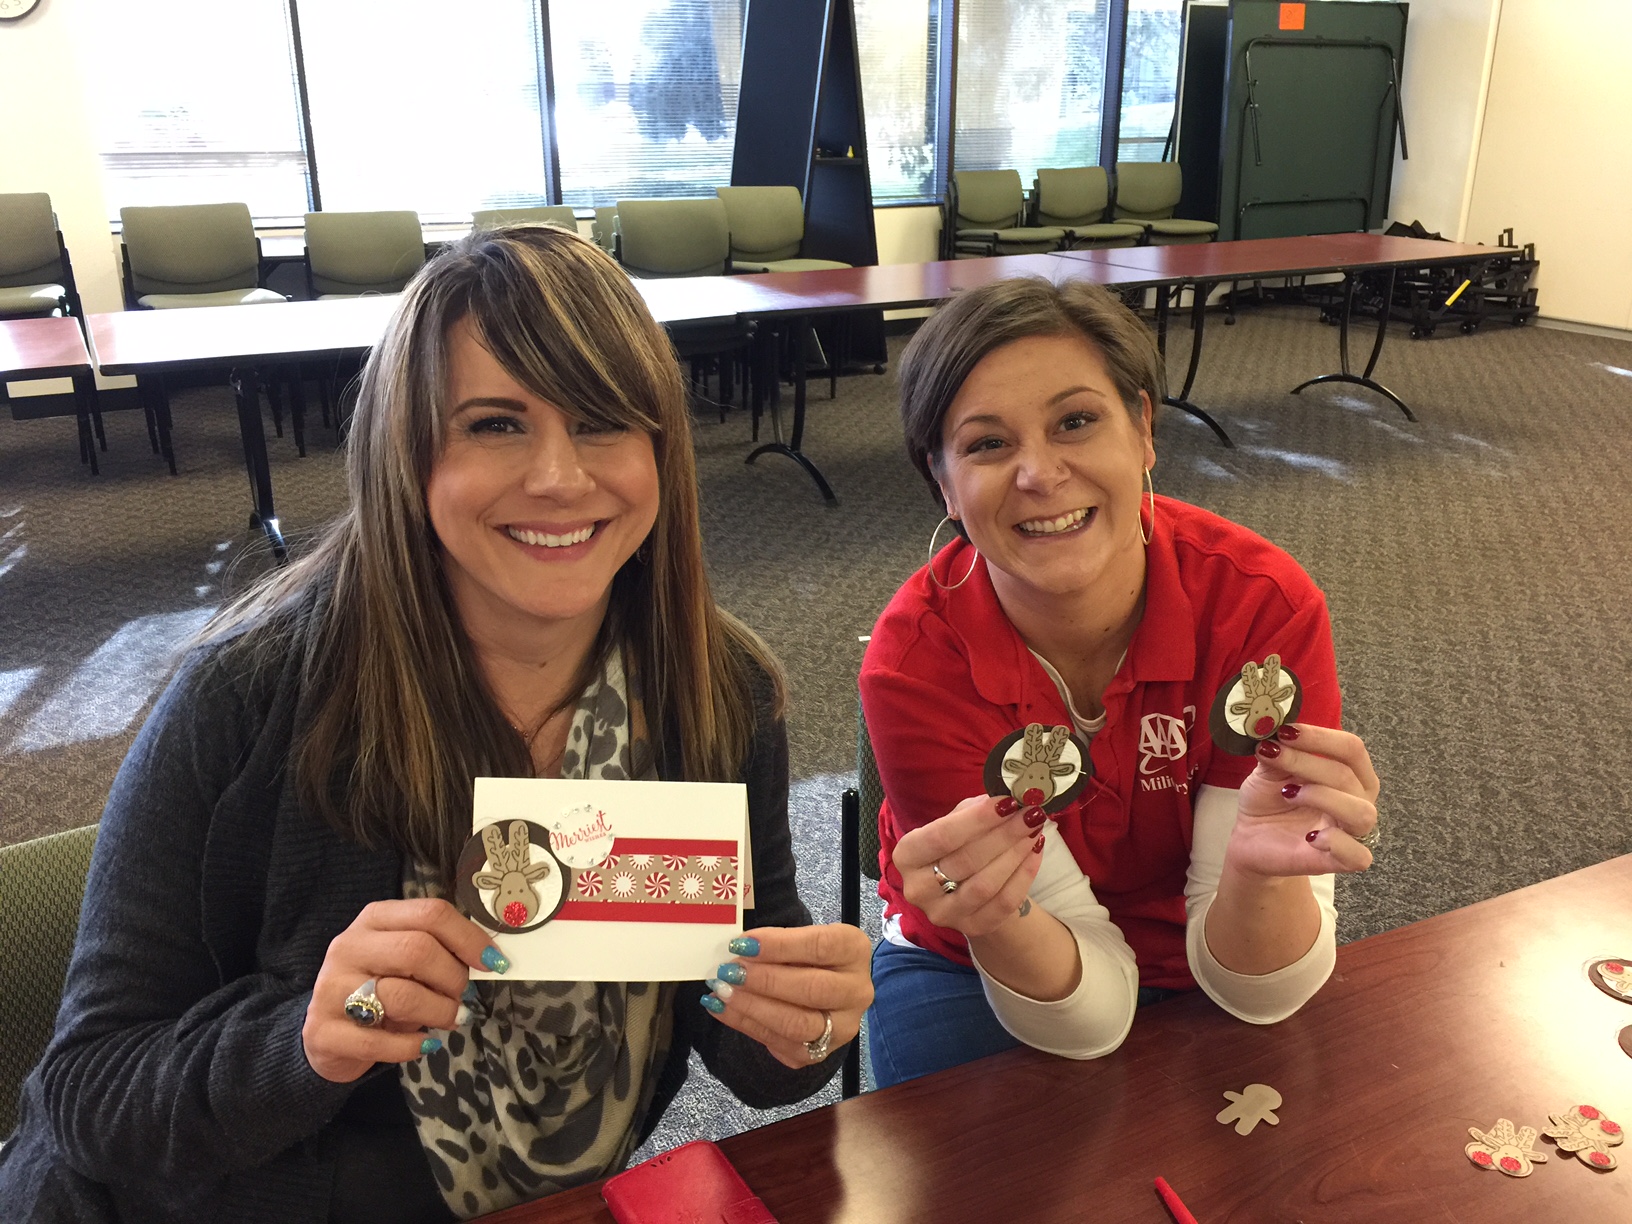
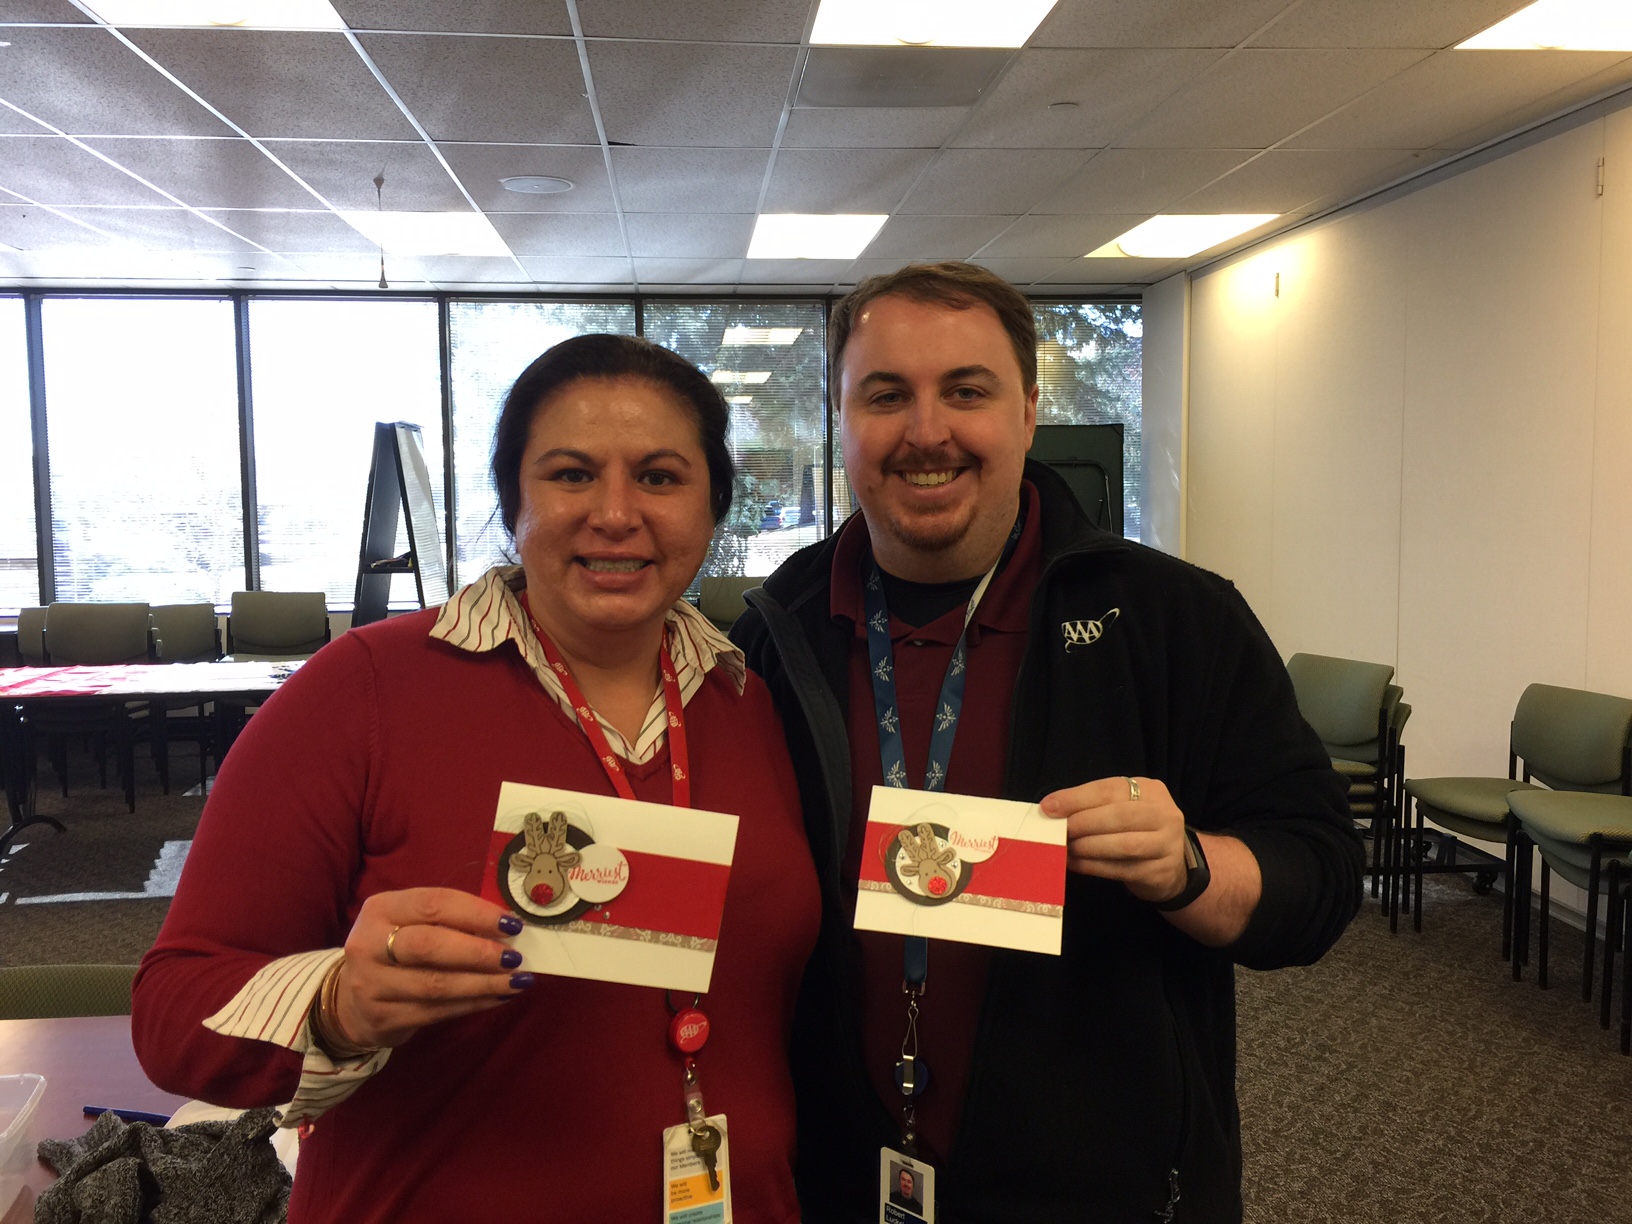
AAA hosted another fantastic “Cards for the Troops” event at work last week.  We made nearly 90 cards and employees put sweet messages inside each card.  We will be distributing them at a local Veteran’s Home this holiday season.

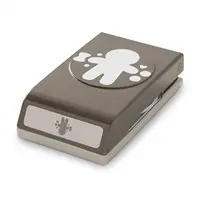
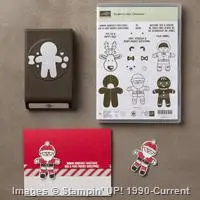
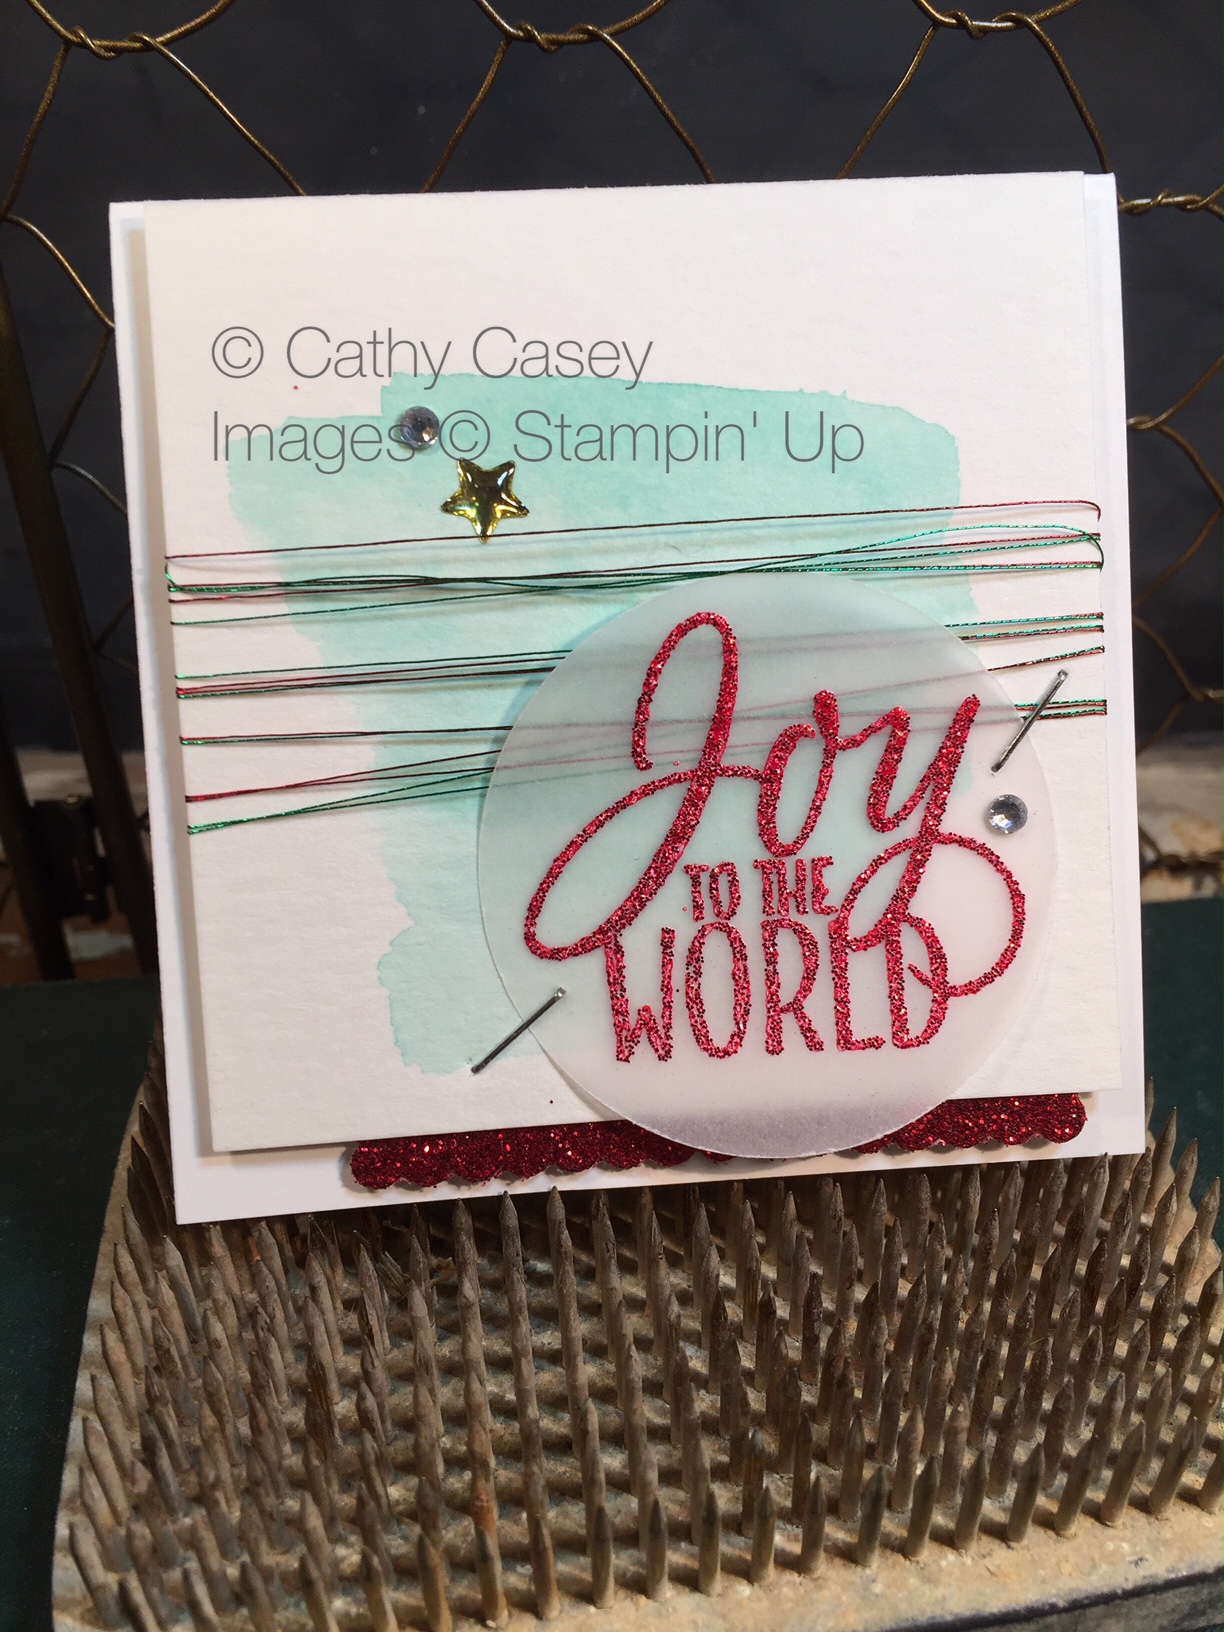
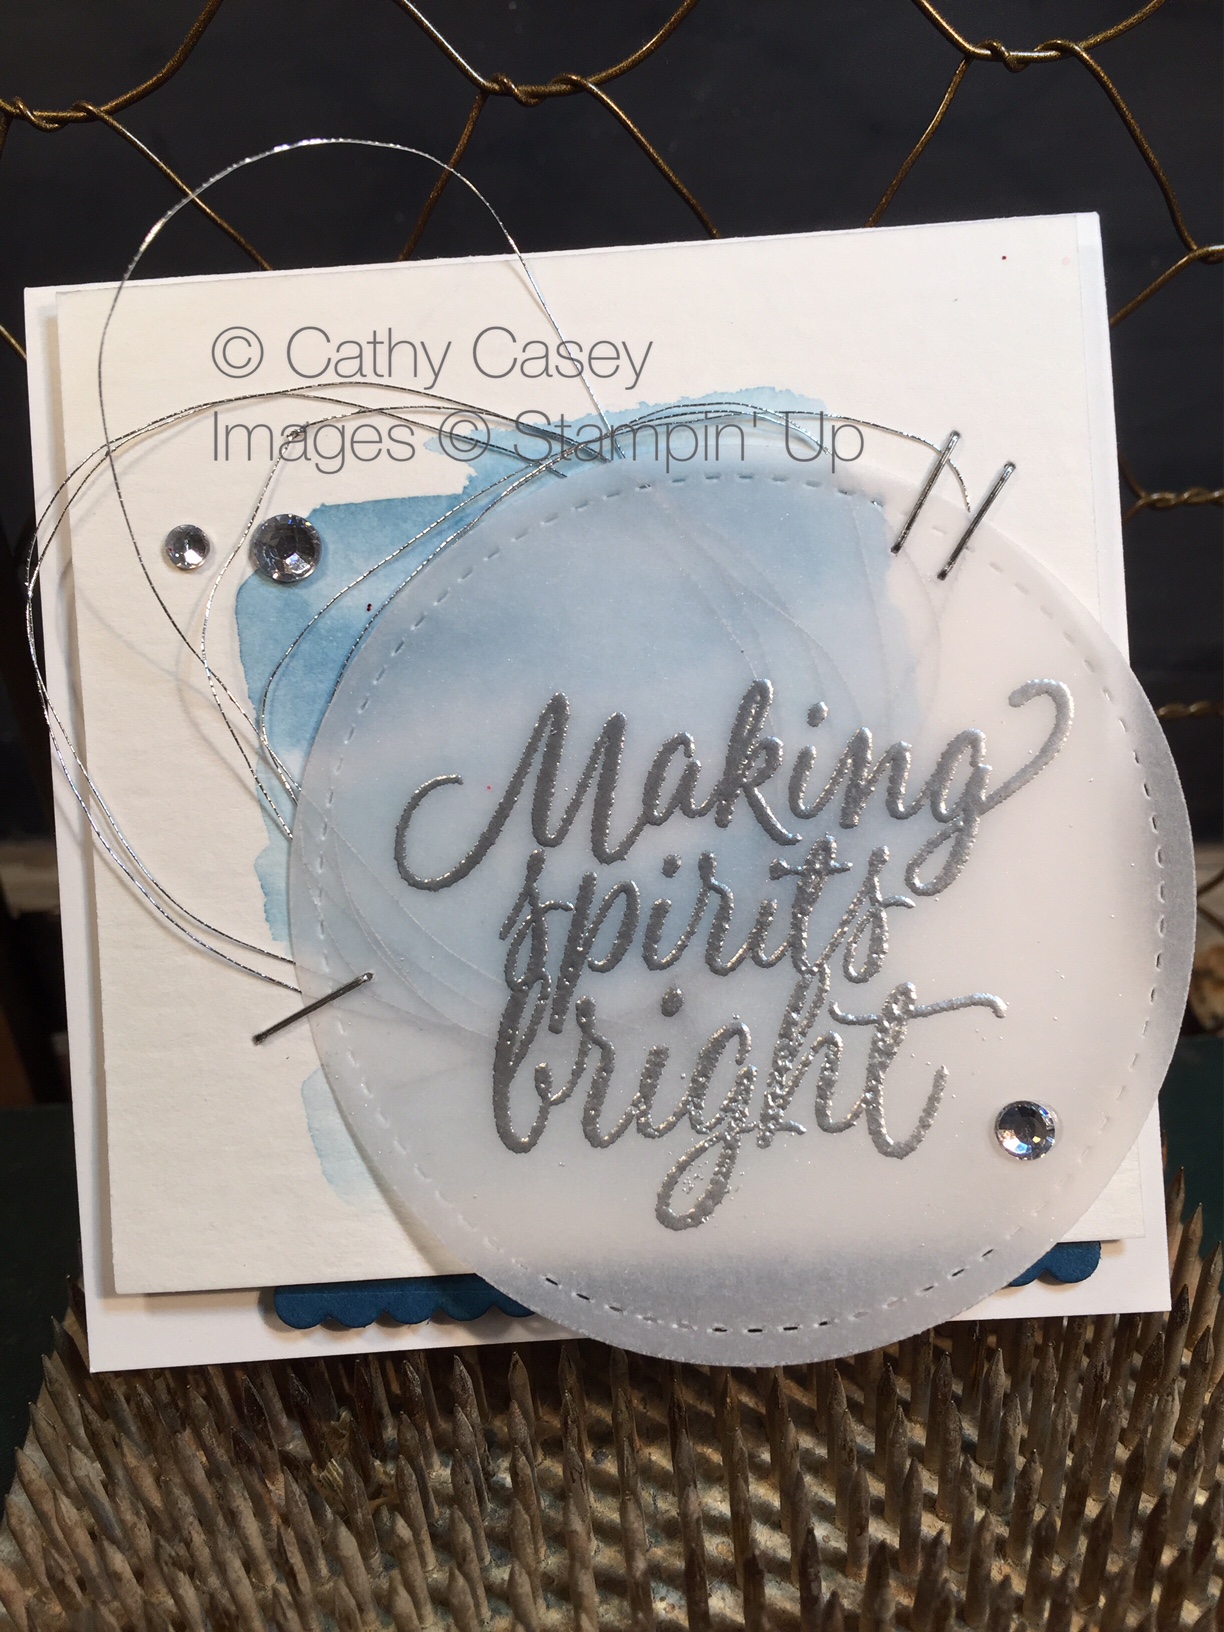
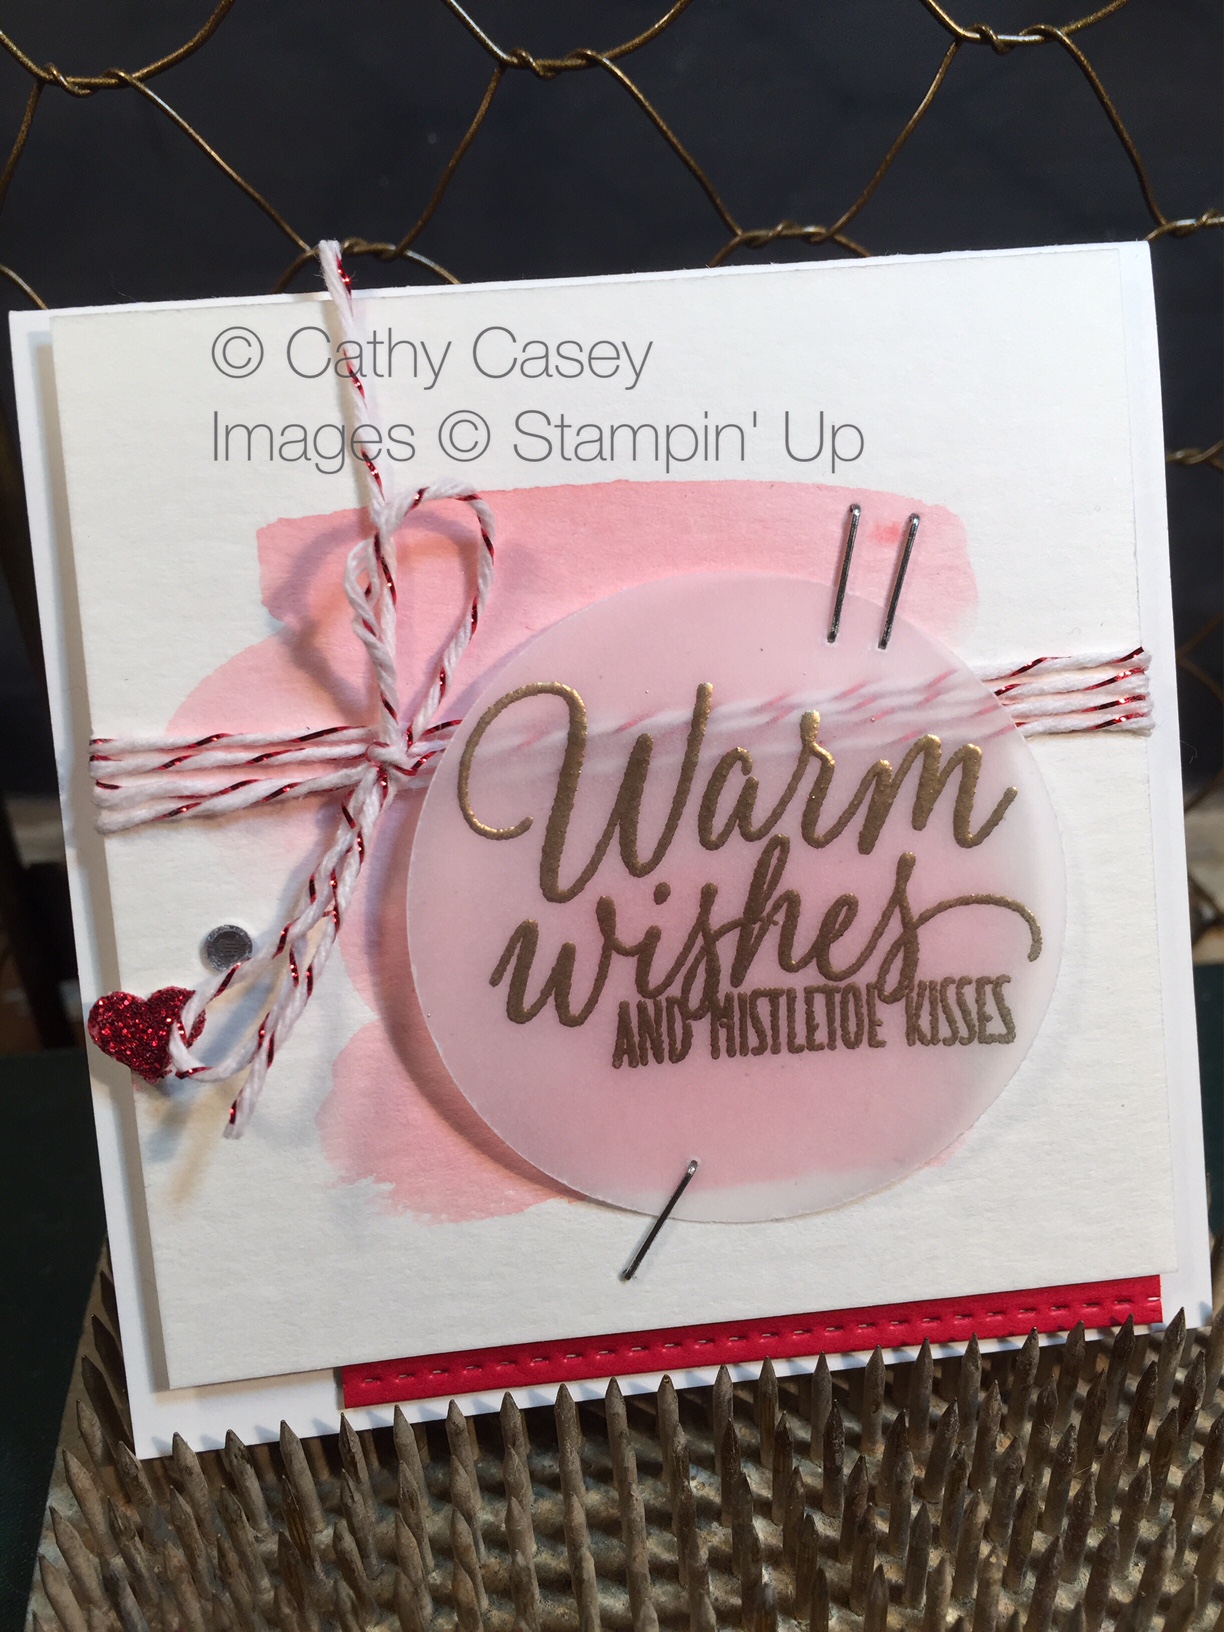
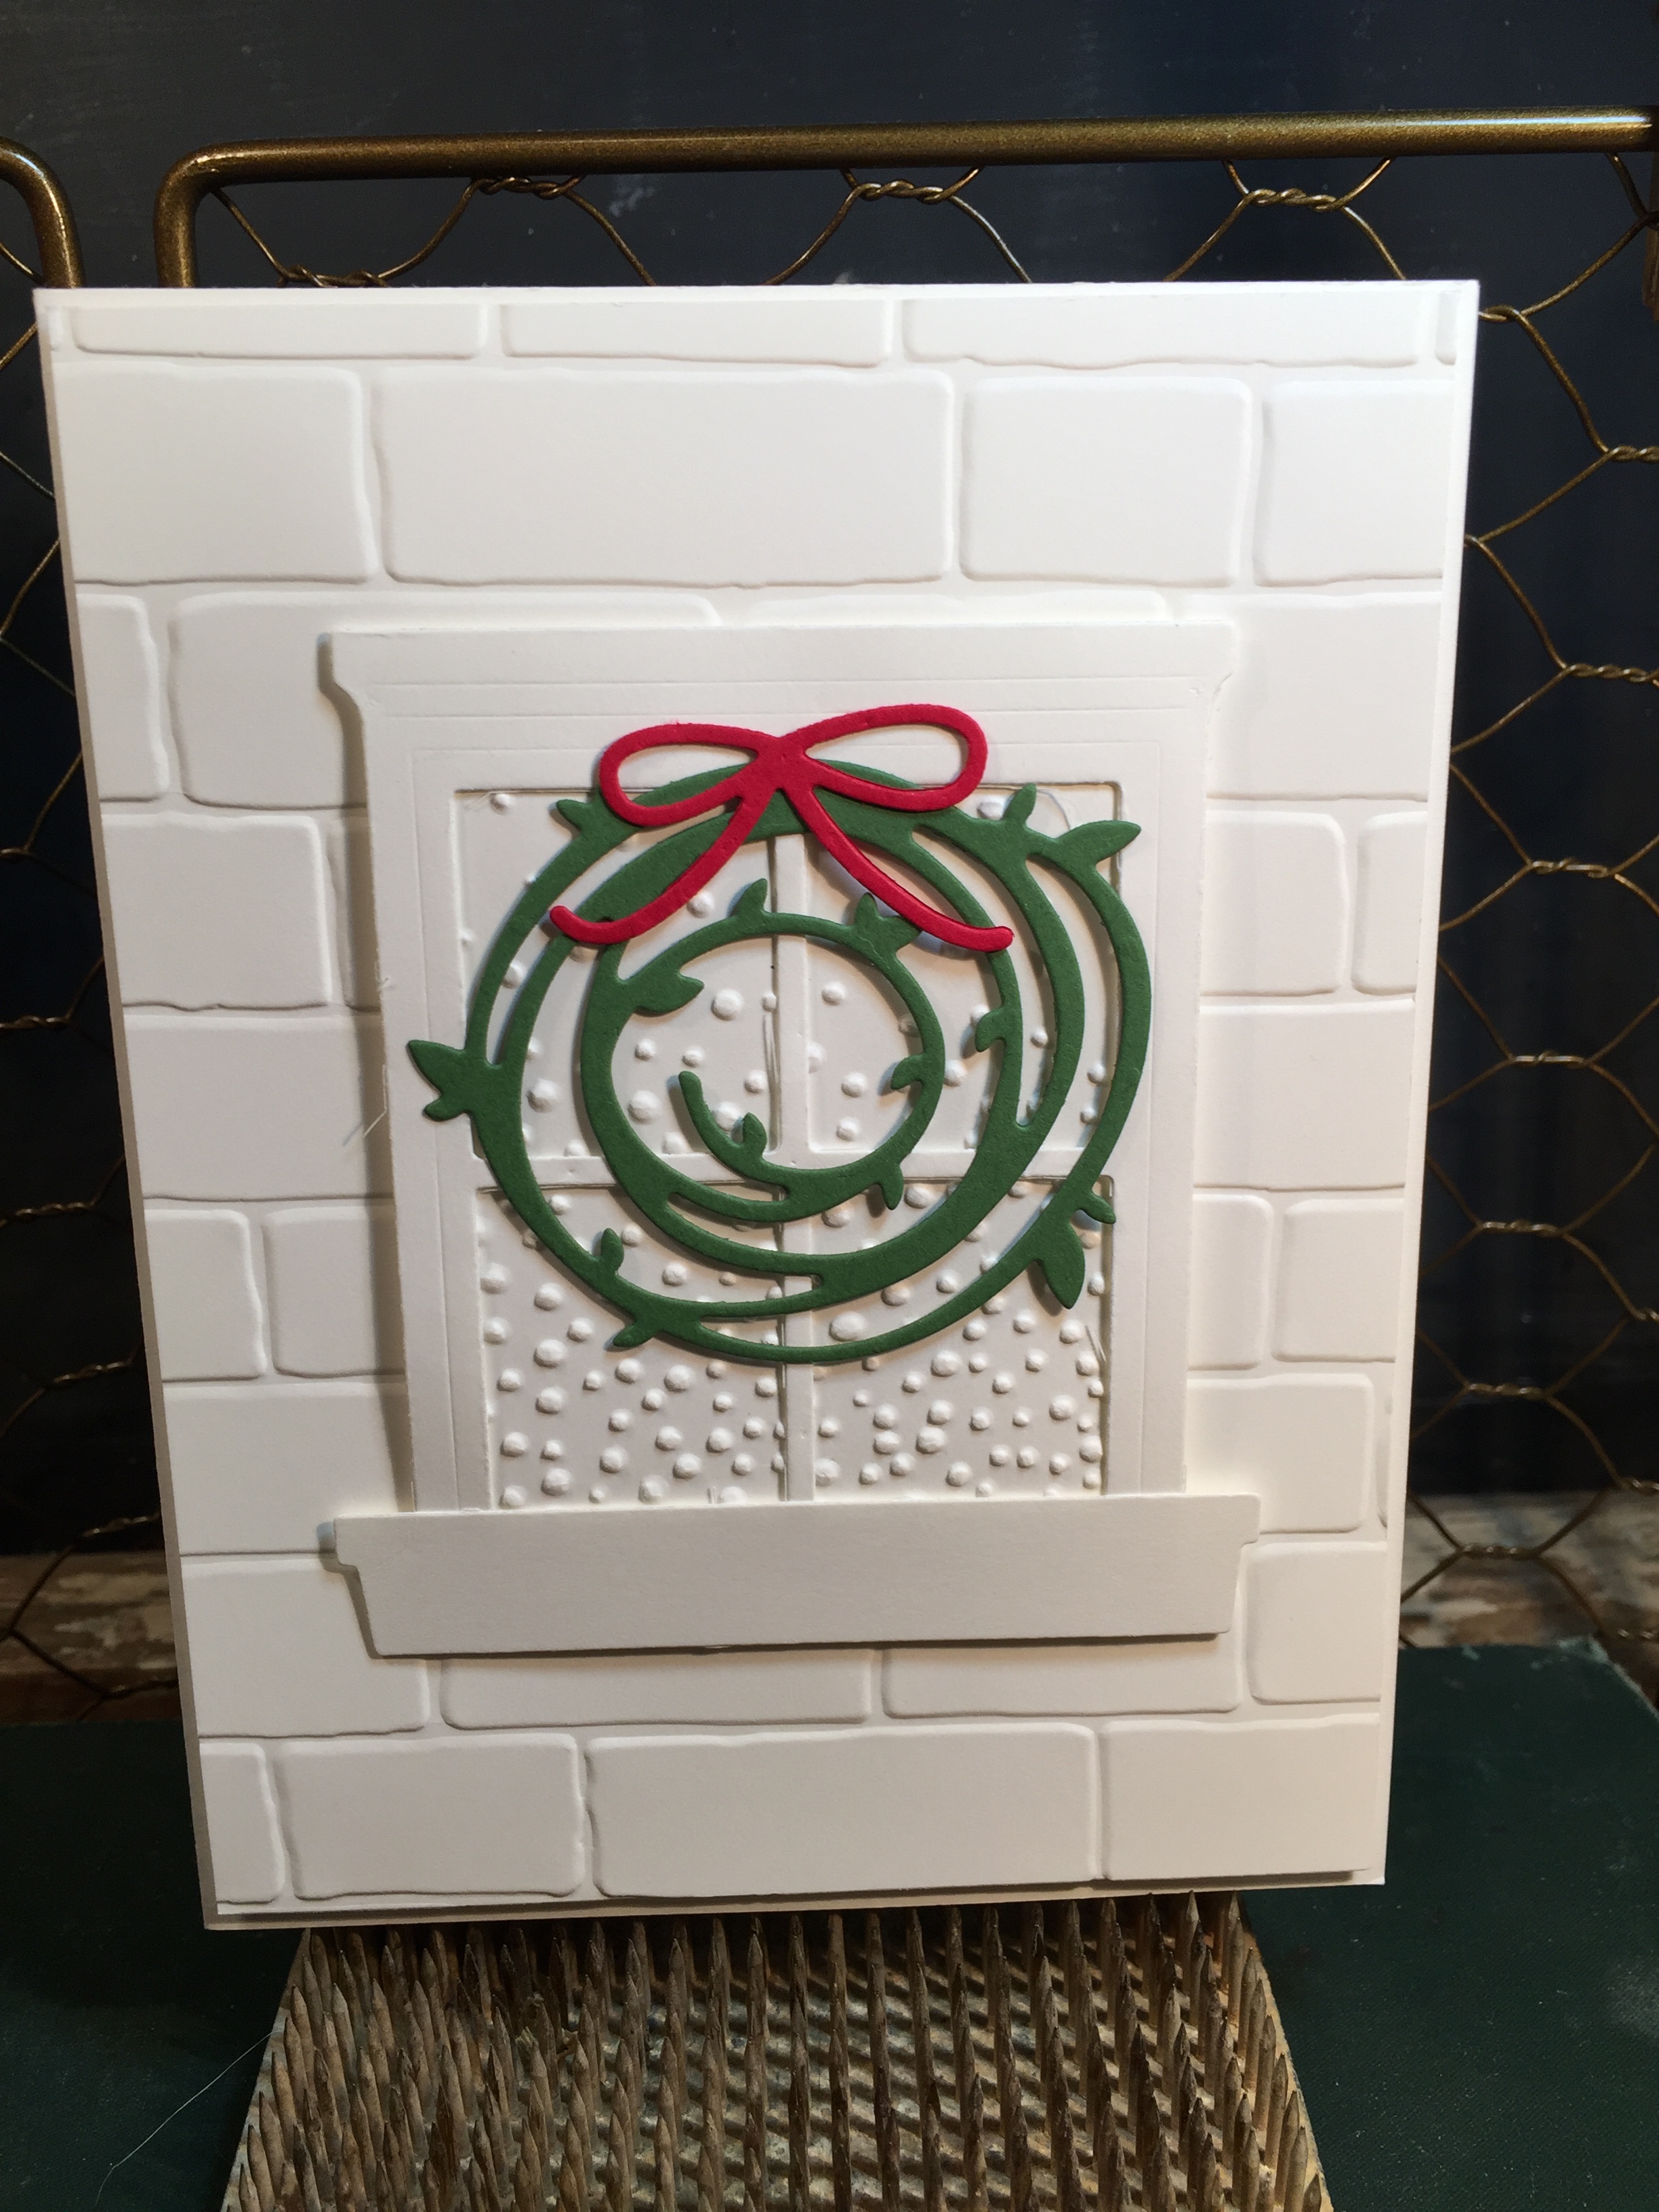
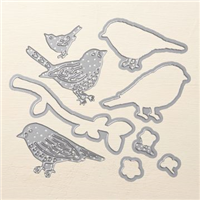
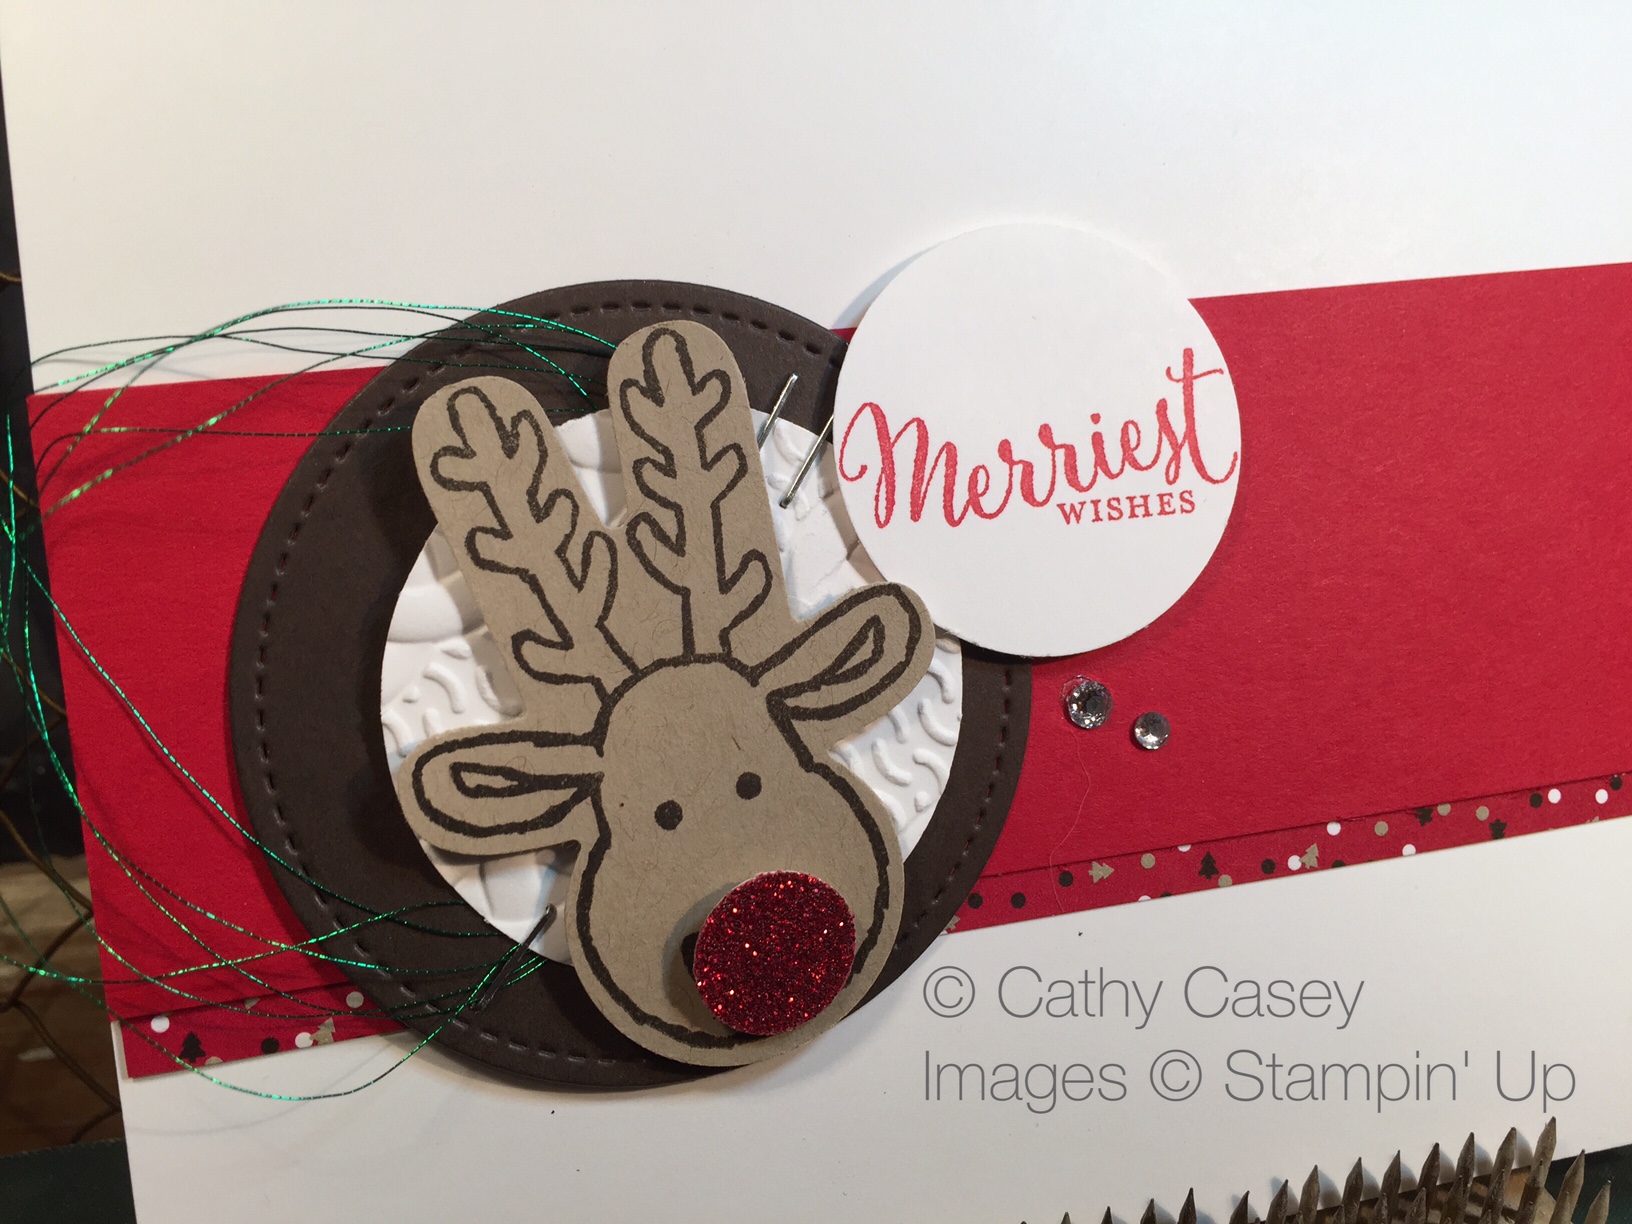
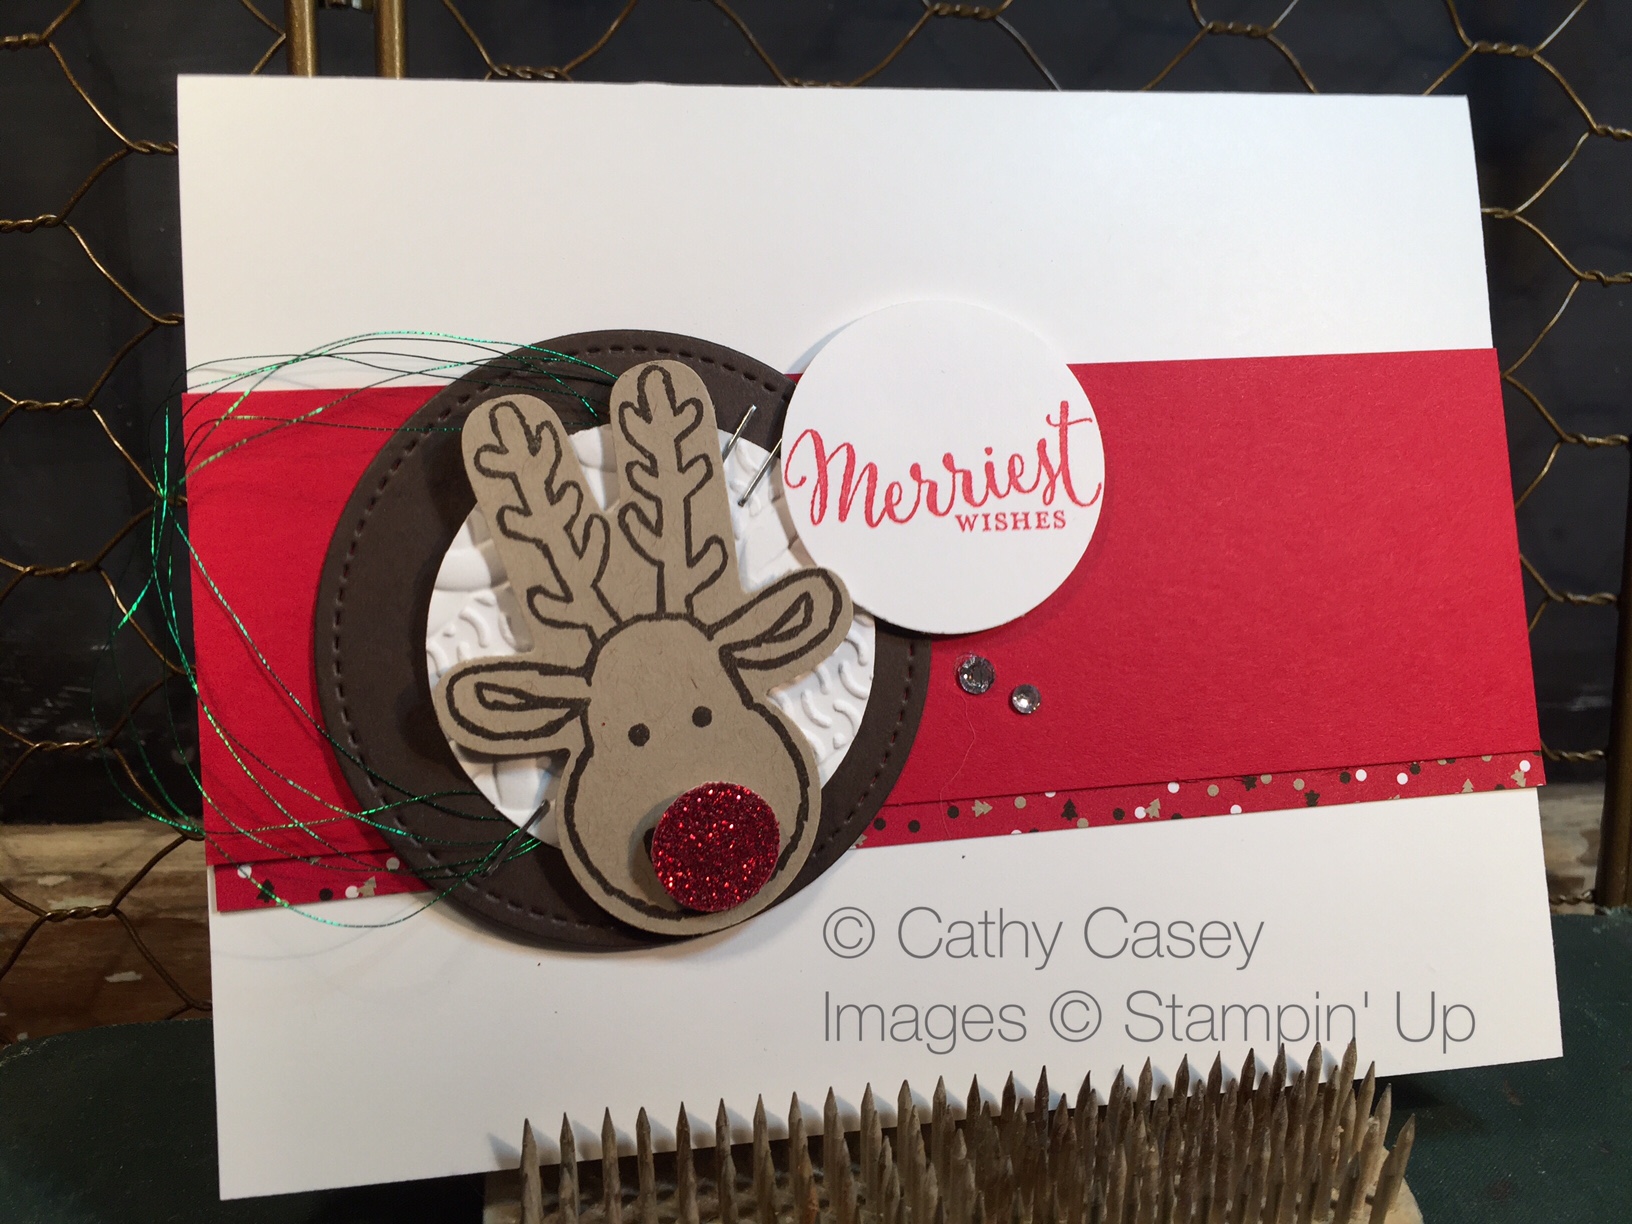
We used the Cookie Cutter Christmas set and coordinating punch.  It made creating 90 cards easy peasy and the card is so cute!

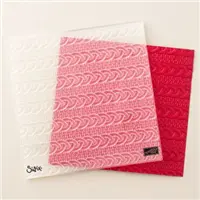
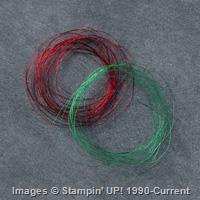
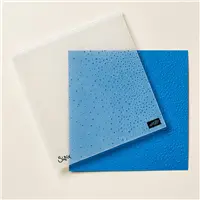
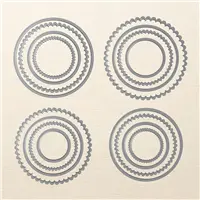
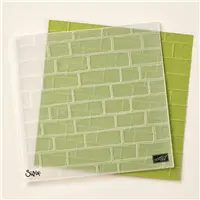
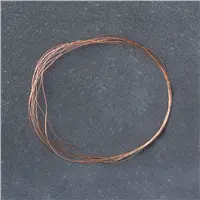
The base is Whisper White accented with a Real Red strip and a little peek of Candy Cane Christmas DSP.   The reindeer image is stamped on Crumb Cake in Early Espresso and punched out.  His nose is blinged out with a Red Glimmer paper circle!  Cute accents include Emerald Envy Metallic Thread, Rhinestones, a circle cut with the Stitched Shapes die, and a circle embossed with the Cable Knit Dynamic Textured Impressions Embossing Folder.  The card is fast and easy to assemble but packs a nice creative punch using these fun tools and embellishments.

Cookie Cutter Christmas Stampin' Up Cookie Cutter Christmas Stampin' Up

Some of our stampers:

Cards for the Troops AAA Cards for the Troops AAA Cards for the Troops AAA

Thank you to our troops serving now and in years past!  Thank you for joining me today, I hope I’ve inspired you to make a pile of sweet Christmas cards for someone you love!!

Make sure you go “Back” if you missed Bree Renwick or you can loop on around by hitting the “Next” button to get to Dani Dziama and the rest of the hop!

mondaymontagebackrevmondaymontagenext

Tiny & Sweet

mondaymontage banner revised Oct 13

Monday Montage Blog Hop – Week 83

Hello friends! Welcome back to the Monday Montage Blog Hop! You may have gotten here from the amazing Bree Renwick’s blog, make sure you select the “next” button below and that will take you to the next stop on the hop, the wonderful Dani Dziama’s blog.  We have some fun holiday treats for you today!

I hope you have had a wonderful holiday weekend with family and friends.  I got some decorating done around the house and some fun crafting too!  I was inspired to make some 3 x 3 gift tags with the Tin of Tags stamp set.  I am so in love with these fonts!  This set just makes my heart go pitter patter!  These were so easy and took about 15 minutes to put together,  I am definitely going to continue with this theme and make a pile for my gifts this year.

The base of each card is a 6 x 3 piece of Whisper White.  The next part that was made assembly line were the watercolor pieces, they are cut 2.75 x 2.75 and each one features a swoosh of color:  Real Red, Emerald Envy and Dapper Denim.  Next up an assembly line of heat embossed sentiments in gold, silver and red glitter.  The final steps were adding embellishments to each card top and popping onto the base.

Tin of Tags Stampin' Up Tin of Tags Stampin' Up Tin of Tags Stampin' Up

I hope I have inspired you to have a homemade Christmas this year!  Stampin’ Up has everything you need to make the sweetest tags and cards evah 🙂

Make sure you go “Back” if you missed Bree Renwick or you can loop on around by hitting the “Next” button to get to Dani Dziama and the rest of the hop!

mondaymontagebackrevmondaymontagenext

He’s making a list….

I have a fun card to share today featuring Mr. Santa and his list.  I just love this die cut…so many fun things you can do with this!  I elected to make the let the die cut be the star and just added a few fun elements to set it off.

The base of the card front is a piece of Candy Cane Lane DSP cut to fit the whole card front (5 1/2 x 4 1/4).  Layered over the DSP and under Santa is a piece of vellum that gives a softer look to the DSP under the die cut.  Add ons are the cute list image stamped in Early Espresso and fussy cut.  The list is wrapped in Candy Cane Lane Baker’s Twine and tied off with a tiny bow.  “Merry” is die cut with the Christmas Greetings Thinlit in Real Red.  The “Christmas!” portion of the sentiment is masked to exclude the “Merry” on the stamp and stamped in Crumb Cake on a 1/2″ x 4″ piece of Whisper White.  The right edge of the banner wraps around on the right side and goes behind the card front.

Greetings from Santa Stampin' Up

It’s hard to believe it is really almost Christmas again!  I hope you are enjoying time with your family this week for Thanksgiving and maybe getting in a little crafting too!


Shoebox Fun

mondaymontage banner revised Oct 13

Monday Montage Blog Hop – Week 82

Hello friends! Welcome back to the Monday Montage Blog Hop! You may have gotten here from the amazing Bree Renwick’s blog, make sure you select the “next” button below and that will take you to the next stop on the hop, the wonderful Dani Dziama’s blog.  As always, we have some amazeballs inspiration to share today 🙂

I’m home today after a whirlwind three weeks that included a cruise, Onstage Local in Atlanta with lots of add on events and a week of stamping fun with my bestie 🙂

One of the many fun things I participated in in Atlanta was Brian King’s World Card Making Day event.  We did a shoebox swap on Friday night and this was my card for the swap, super simple and super cute.  I love the embossing folder.  I have heard that it should be vertical on the card vs. horizontal.  Mine is a knitted blanket instead of a sweater 🙂

Stampin' Up Wrapped in Warmth

Stampin' Up Wrapped in Warmth

Here are some of the other fun shoebox swaps I made that night:

This one was designed by Susan Itell, super pretty!

I hope you are having a great week!

Make sure you go “Back” if you missed Bree Renwick or you can loop on around by hitting the “Next” button to get to Dani Dziama and the rest of the hop!

mondaymontagebackrevmondaymontagenext

Peach cobbler and such…

mondaymontage banner revised Oct 13

Monday Montage Blog Hop – Week 81

Hello friends! Welcome back to the Monday Montage Blog Hop! You may have gotten here from the amazing Bree Renwick’s blog, make sure you select the “next” button below and that will take you to the next stop on the hop, the wonderful Dani Dziama’s blog.  As always, we have some amazeballs inspiration to share today 🙂

I (just barely) returned home from a Stamping & Scrapbooking Cruise in the Caribbean.  It was soooooo much fun!  The ship was beautiful, the ports were great, time spent with friends old and new was priceless!  One of the fun swaps I participated in was an 8″ x 8″ recipe card swap.   I not only received some amazing projects but some absolutely yummy recipes 🙂

This was my recipe card swap.  This truly is the best peach cobbler evah and I combined the Everyday Jars Framelits and the Jar of Love stamp set with the Pop of Pink DSP to make my cute recipe card.

The 8″ x 8″ inch base is Basic Black cardstock, strips of Pop of Pink designs and gold foil are added next.  The recipe is printed out and stapled to the front of the recipe card and Pop of Pink Washi Tape is added for interest.  The most difficult part of the page is the “Jar of Love” made into a little shaker.  The full jar is die cut in black and in transparency.  The jar is also stamped on Thick Whisper White in Archival Black and die cut.  On this jar, the center is also die cut out.  The transparency jar is adhered to the stamped and die cut jar on the inside to create a clear window.  Foam adhesive strips are added underneath.  Once the foam is on, punched hearts in Melon Mambo are put “inside the jar” along with sequins from the Metallics Assortment.  The back of the jar is sealed with the full black die cut jar.  A small tag is stamped and die cut using the Homemade for You stamp set, it’s attached with Melon Mambo thick twine.  The finished jar is adhered to recipe front with Gold Thread swirled underneath.

Jar of Love Stampin' Up

Jar of Love Stampin' Up

You may not love my recipe card but I guarantee you will love the peach cobbler!

Make sure you go “Back” if you missed Bree Renwick or you can loop on around by hitting the “Next” button to get to Dani Dziama and the rest of the hop!

mondaymontagebackrevmondaymontagenext

A time for peace…

mondaymontage banner revised Oct 13

Monday Montage Blog Hop – Week 80

Hello friends! Welcome back to the Monday Montage Blog Hop! You may have gotten here from the amazing Bree Renwick’s blog, make sure you select the “next” button below and that will take you to the next stop on the hop, the wonderful Dani Dziama’s blog.  As always, we have some amazeballs inspiration to share today 🙂

It’s definitely a time for peace, the holidays are coming and it is truly a time of year to set aside our differences and love one another 🙂

I am totally in love with the Star of Light stamp set and coordinating Starlight Thinlits.  I think the star image is so delicate and lovely!

This card features Marina Mist and Sahara Sand ink.  The swoosh is stamped in Marina Mist on the card front and accented with Sahara Sand stars.  The main image is stamped in Marina Mist and die cut with the large star cut out.  Another piece of Sahara Sand is die cut and layered behind the main star.  “Peace” is die cut from Marina Mist and stapled to the card front.  Add ons are gold thread, rhinestones and gold foil stars.

Stampin' Up Star of Light

I hope you are inspired by my lovely card!

Make sure you go “Back” if you missed Bree Renwick or you can loop on around by hitting the “Next” button to get to Dani Dziama and the rest of the hop!

mondaymontagebackrevmondaymontagenext

Beautiful Pines

mondaymontage banner revised Oct 13

Monday Montage Blog Hop – Week 79

Hello friends! Welcome back to the Monday Montage Blog Hop! You may have gotten here from the amazing Bree Renwick’s blog, make sure you select the “next” button below and that will take you to the next stop on the hop, the wonderful Dani Dziama’s blog.  As always, we have some amazeballs inspiration to share today 🙂

It was a perfect fall day here in Colorado,  the leaves are turning and Facebook is full of everyone’s lovely pics of the leaves.  Here in my stamp room we are moving on to Christmas, I can hardly believe it!!! Honestly, the holidays are fast upon us and before we know it 2017 will be here!  This time of year seems to fly by at super speed!

Today I am sharing a beautiful holiday card featuring the Christmas Pines stamp set and the coordinating Pretty Pines die set.  I am obsessed with these delicate and lovely dies!

The base of the card starts with Whisper White embossed with the Softly Falling embossing folder.  The sentiment is gold embossed on vellum and die cut with a circle die.   The branches are cut in Wild Wasabi and Garden Green, the pinecones are die cut in Early Espresso and the sweet bow is die cut in Cherry Cobbler.  All the parts are layered onto the card front over gold thread and stapled down.  Final touches are rhinestones and gold metallic enamel shapes.

Christmas Pines Stampin' Up Christmas Pines Stampin' Up

I hope you are inspired by my pretty pines card!

Make sure you go “Back” if you missed Bree Renwick or you can loop on around by hitting the “Next” button to get to Dani Dziama and the rest of the hop!

mondaymontagebackrevmondaymontagenext

Trick or treat!

mondaymontage banner revised Oct 13

Monday Montage Blog Hop – Week 78

Hello friends! Welcome back to the Monday Montage Blog Hop! You may have gotten here from the amazing Bree Renwick’s blog, make sure you select the “next” button below and that will take you to the next stop on the hop, the wonderful Dani Dziama’s blog.  As always, we have some amazeballs inspiration to share today 🙂

I can hardly believe that sweet summer is coming to an end and fall is in the air!  With fall comes fun Halloween crafting though which makes me happy pants 🙂  And what cute, cute Halloween goodies are in the new Holiday Catalog from  SU!  I have lots of fun stuff planned for my crafting adventures!  I am sharing my first endeavor with you 🙂

First steps for this card are die cutting several different pieces with the Halloween Scene Edgelits:  the fence is die cut from Early Espresso, the tree is die cut twice – once from Basic Black and one from Smoky Slate.  The tree is then layered with the Smoky Slate behind to give the tree some extra dimension.  I love how this looks!

The tomb stone image and the witch image from Spooky Fun are stamped on Smoky Slate and die cut with the Halloween Scene Edgelits.  All of these die cut pieces are layered on the card front as shown in  the pic  using glue dots and dimensionals to give extra dimension to the card front.  The tomb stones are placed just behind the fence under the tree.

The swirl is cut from Pumpkin Pie Glimmer Paper with  the small swirl in the Swirly Scribbles Framelits.  The sentiment is silver embossed on velum and layered over the tree branches.  I love that you can see the shadow of the branch under the sentiment banner.

Final touches are popping that cute witch on top of the sparkly swirly and adding some Halloween Night Enamel Dots.  The finished card front is added to a base of Pumpkin Pie card stock.

Spooky Fun Stampin' Up

Spooky Fun Stampin' Up

I hope you are inspired by my spooky card!

Make sure you go “Back” if you missed Bree Renwick or you can loop on around by hitting the “Next” button to get to Dani Dziama and the rest of the hop!

mondaymontagebackrevmondaymontagenext

Sweet Birdie in My Window

mondaymontage banner revised Oct 13

Monday Montage Blog Hop – Week 77

Hello friends! Welcome back to the Monday Montage Blog Hop! You may have gotten here from the amazing Bree Renwick’s blog, make sure you select the “next” button below and that will take you to the next stop on the hop, the wonderful Dani Dziama’s blog.  As always, we have some amazeballs inspiration to share today 🙂

You know how I usually say that my card is easy peasy???  Well not today!  This was a lot of steps but the results were so worth it!  I got the window shade idea from Joanne James at http://www.thecraftyowl.co.uk and I have wanted to try it since I saw her cute card 🙂  I used DSP for my Roman shade instead of ribbon and it worked perfectly.

The window is die cut from Whisper White Thick Cardstock.  The Roman shade is a piece of Moroccan Designer Series Paper cut wide enough to cover the window and and then rolled back twice to make the shade.  A piece of window sheet is cut the size of the window and added before the shade.  Foam adhesive strips along the backside are attached to a piece of Whisper White cut just barely smaller than the window.  Oh my how I love the foam adhesive strips!

The card front is Delightful Dijon embossed with the Brick Wall Textured Impressions Embossing Folder.  It is also lightly stamped (stamped off) with the net image from Best Birds in Delightful Dijon. The cute flowers from Best Birds are stamped in Archival Black and colored with markers (Flirty Flamingo, Emerald Envy and Daffodil Delight).  The colored flowers are die cut with Birds & Blooms.  The sweet little birdie is die cut with the same dies in Dapper Denim.  Isn’t he the cutest thing evah???  I love him to pieces 🙂

The sentiment is from Thoughtful Banners and is stamped in Dapper Denim.  A couple of pearls for the flowers and some gold thread add just the right finishing touches.

Best Birds Stampin' Up

Best Birds Stampin' Up

I hope you are inspired by my pretty card!

Make sure you go “Back” if you missed Bree Renwick or you can loop on around by hitting the “Next” button to get to Dani Dziama and the rest of the hop!

mondaymontagebackrevmondaymontagenext

Love & Affection

mondaymontage banner revised Oct 13

Monday Montage Blog Hop – Week 76

Hello friends! Welcome back to the Monday Montage Blog Hop! You may have gotten here from the amazing Bree Renwick’s blog, make sure you select the “next” button below and that will take you to the next stop on the hop, the wonderful Dani Dziama’s blog.  As always, we have some amazeballs inspiration to share today 🙂

My card today features the Affectionately Yours Suite Stamp Set Love & Affection.  I pulled one of the colors of the suite and made a two-tone card featuring Whisper White and Mint Macaron.  The results are elegant and beautiful yet pretty simple to put together.

The Whisper White base is stamped randomly with an image from Gorgeous Grunge in Mint Macaron before it is embossed with the Floral Affection Textured Embossing Folder.  The two flower images from the Love & Affection set are heat embossed in Copper and watercolored with Mint Macaron to give a soft, sweet color.  After the paper dries the images are fussy cut.

The sentiment is stamped in Mint Macaron on Whisper White and die cut with a die from the Project Life Cards & Labels Framelits collection.  A piece of Mint Macaron is banner cut and layered over a paper clip with a tiny piece of Very Vanilla 1/2″ Lace Trim.  The sentiment die cut is stapled to the banner as shown in the pic.

The cut flowers are layered with dimensionals to the card front with swirled Copper Metallic Thread underneath.  The sentiment is attached to the card front with the paper clip.  The finishing touch are sweet pearls added to the flowers and sentiment.

Love & Affection Stampin' Up

Love & Affection Stampin' Up

I hope you are inspired by my pretty card!

Make sure you go “Back” if you missed Bree Renwick or you can loop on around by hitting the “Next” button to get to Dani Dziama and the rest of the hop!

mondaymontagebackrevmondaymontagenext