Getting into the holiday spirit!

Well I wanted to decorate my house for the holidays this weekend but that didn’t happen.  I ran out of weekend 😦  That seems to happen a lot!!!  I need more weekend in my life!  lol

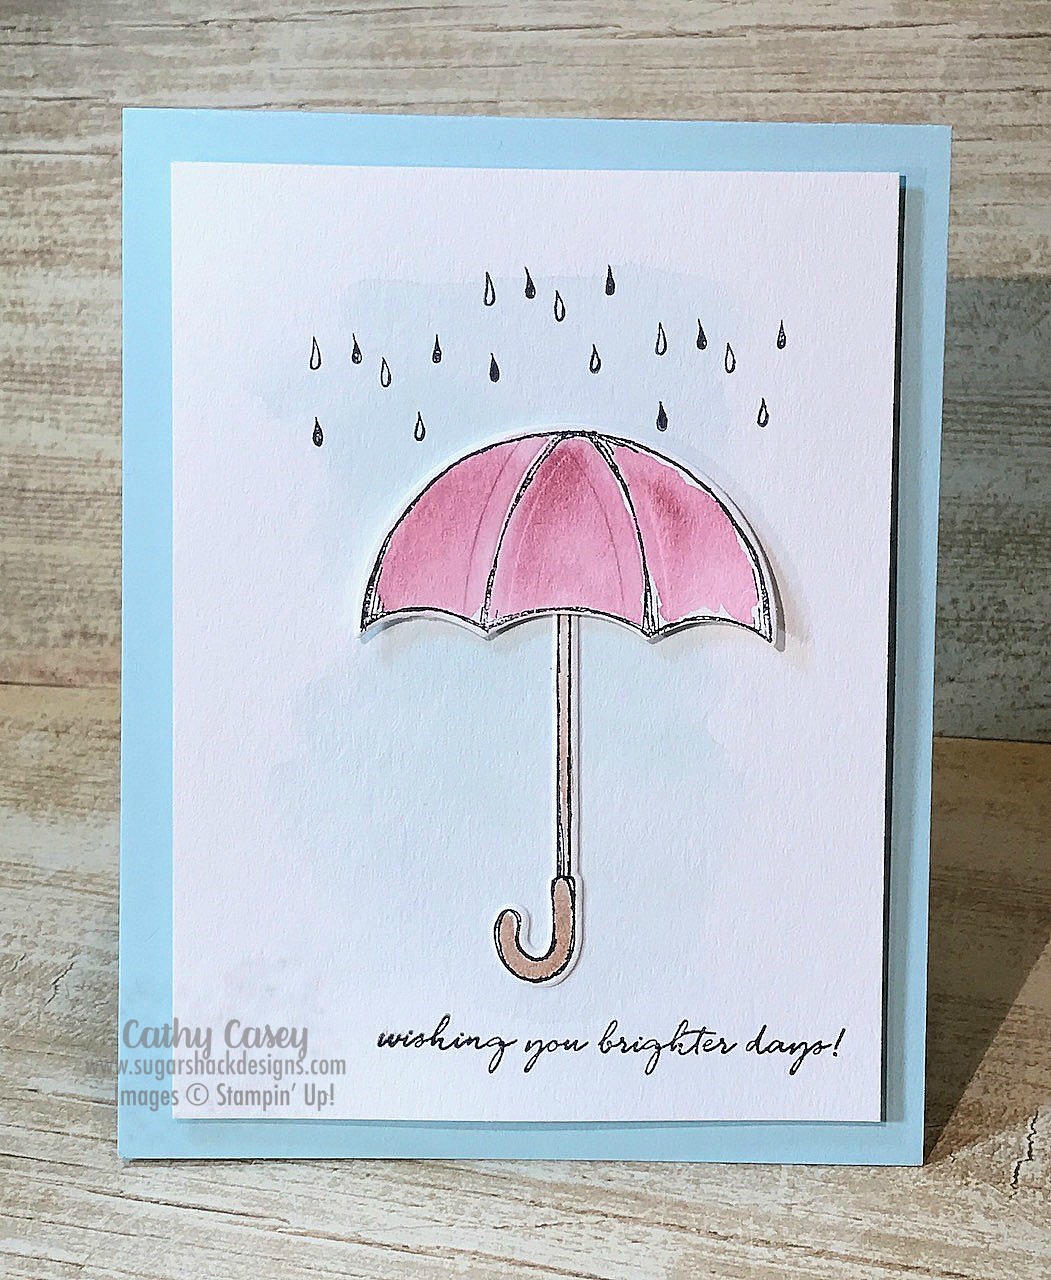
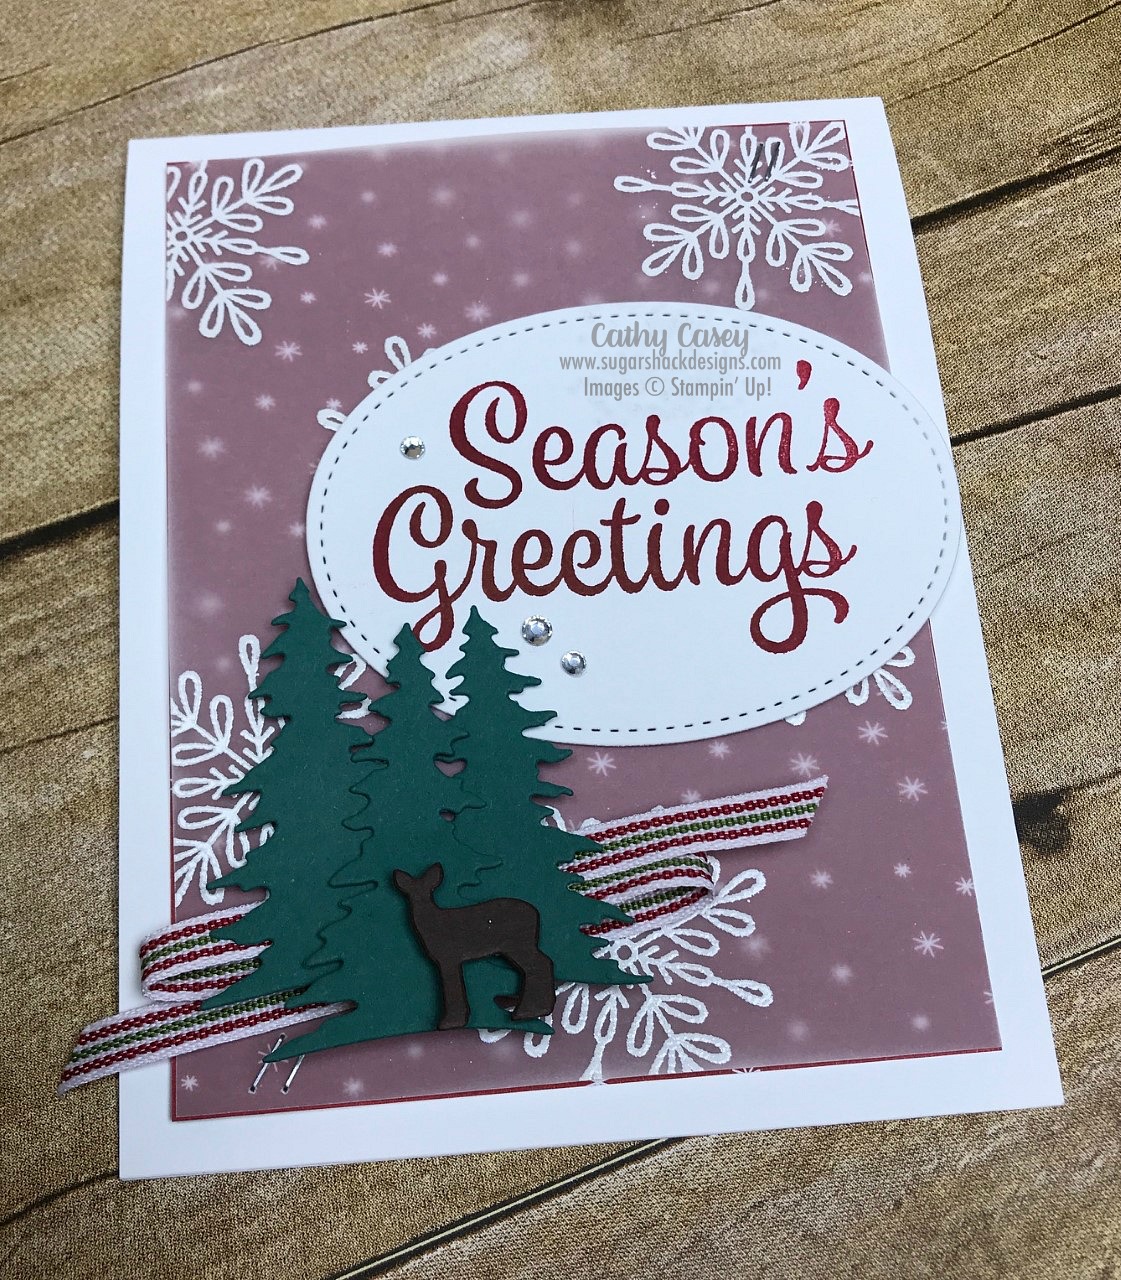
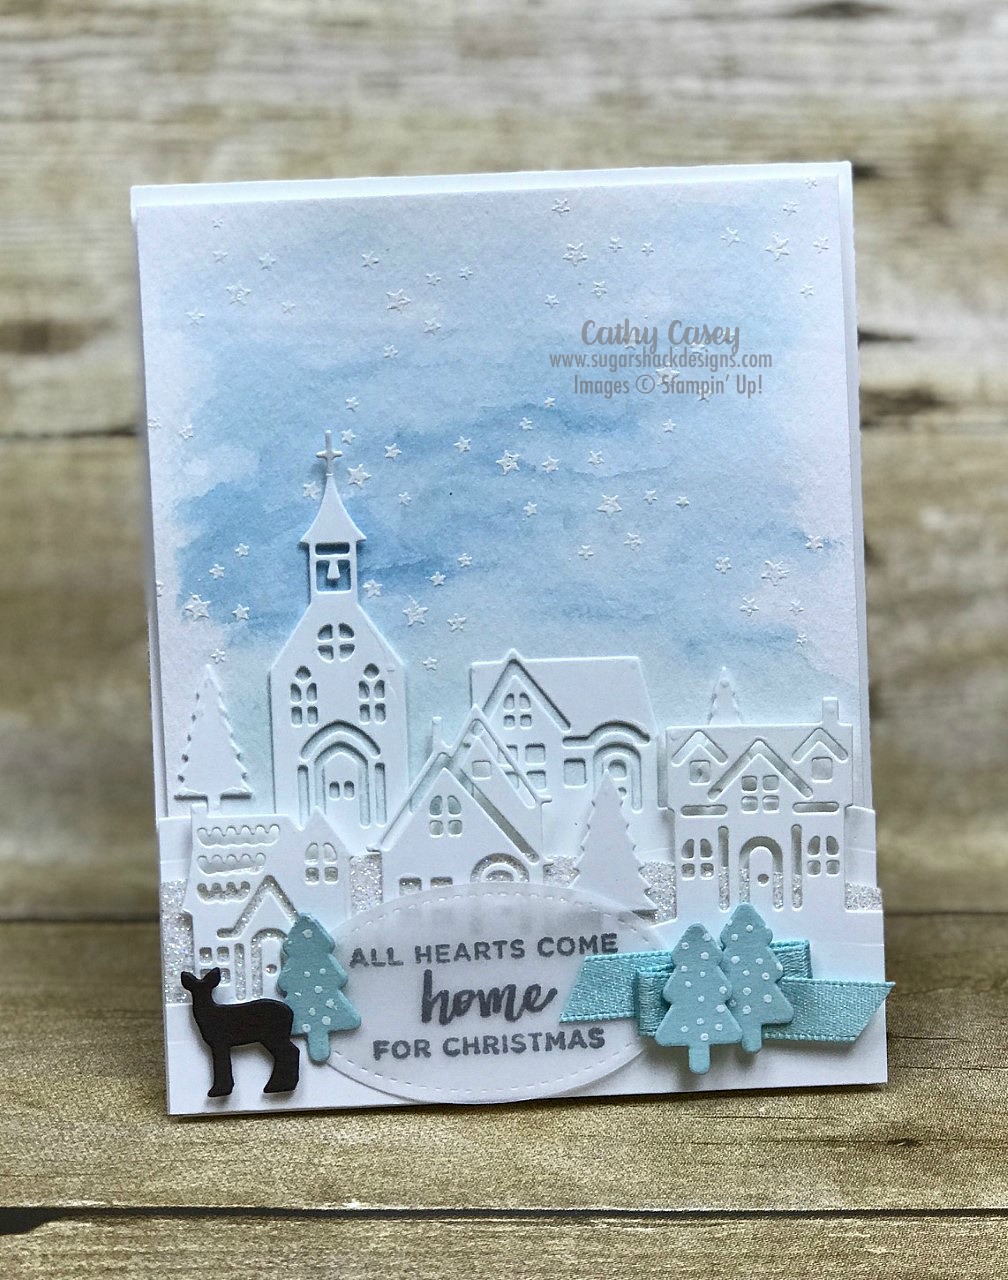
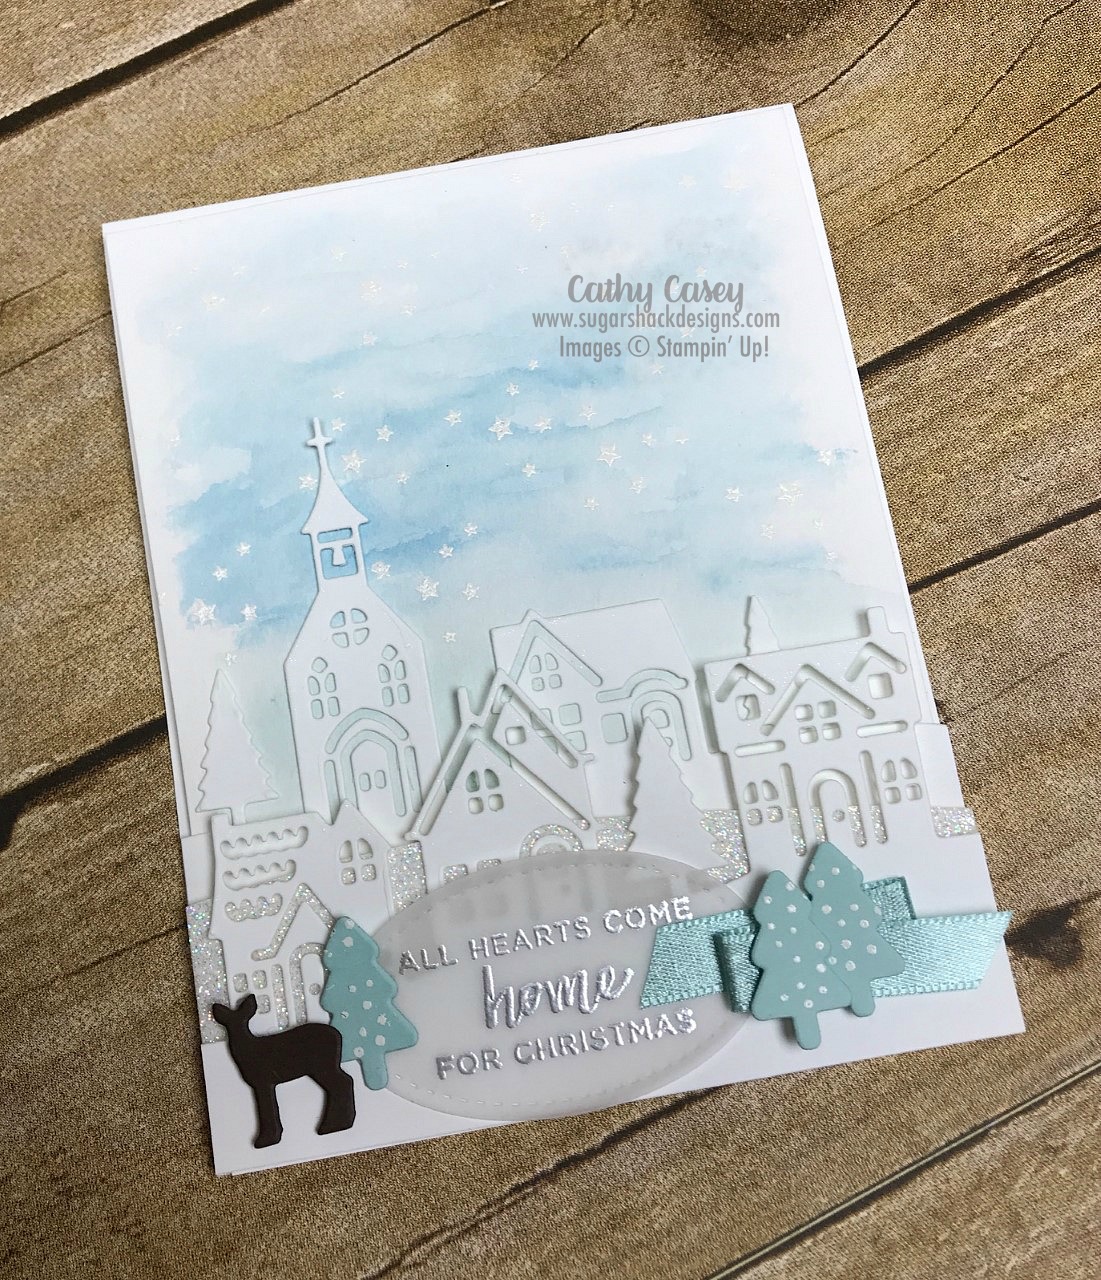
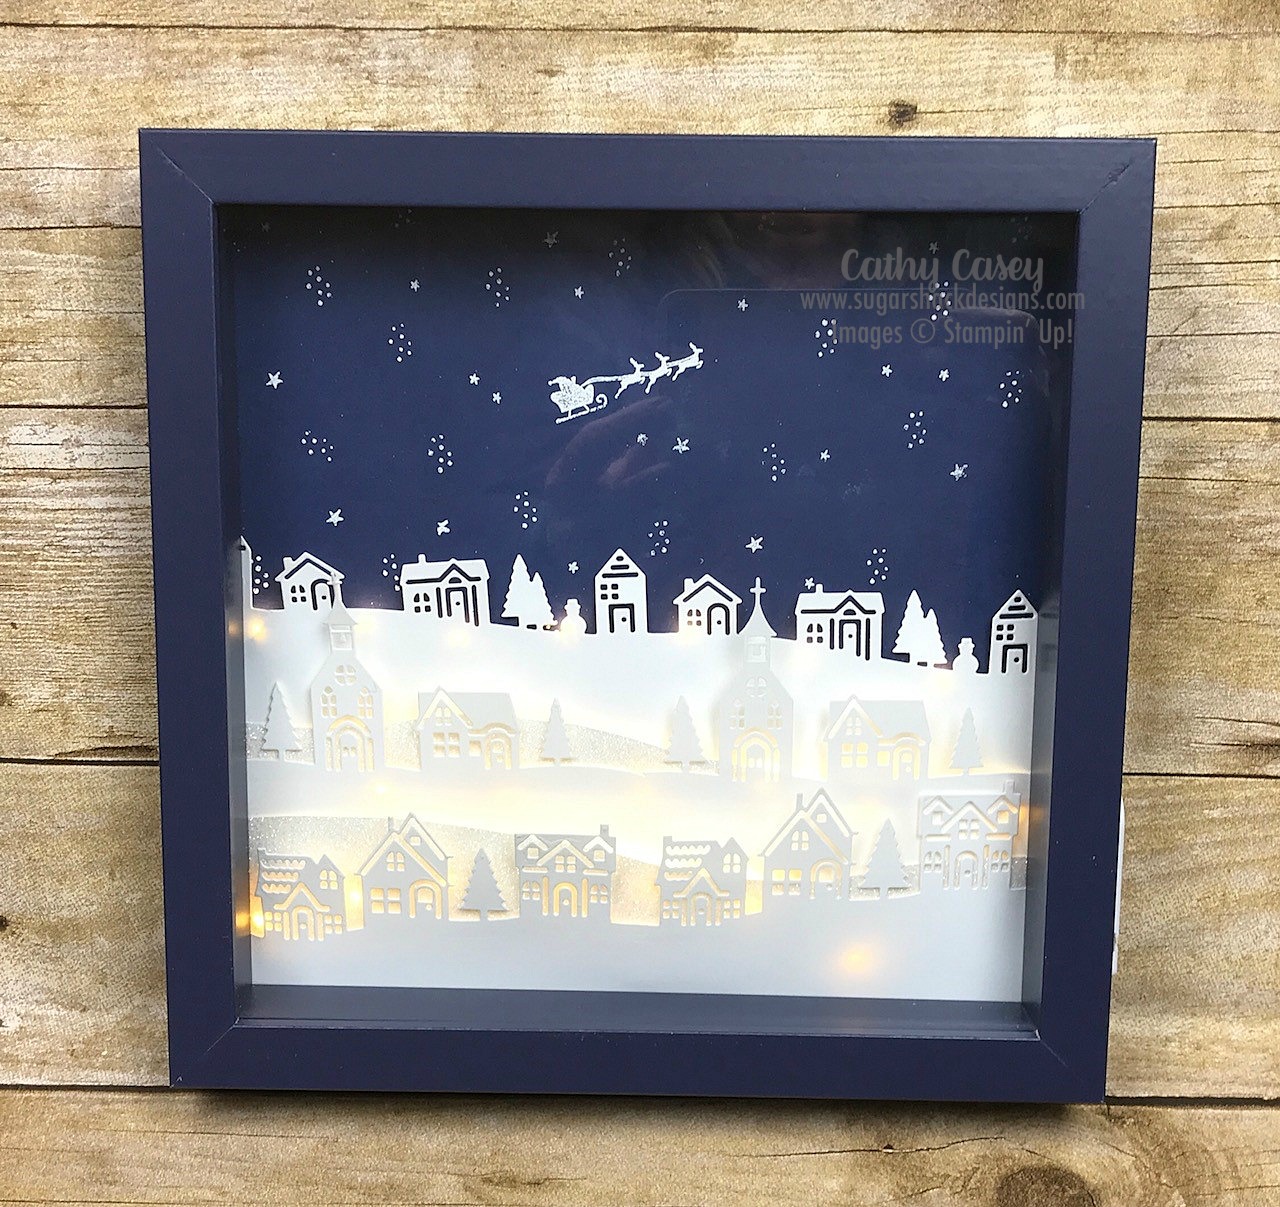
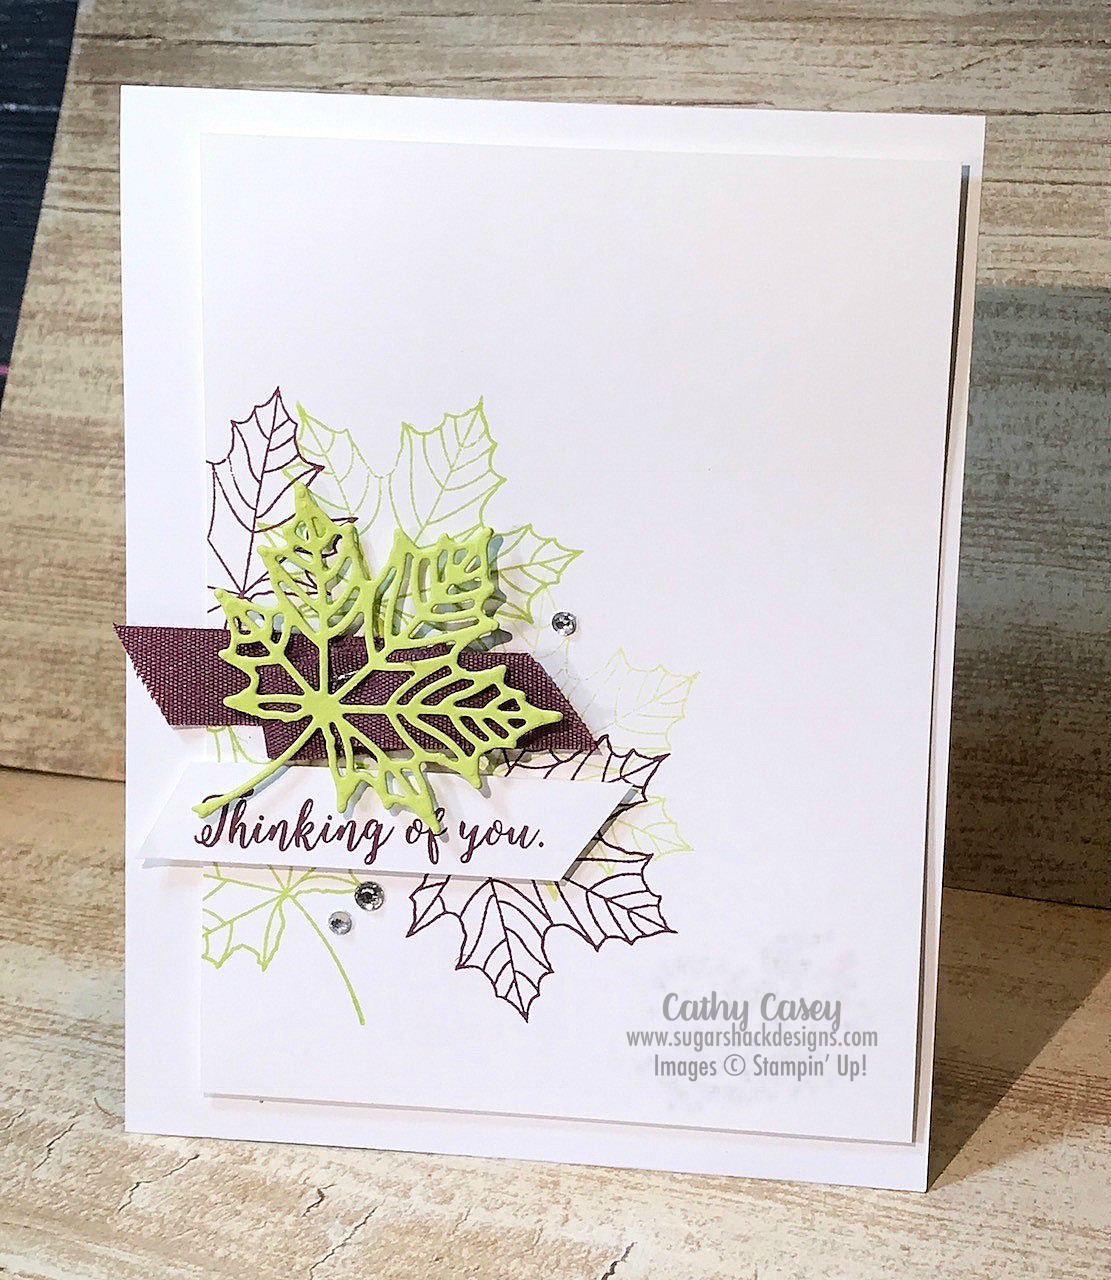
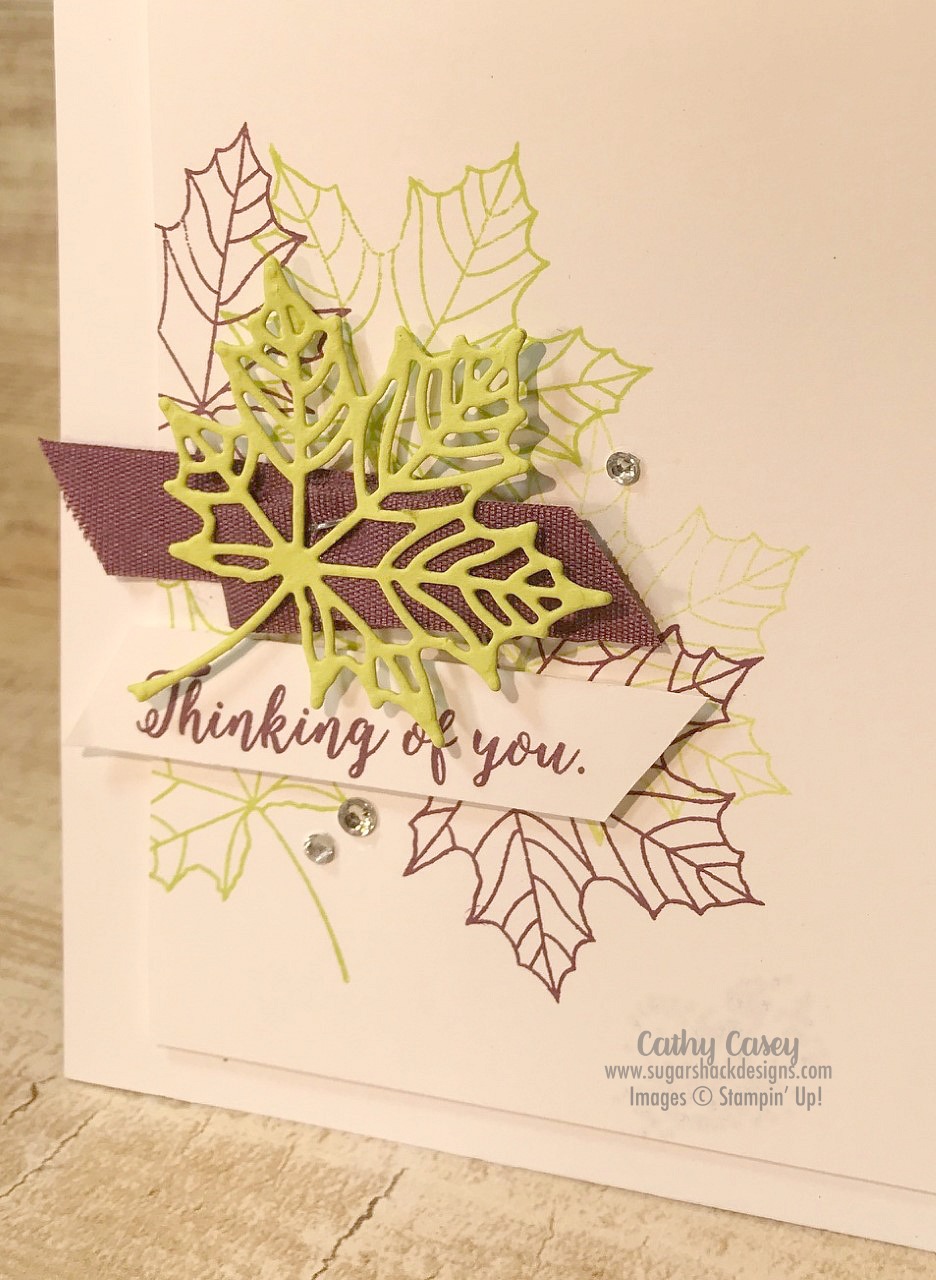
I was able to sneak in some fun stamping and this is one of the lovelies I created.  This was sooo easy and came together in just a few minutes, perfect for a last minute Christmas card for someone special.  I love how Stampin’ Up makes it so easy to create something lovely in just a few minutes!

Snowflake Sentiments Stampin' Up

Snowflake Sentiments Stampin' Up

Creative Tips:

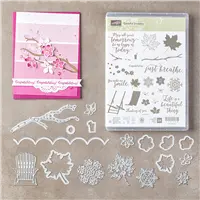
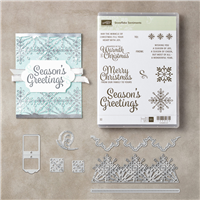
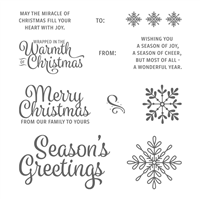
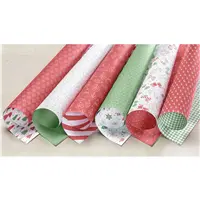
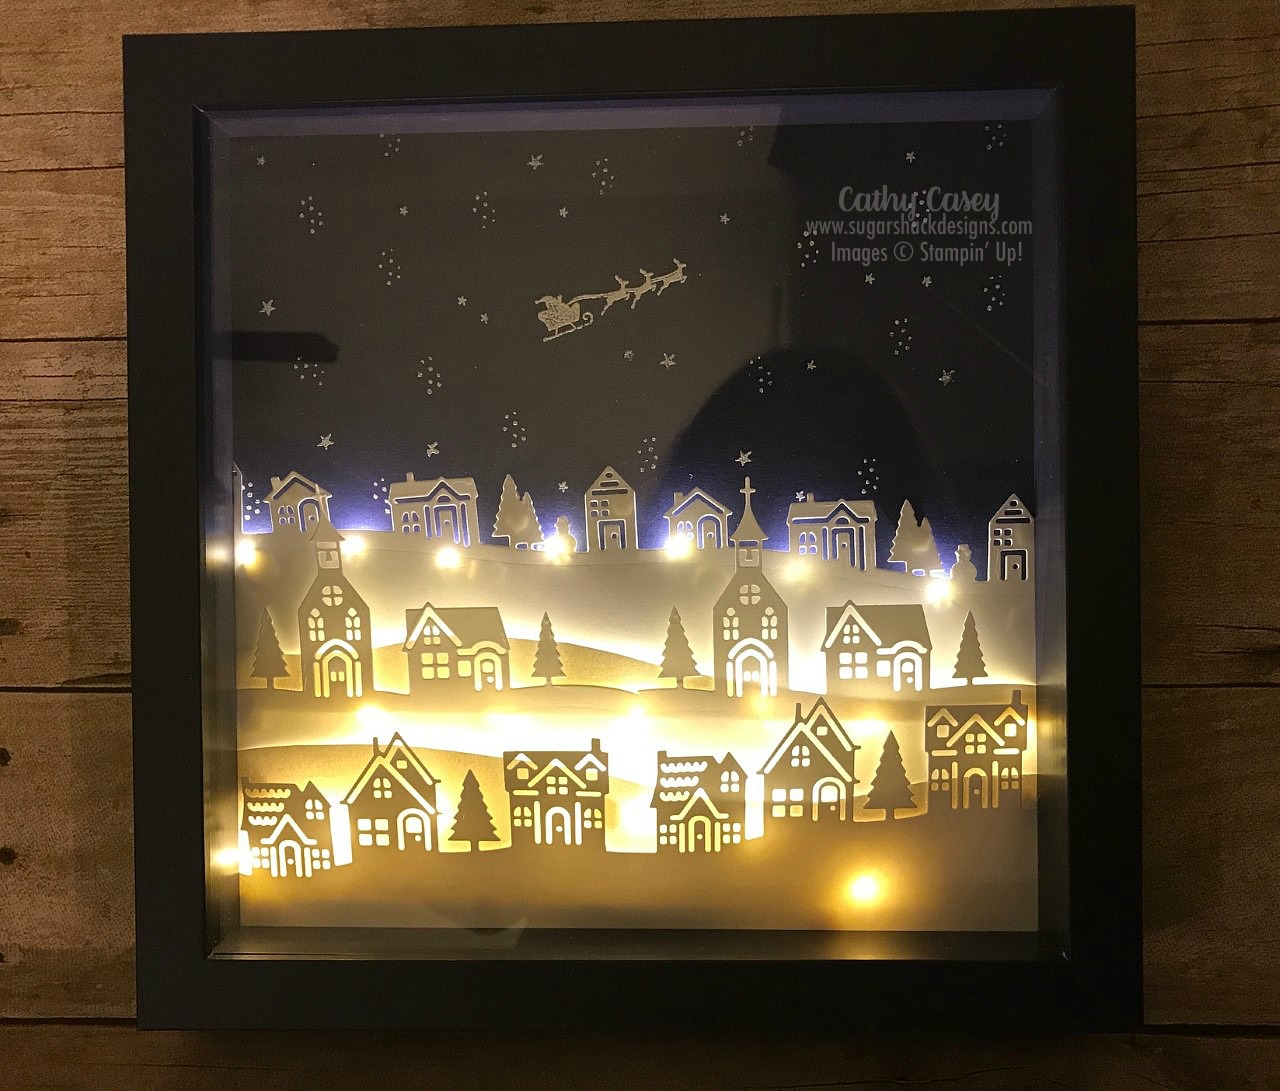
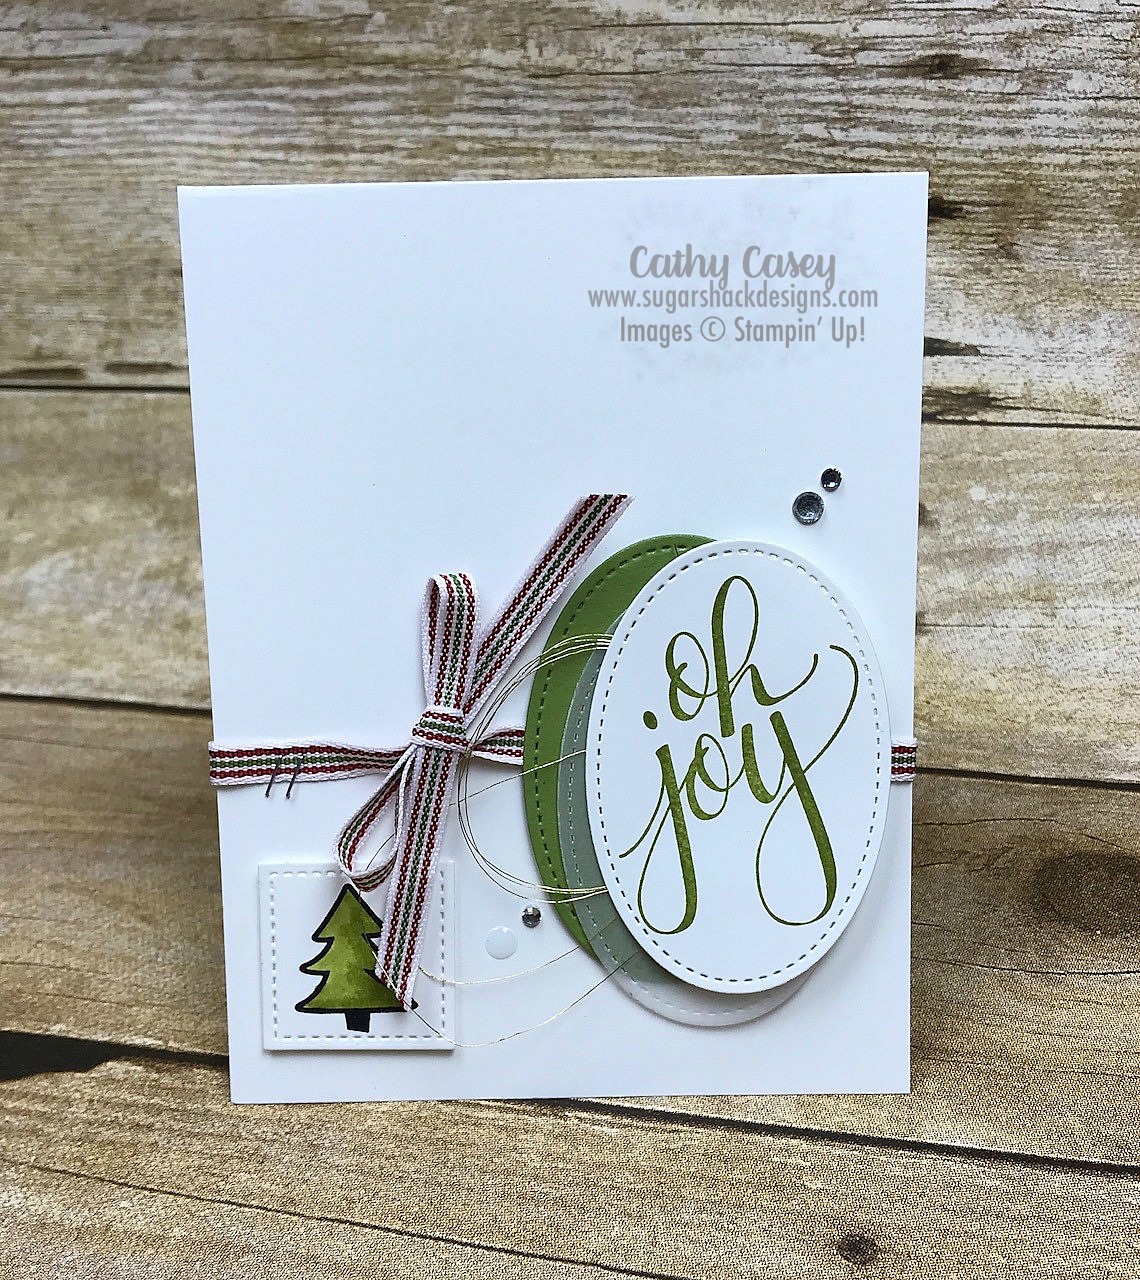
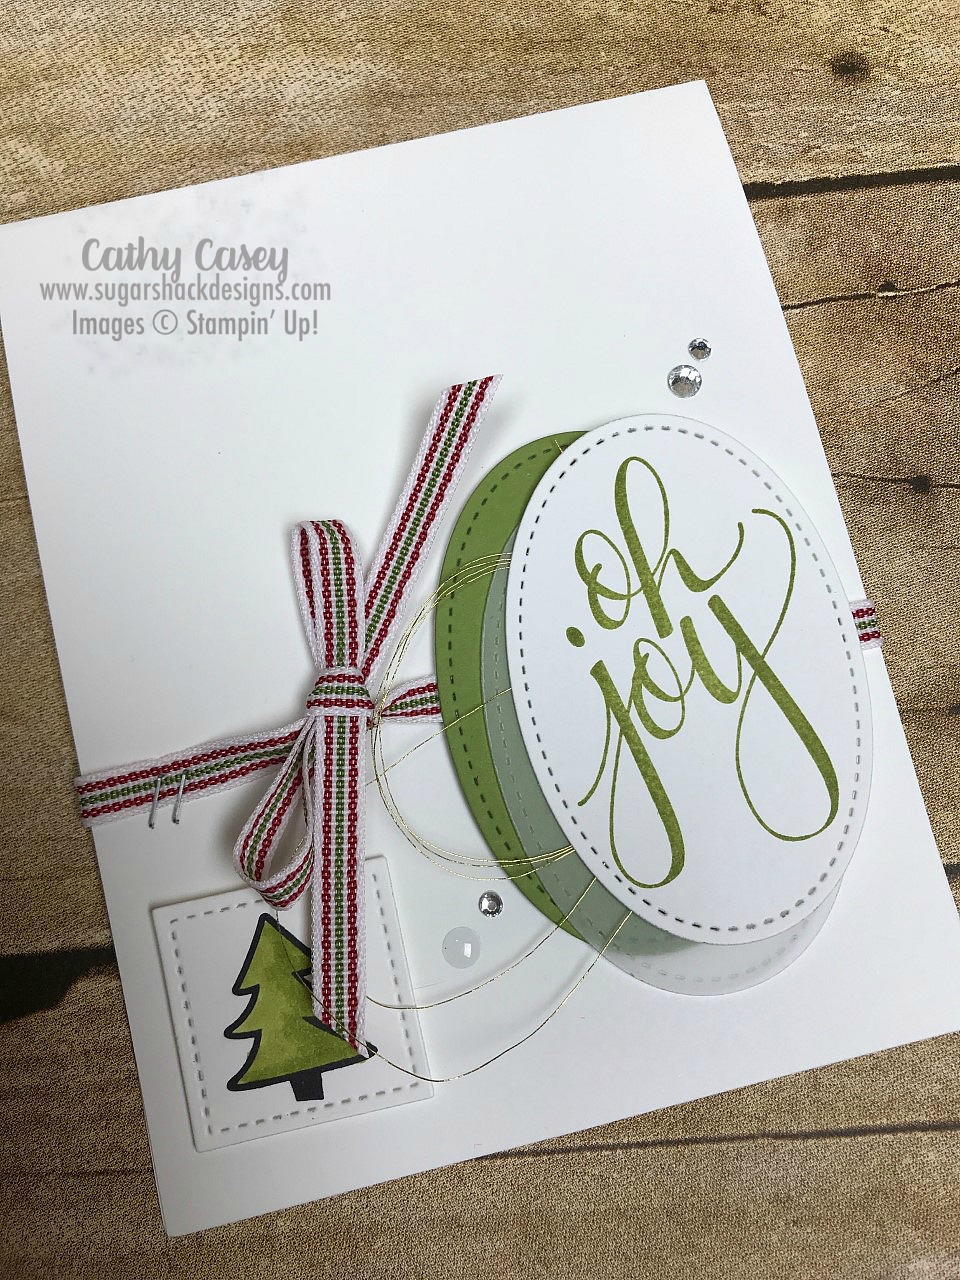
  1.  This card features Designer Series Paper from the Be Merry DSP package.  I needed the paper to be slightly toned down and the perfect answer to that was vellum!  The vellum has the large snowflakes from Snowflake Sentiments white embossed on it, this gives a soft muted glow to the paper underneath.
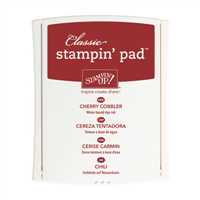
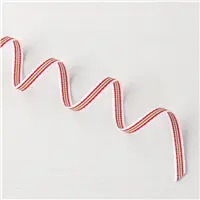
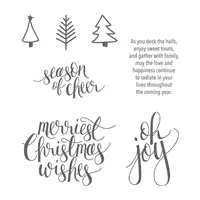
  2. Use what works in your stash…in this case, my ribbon is Real Red and Garden Green but I used Cherry Cobbler ink for the sentiment and Tranquil Tide for the trees.  The whole card works even with these color differences since the lines of color in the ribbon are so tiny and delicate.
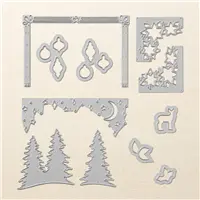
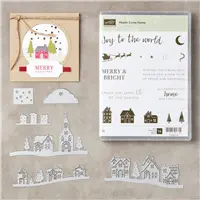
  3. You know what makes this card come together so fast?  The dies!  Those sweet trees and adorable deer add just the right embellishment to finish the card 🙂
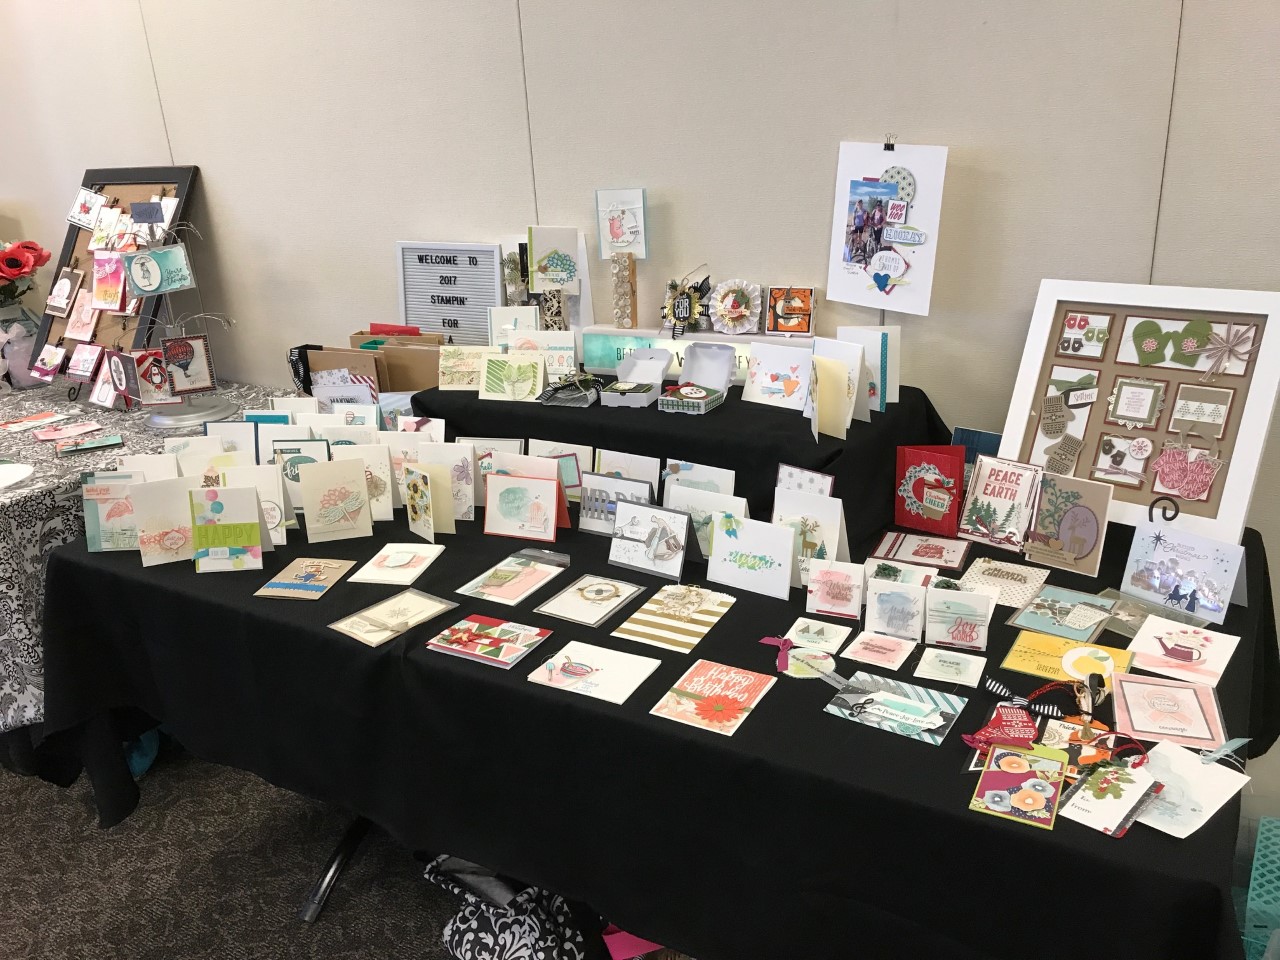
Christmas Village

Monday Montage Blog Hop – Week 105!!!!

Hello friends! Welcome back to the Monday Montage Blog Hop! You may have gotten here from the amazing Bree Renwick’s blog, make sure you select the “next” button below and that will take you to the next stop on the hop, Dani Dziama’s beautiful work.

I have been playing with this Suite of products non-stop this weekend!  I have a class coming up that features the Hometown Edgelits Dies, I was inspired by this amazing project created by Kathryn Simpson.  Well I can’t stop making projects with these dies…I love the peaceful, snowy, tranquil feel they give.  See more info on my upcoming class (available to go) in this post.

Hearts Come Home Stampin' Up

Hearts Come Home Stampin' Up

Creative Tips:

  1. When I cut the images and lined them up for the card there was a blank spot between the two layers.  I cut an piece of Dazzling Diamonds Glimmer Paper and trimmed it to look like a snow bank and placed it between the two rows.  I love the glittery look this adds to the project.
  2. I used the stars from the Little One Stamp Set to create the sky.  They are white embossed on Watercolor paper and then watercolor washed with Dapper Denim and Soft Sky.
  3. Each layer is added with dimensionals to give extra pop to the card front.

Make sure you go “back” if you missed Bree’s wonderful creation or you can loop on around by hitting the “next” button to get to Dani’s amazing work and the rest of the hop!

Lighted Holiday Village Decor Class

I made a gorgeous Holiday Decor item over Thanksgiving!  I was inspired by the amazing Kathryn Simpson’s project she has shared.  I think this may be one of my most favorite projects!!!  It is so cute and can be displayed all winter long 🙂

It features the Hometown Greetings Edgelits Dies and goes into a shadow box with tiny little lights.  It is really hard to take pictures of in the frame but I tried below!

I am offering this as a local class and as a class to go.  See all the details below.

Hometown Greetings Stampin' Up

Hometown Greetings Stampin' Up

Local Class Options:

Saturday, December 2, 2017, 3:00 PM or Monday, December 4, 2017, 6:30 PM – Cost $35

Includes the completed project with frame.

Starbucks inside King Soopers, 3570 Hartsel Drive, Colorado Springs

If you want to come, just let me know and I will add you to the list!

To Go Class:

If these dates don’t work for you or you are out of the area and want to make this gorgeous project, just email me at katiemae60@msn.com and I will mail you the project to complete at home.  Cost $35 plus $4 shipping.

Oh Joy!

Monday Montage Blog Hop – Week 104!!!!

Hello friends! Welcome back to the Monday Montage Blog Hop! You may have gotten here from the amazing Bree Renwick’s blog, make sure you select the “next” button below and that will take you to the next stop on the hop, Elizabeth Price’s beautiful work.

I just got home today from a fun-filled whirlwind few days in Salt Lake City for OnStage Live (Stampin’ Up convention).  I had so much fun with my besties and I got to see stampin’ friends from all over the world…it was so much fun!  Before I left I made this cute Christmas card.  I love this stamp set, so easy to use and I’ve been creating fast and easy wow projects with it.  The font?  I.can’t.even!

Watercolor Christmas Stampin' Up

Watercolor Christmas Stampin' Up

Creative Tips:

  1. The Watercolor Christmas stamps coordinate with the Watercolor Christmas Project Kit which is super cute and so easy to use!  All you need to do is add the stamping and all your holiday cards are ready to send 🙂
  2. The tiny tree image is colored with the Old Olive Stampin’ Blends.  The result is a fast watercolored look with saturated color and absolutely no paper pilling ( you know, the little paper wads you might get from coloring card stock?).
  3. The layered sentiment image, vellum and card stock give the card interest and dimension.  I cut each with the same stitched shape oval framelit and then offset them in a stack on the card front.

Make sure you go “back” if you missed Bree’s wonderful creation or you can loop on around by hitting the “next” button to get to Elizabeth’s amazing work and the rest of the hop!

Halloween Fun!

Monday Montage Blog Hop – Week 103!!!!

Hello friends! Welcome back to the Monday Montage Blog Hop! You may have gotten here from the amazing Bree Renwick’s blog, make sure you select the “next” button below and that will take you to the next stop on the hop, Dani Dziama’s lovely designs.

I can’t believe how quickly the years is zooming by!  That means Halloween is right around the corner and I think Halloween crafting is probably my absolute fave!  I love the colors and the spooky themes.  Stampin’ Up’s Halloween goodies this year are so fun (of course) and I have been having so much fun playing with it 🙂

Spooky Cat Stampin' Up

Spooky Cat Stampin' Up

Creative Tips:

  1. I love, love, love the Cat Punch which matches perfectly with the Halloween DSP image!  I was able to quickly punch out my cute little spooky cat and pop him onto my card.
  2. I stamped the cute potion jars onto vellum and then cut them out.  I stamped the potions on watercolor paper and then watercolored over them with Lemon Lime Twist and Rich Razzleberry.  Then I popped the vellum vials over the potions.  I love the spooky twist this gives to the witchy potions.
  3. Again, I capitalized on the white space created by my Very Vanilla card base, my only other additions were the paper ribbons and the black rhinestones…yum.

Make sure you go “back” if you missed Bree’s wonderful creation or you can loop on around by hitting the “next” button to get to Dani’s amazing work and the rest of the hop!

Price: $18.00

Stampin’ for a Cure 2017

Monday Montage Blog Hop – Week 102!!!!

Hello friends! Welcome back to the Monday Montage Blog Hop! You may have gotten here from the amazing Bree Renwick’s blog, make sure you select the “next” button below and that will take you to the next stop on the hop, Dani Dziama’s lovely designs.

Cruising for a week, home not even a week and I had a ton on my plate catching up at work and preparing for our annual fundraiser to benefit our local Komen Affiliate.  Yesterday we held our 10th annual Stampin’ for a Cure fundraiser and we raised $5800!!!  I am so thrilled with our success.  It was a fun day of stamping and prizes and hearing stories of survivors.  Today’s project is my project for Stampin’ for a Cure.  All our participants were able to make this card at my station.

Colorful Seasons Stampin' Up

Colorful Seasons Stampin' Up

Stampin' for a Cure 2017Our Crew

Stampin' for a Cure 2017
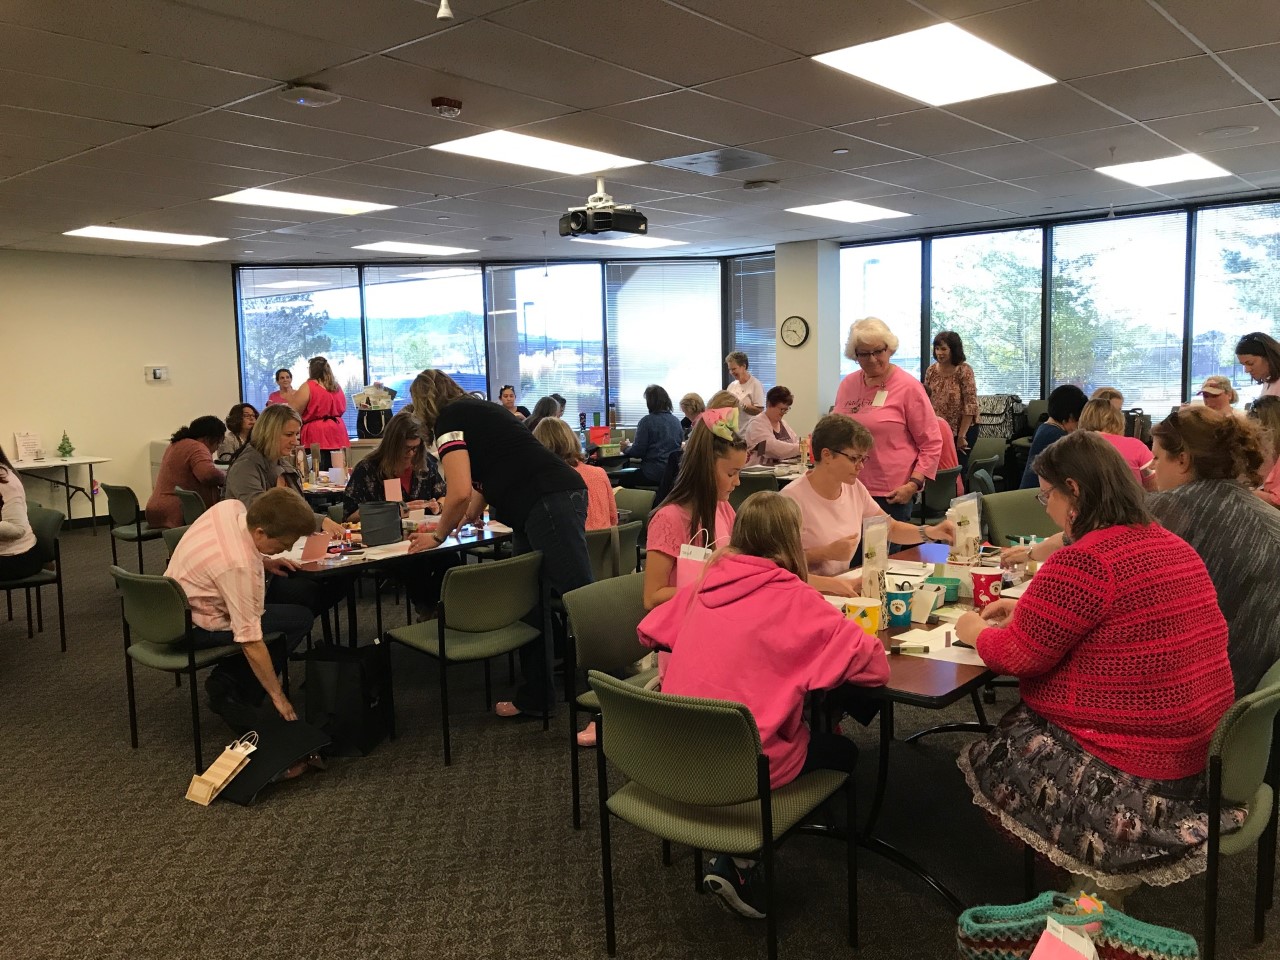
Lot’s of stamping happening!

Stampin' for a Cure 2017All ages loved stamping! Stampin' for a Cure 2017Silent auction items

Stampin' for a Cure 2017My display for the day…

Creative Tips:

  1. My project features the lovely leaves in Colorful Seasons and the Seasonal Layers Thinlits.  This leaf is delicate and super pretty and gives this card a lot of impact yet it is simple to make for a new stamper.
  2. I wanted to send everyone home with a card they could use anytime but is also in line with our current fall season.  Who wouldn’t want to receive this pretty card in the mail this fall?
  3. This design features white space as much as it features the images and embellishments.  I love how the white space sets off the featured items.

Make sure you go “back” if you missed Bree’s wonderful creation or you can loop on around by hitting the “next” button to get to Dani’s amazing work and the rest of the hop!

Better weather ahead!

Monday Montage Blog Hop – Week 101!!!!

Hello friends! Welcome back to the Monday Montage Blog Hop! You may have gotten here from the amazing Bree Renwick’s blog, make sure you select the “next” button below and that will take you to the next stop on the hop, Dani Dziama’s lovely designs.

I am blogging tonight from the cruise ship Liberty of the Seas on my beautiful balcony….oh my goodness this is just what I needed to refresh and unwind!!!  A whole week of fun, stamping and relaxing with my besties 🙂  We flew into Houston yesterday morning and that is the inspiration for my post today.  My cousin lives in Katy, Texas and her home flooded during Hurricane Harvey.  This is the card I made for her.  I love the sweet sentiments and the fun coordinating framelits with this set.

Weather Together Stampin' Up

Cruisin'

Current situation…

Cruisin'

Creative Tips:

  1. Super simple is sooooo impactful!  I love how soft and sweet this beautiful card is and it was fast and easy to make.
  2. A light watercolor wash in the background (Soft Sky) gives the impression of rain.
  3. The sentiment fits perfectly for my hopes and wishes for my sweet cousin and her family while they work to clean up and rebuild.

Make sure you go “back” if you missed Bree’s wonderful creation or you can loop on around by hitting the “next” button to get to Dani’s amazing work and the rest of the hop!

#100

Monday Montage Blog Hop – Week 100!!!!

Hello friends! Welcome back to the Monday Montage Blog Hop! You may have gotten here from the amazing Bree Renwick’s blog, make sure you select the “next” button below and that will take you to the next stop on the hop, Dani Dziama’s lovely designs.

I can hardly believe that this is our 100th Hop together!  Wowsers!  We have shared our beautiful creations with you 100 times today 🙂  I thought our anniversary Blog Hop called for something extra special & when I think extra special lately I pull out Colorful Seasons…I just can’t get enough of this stamp set!

Colorful Seasons Stampin' Up

Colorful Seasons Stampin' Up

Creative Tips:

  1. A combination of gold foil leaves, watercolored leaves and stamped leaves add super duper interest to this card.
  2. A light watercolor wash in the background (Dapper Denim) sets off the leaves and the spritz of Dapper Denim is the perfect final touch.
  3. “Just Breathe” is exactly what we all need to be doing with all the crazy weather the last few weeks!  I have been praying non-stop for everyone affected by these terrible storms.

Make sure you go “back” if you missed Bree’s wonderful creation or you can loop on around by hitting the “next” button to get to Dani’s amazing work and the rest of the hop!

Bestie alert!

I am on a countdown to go on a fabulous cruise with my besties in……2 weeks!!!!  I am super excited, we are going on a Stamping & Scrapbooking cruise with about 100 fun people.  I am just praying every day that the weather gives us a break.  The last couple of weeks have been crazy with these giant hurricanes.  Right now I am listening to a crazy man standing in the street in Naples, Florida who is about to be blown all the way to Tampa lol!  I think these weather guys live for their moment fighting the wind on camera 🙂

As soon as I saw this stamp set in the catalog, I knew I had to have it.  How much time do we spend with our faces in our phones?  This card just reminds me that in person is way better than digital and to make the most of every second I get to spend IRL with my besties 🙂

Text Ya Later Stampin' Up

Text Ya Later Stampin' Up

Creative Tips:

  1.  Use lot’s of the small images to create background stamping.  The small words and emoji’s from the set are stamped tone on tone along the top of the card base.
  2. Use dimensionals to make your card pop.  All of the text blocks on the phone are popped up with dimensionals to create layers.
  3. Most of the card is in Whisper White and Bermuda Bay.  The text bubble responses are in Berry Burst.  This pop of color balances the card out.


Are you ready for a sweet adventure?

Oh my gosh, I love love love the fonts and sayings in this Hostess Set!  It’s called Dare to Dream and it just has the best words in it!  I am a huge fan of mixing fonts and this set makes it super simple to pair two fonts perfectly for just the right look 🙂  So cute and easy!

Dare to Dream Stampin' Up

Dare to Dream Stampin' Up

Creative Tips:

  1.  I used a scrap of watercolor paper and watercolor washed sections in Sweet Sugarplum and Soft Sky.  After they dried, I stamped the balloon outline on top of the washes and then cut out the balloons.
  2. The square window is cut with a Layering Squares die, whatever size you like.  After this “window” was cut into the watercolor paper, I went back and lightly watercolor washed around the window in Soft Sky.
  3. Dimensionals under the watercolor paper base and under the balloons add tons of dimension to this card.  It is super simple and came together quickly but the extra dimension makes the entire card pop 🙂

I hope this project inspires you to dare to adventure in your craft room today!

All supplies are available at the links to my store below: